I love flowers and all kinds of plants. Maybe because I have strong memories of my grandmother’s garden when I was a kid. The garden was not large, but it seemed huge to a 4 year old. I felt at ease in it, lost in time in it. Eventually, the garden was eliminated and concrete took its place. The magic was gone.
My favorite style of garden is the English garden. It is wild and free, and at the same time contained by itself. I always thought that an English garden had soul. I dislike manicured gardens that are too planned, symmetrical, and rigid. Where’s the life in that? When we purchased this old house, it had been abandoned for 3-4 years, neglected by previous renters, and the owners where out of state, the heirs to a woman who loved her garden. People who grew up in the neighborhood and knew her, tell me about her love for flowers and plants, and how she used to walk through her garden, admiring it. I am told she was a very tall woman, and neighbors were used to seeing her walk regal amongst her plants. Unfortunately, she fell on an icy day, and never quite recovered. Her beloved home became a rental, and no one took care of her garden the way she did. Eventually, the house fell in disrepair and ended up a dilapidated farmhouse waiting to be demolished, either by time or by people. That is, until we found it and resurrected its soul. This post is about its garden, and about uncovering and working with existing areas in an effort to use the not so obvious/the hard to see potential, and saving money in the process.
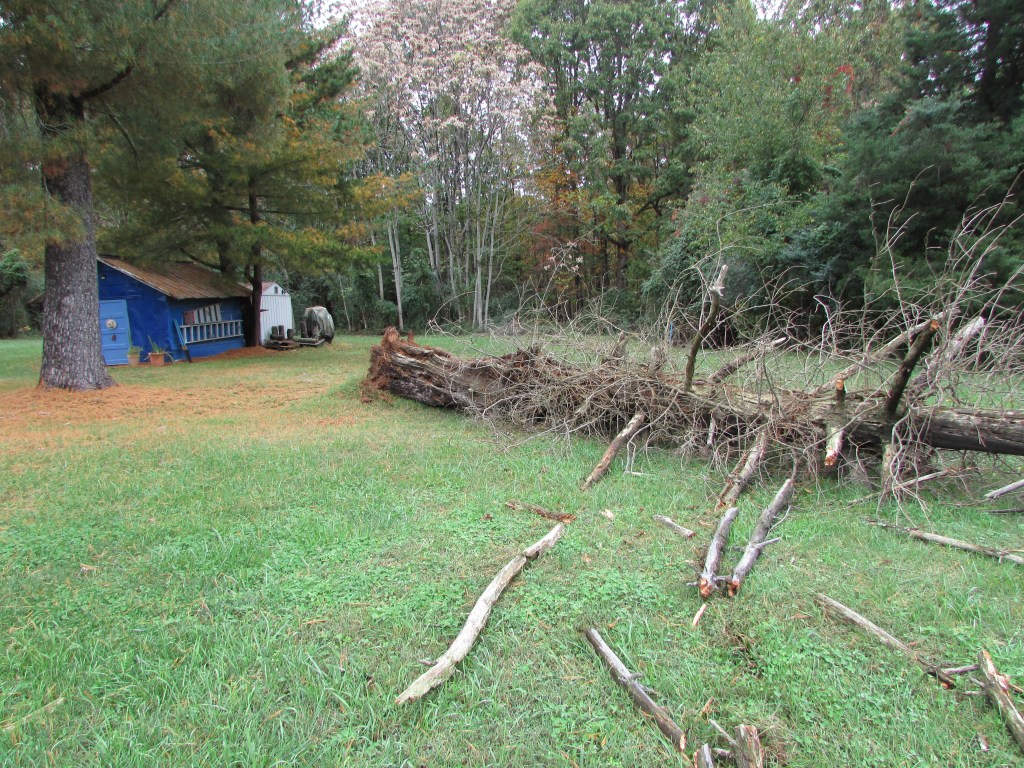
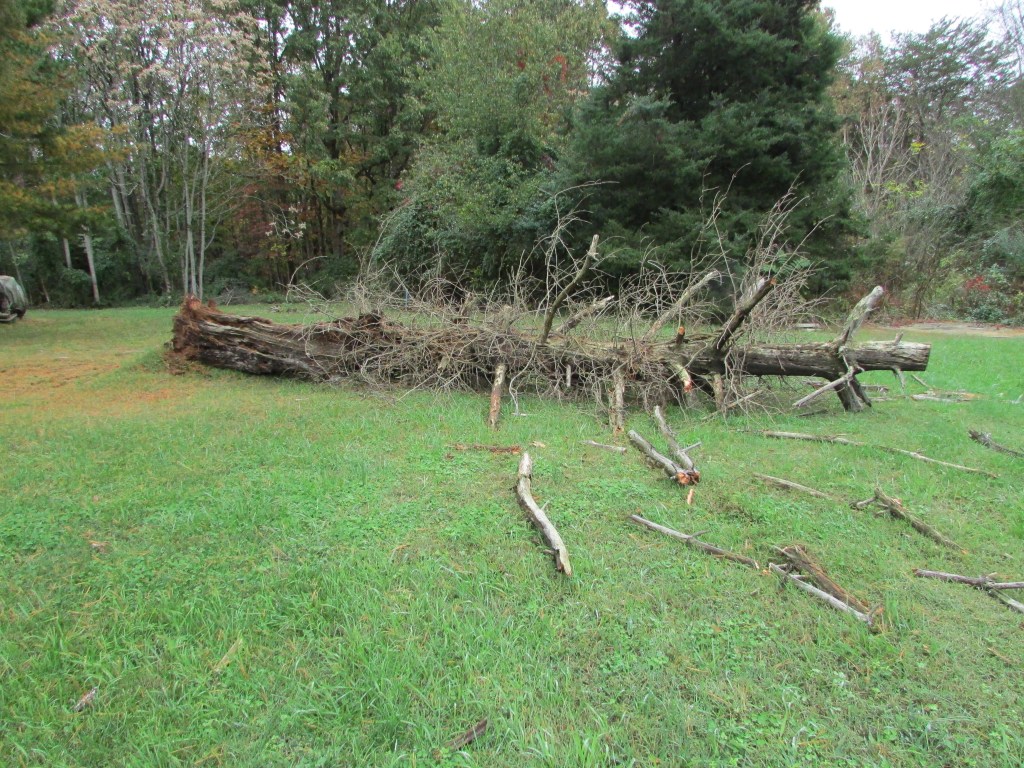
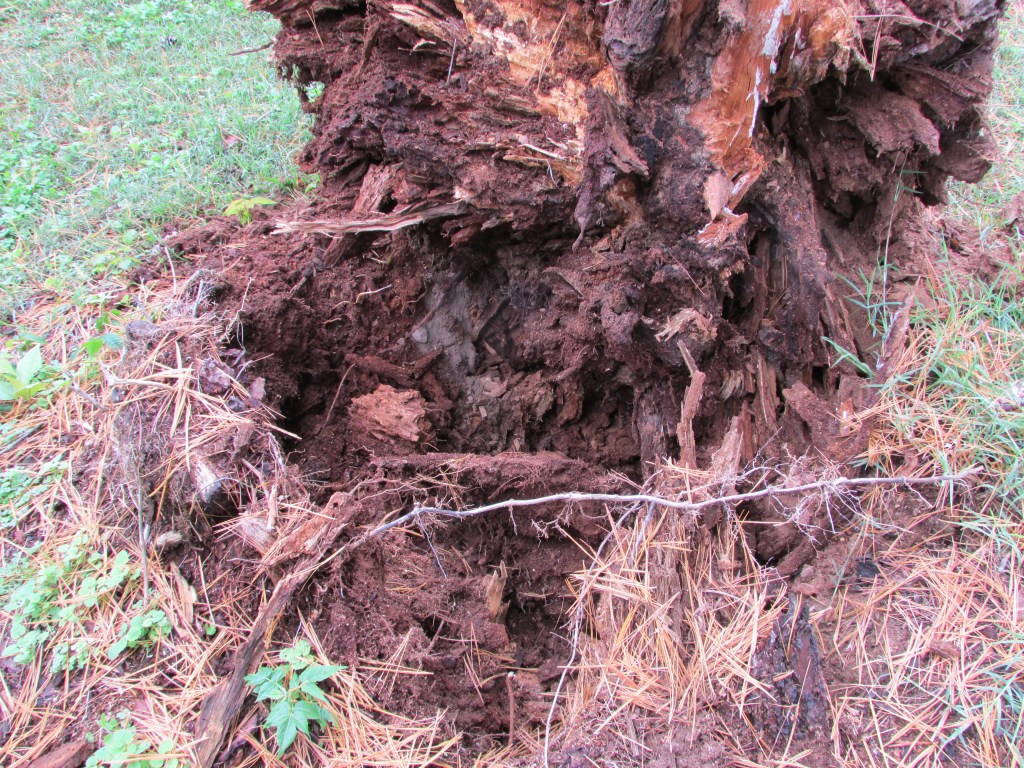
The house and premises were covered in overgrown vegetation, and the preexisting garden, if any at that point, was gone. There were a few plantings in bad shape. Unable to move right away, we took short trips to start clearing up the overgrown vegetation, and once under control, hired someone to cut the grass regularly so it wouldn’t grow too wild again. The house sat for another five years until we moved, for a total of eight years. As we cleared the morass of bushes and trees, we got an idea of what could be salvaged and what had to be removed. It was a long process that continues until today, mostly because we are doing it ourselves. Three very large trees remain, two dead trees and one very large near the house. It is diseased and requires professional handling as well as the other two. That will be next on the agenda.
Few plants remained of the original garden. An overgrown hydrangea in bad shape, a tiny rose bush buried in weeds, two dwarf boxwoods that we thought were gone for good but made it. A Rose of Sharon bush that we were able to save, a large bush of ornamental grass, and existing pine trees. We were able to free a forsythia that was growing wild under the siding and spread out high over the porch. Remnants of irises and other small plants were found thriving under bushes and all kinds of weeds. We transplanted those to other areas, hoping for the best. They took to their new area beautifully, almost as if grateful for being freed. Little by little we found bits and pieces of what once was a woman’s beloved garden.
When I think about it, it was a lot of work, hard work. Our neighbors cannot believe the transformation. One neighbor told us that he thought the house was eventually going to be torn down or fall on its foundation. Many people have come to see the house, a house they lived in at one point, played in, or visited. They all approve of the respectful changes, and they all agree that the woman who loved her garden so much would approve of it as well. I am glad they feel that way. It means that we are accomplishing what we set out to do. On this post, I will share some before and after pictures.
Entrance to the house then, and entrance today.

Digital Camera
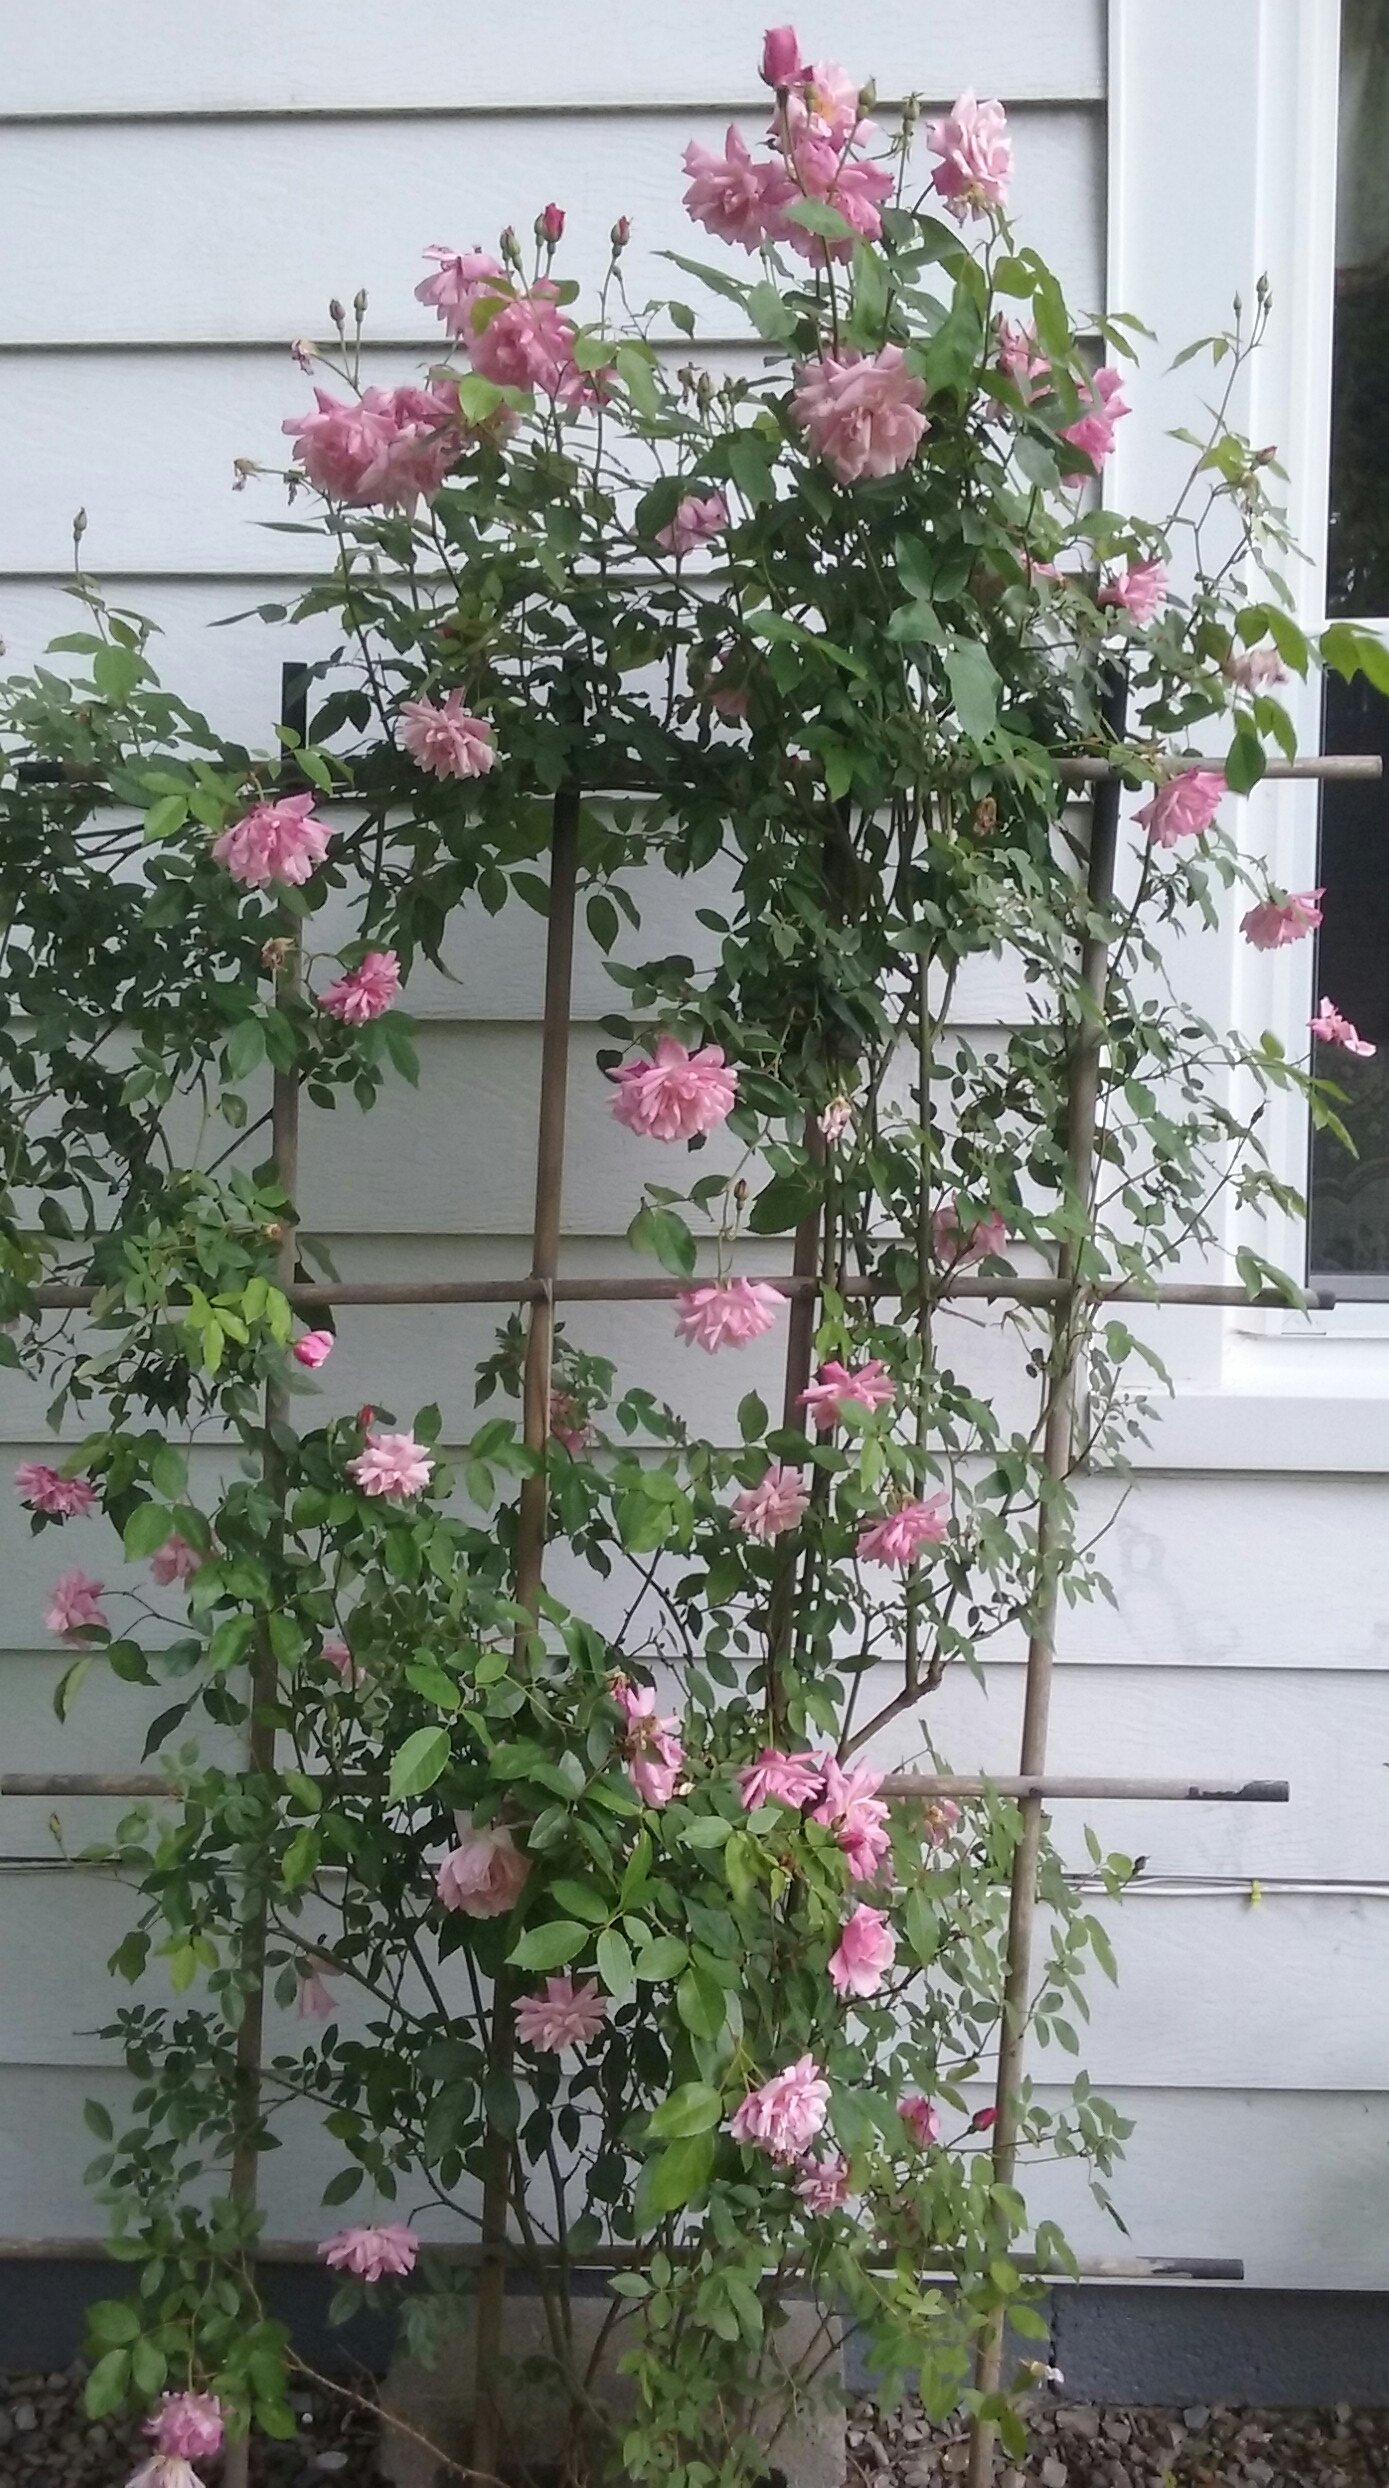
One of our latest projects was to add marble chips around the house to prevent weeds from growing. This area was covered in weeds and bushes. All the plantings were existing or transplanted from another area when found. The rose bush has grown healthy and has required a trellis.
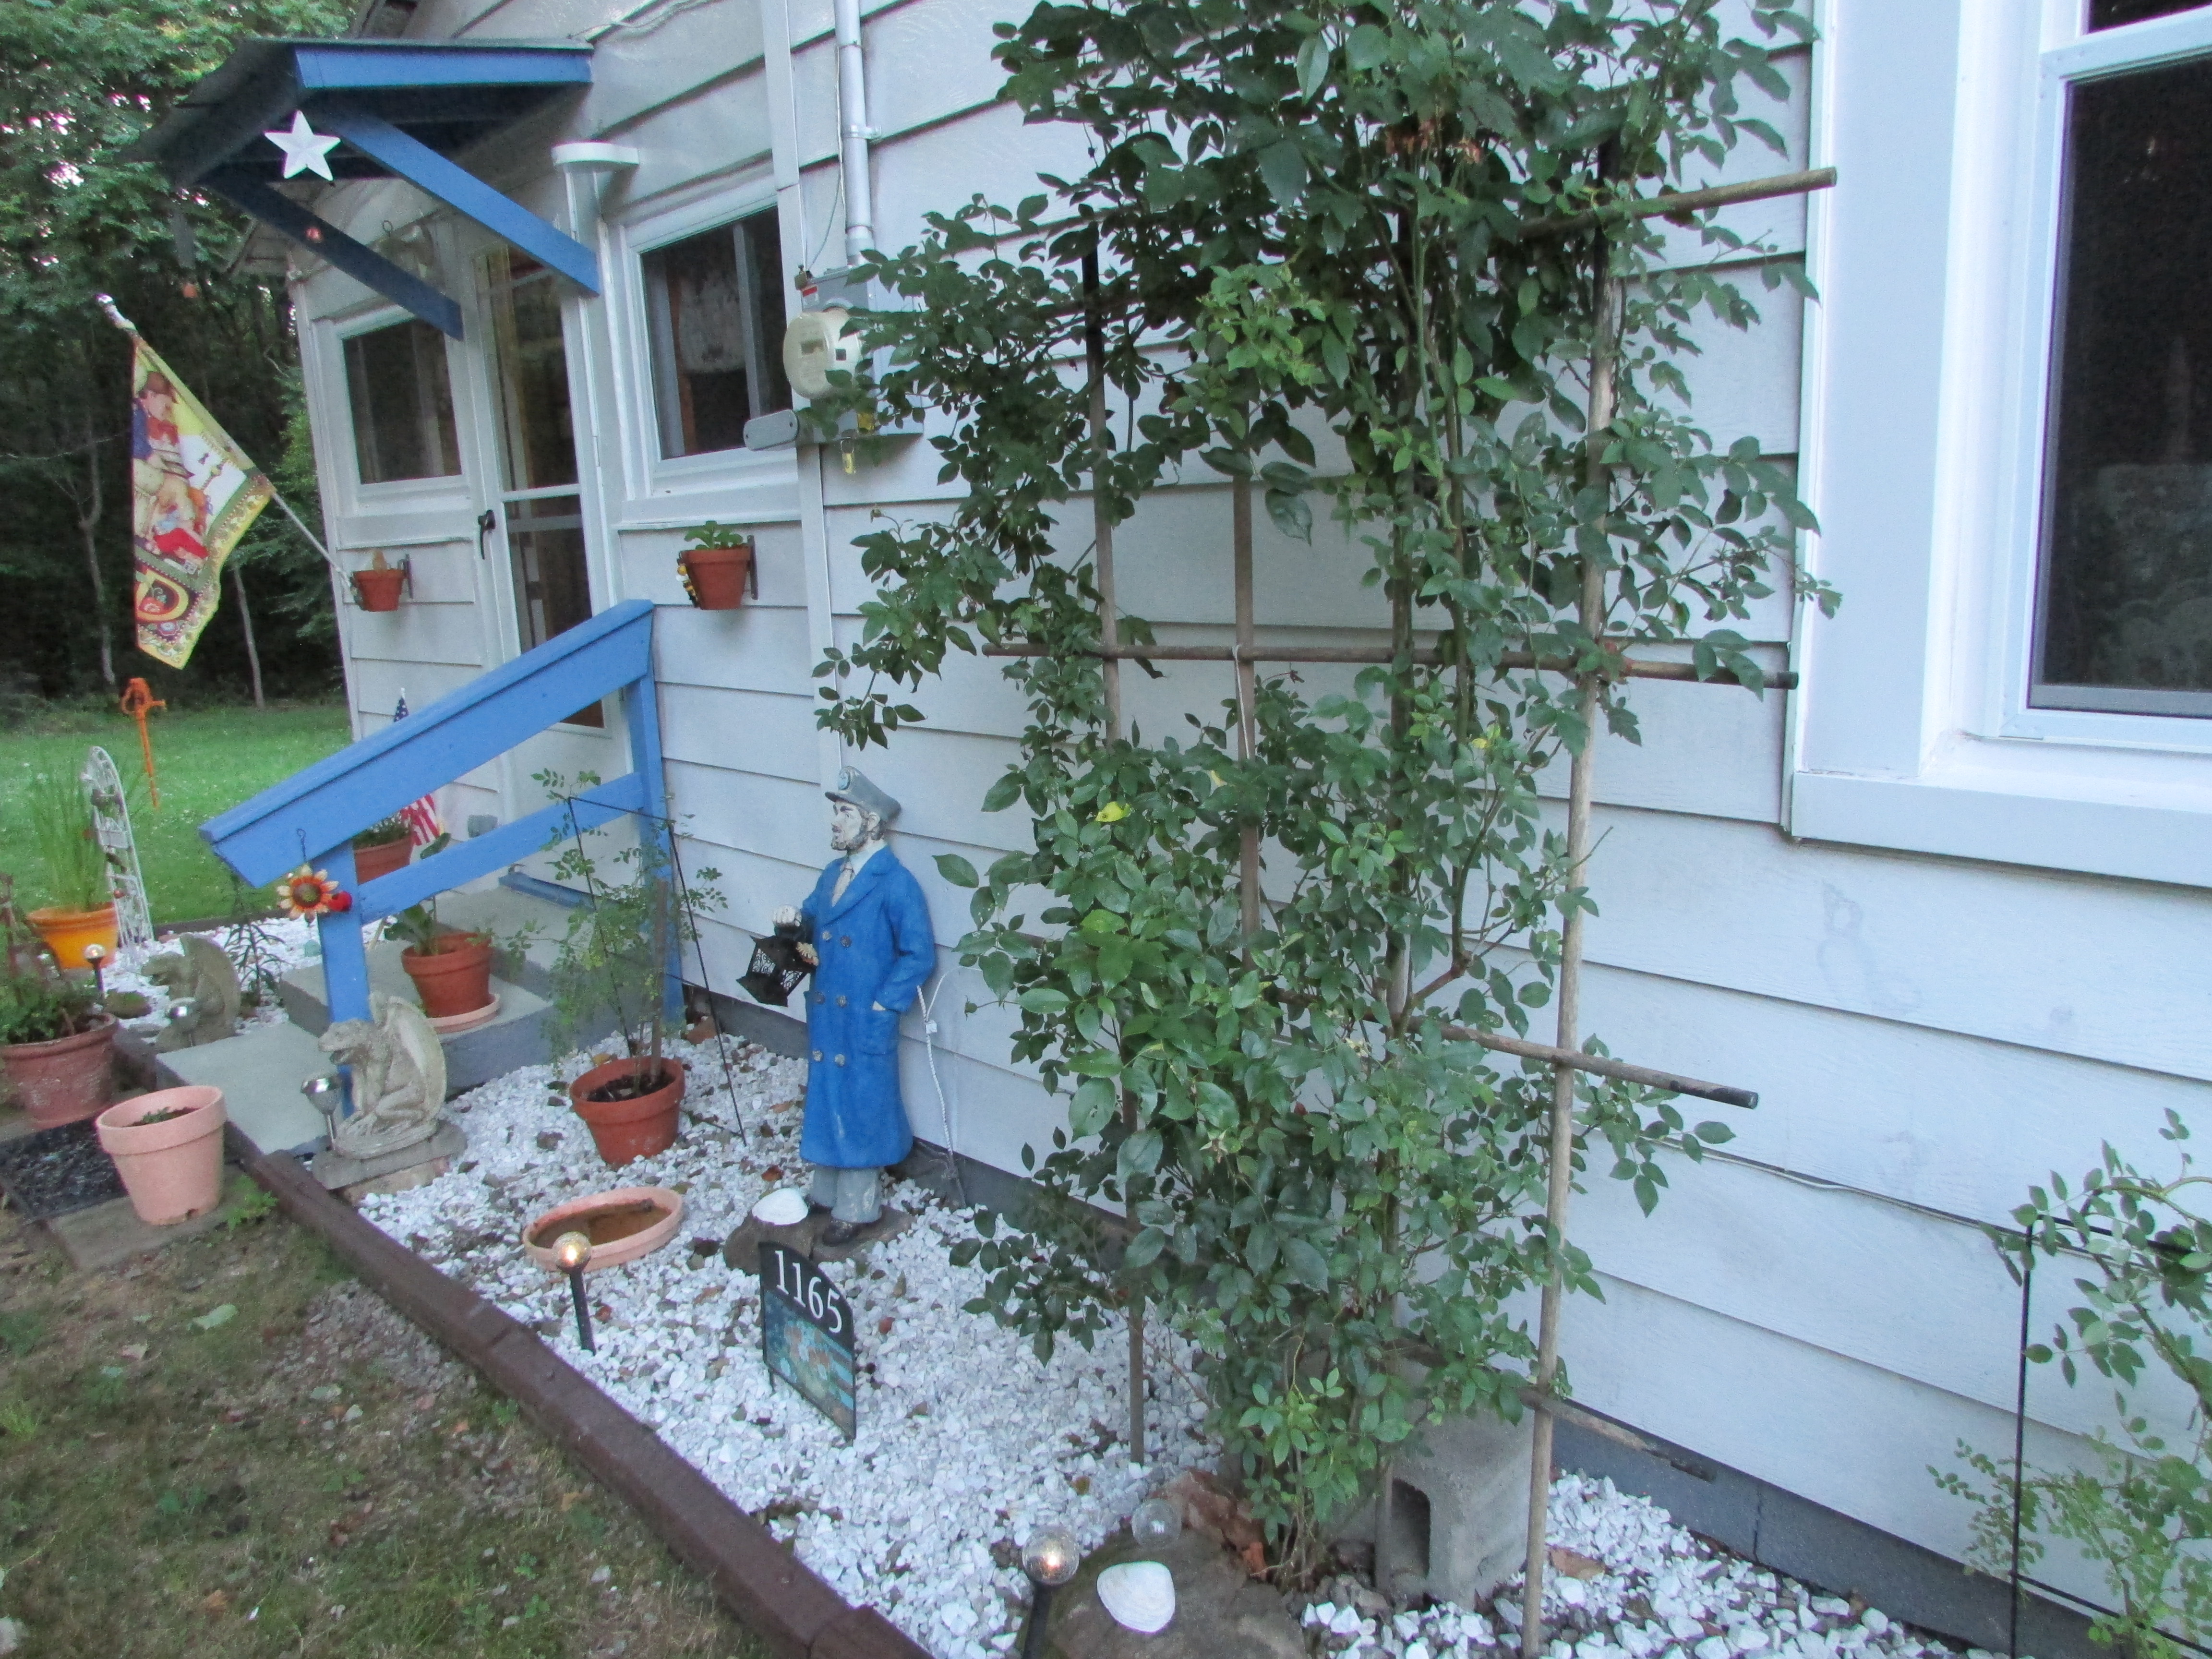
Photo by M.A.D.

Photo by M.A.D.
Here you can see the forsythia that we cut to shape and trimmed. It seems happy now. All the potted plants have been added or transplanted.
These are the same areas before. On first arrival and after clearing some of the vegetation.

Digital Camera

Digital Camera
The foundation to the house is an original rock foundation, which has been supported with cinder blocks over time. We cleared out the weeds, painted, fixed the crawl space doors, and placed marble chips and potted plants around it. We also added solar lights, and rocks that we collected around the property.
This is a before picture, when we cleared out some of the weeds and grass.
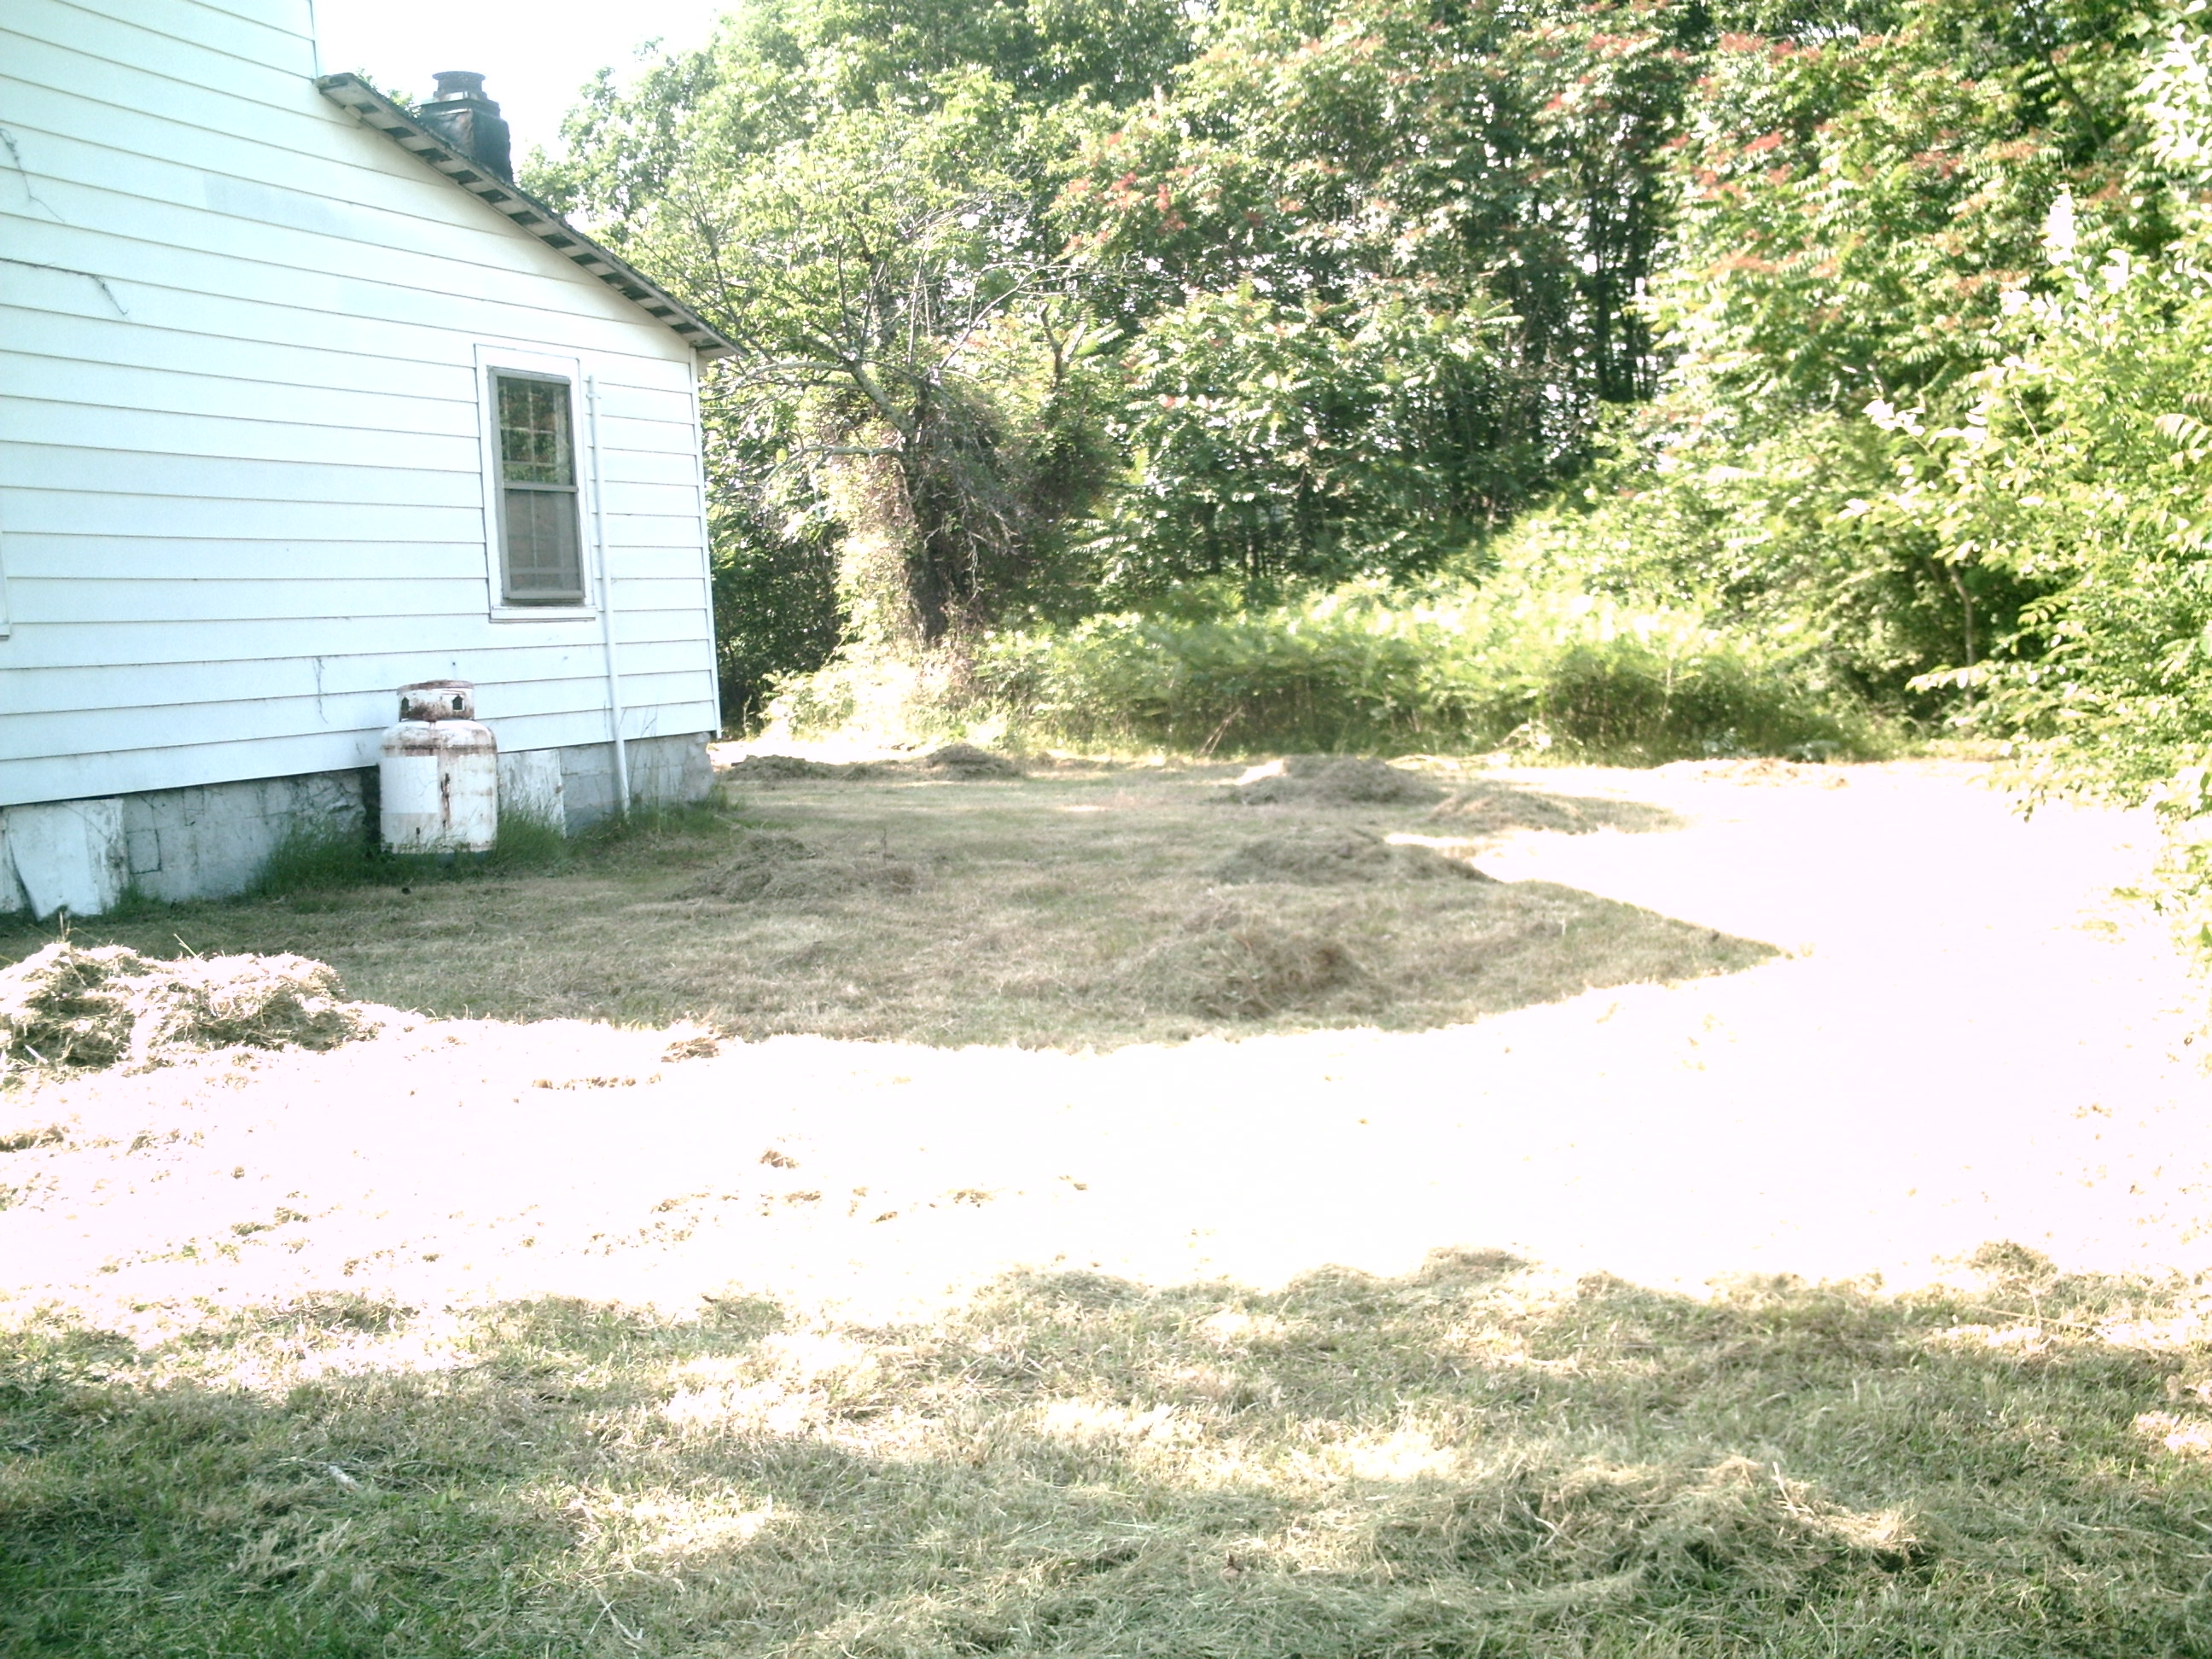
Photo by M.A.D.
This is the same area now. Here you can see the trimmed Hydrangea bush and existing irises. The pine tree in this picture was found as a tiny (2 inches) planting that I thought looked interesting enough, and I potted it. It turned out to be this beautiful pine (cedar) tree. Eventually, we will cover the exposed cinder blocks with cement and repaint the area. On this picture you can see the original stone foundation. One thing we made sure to do before buying the place was to hire an inspector to make sure the foundation and structure were in good shape. Those were fine.
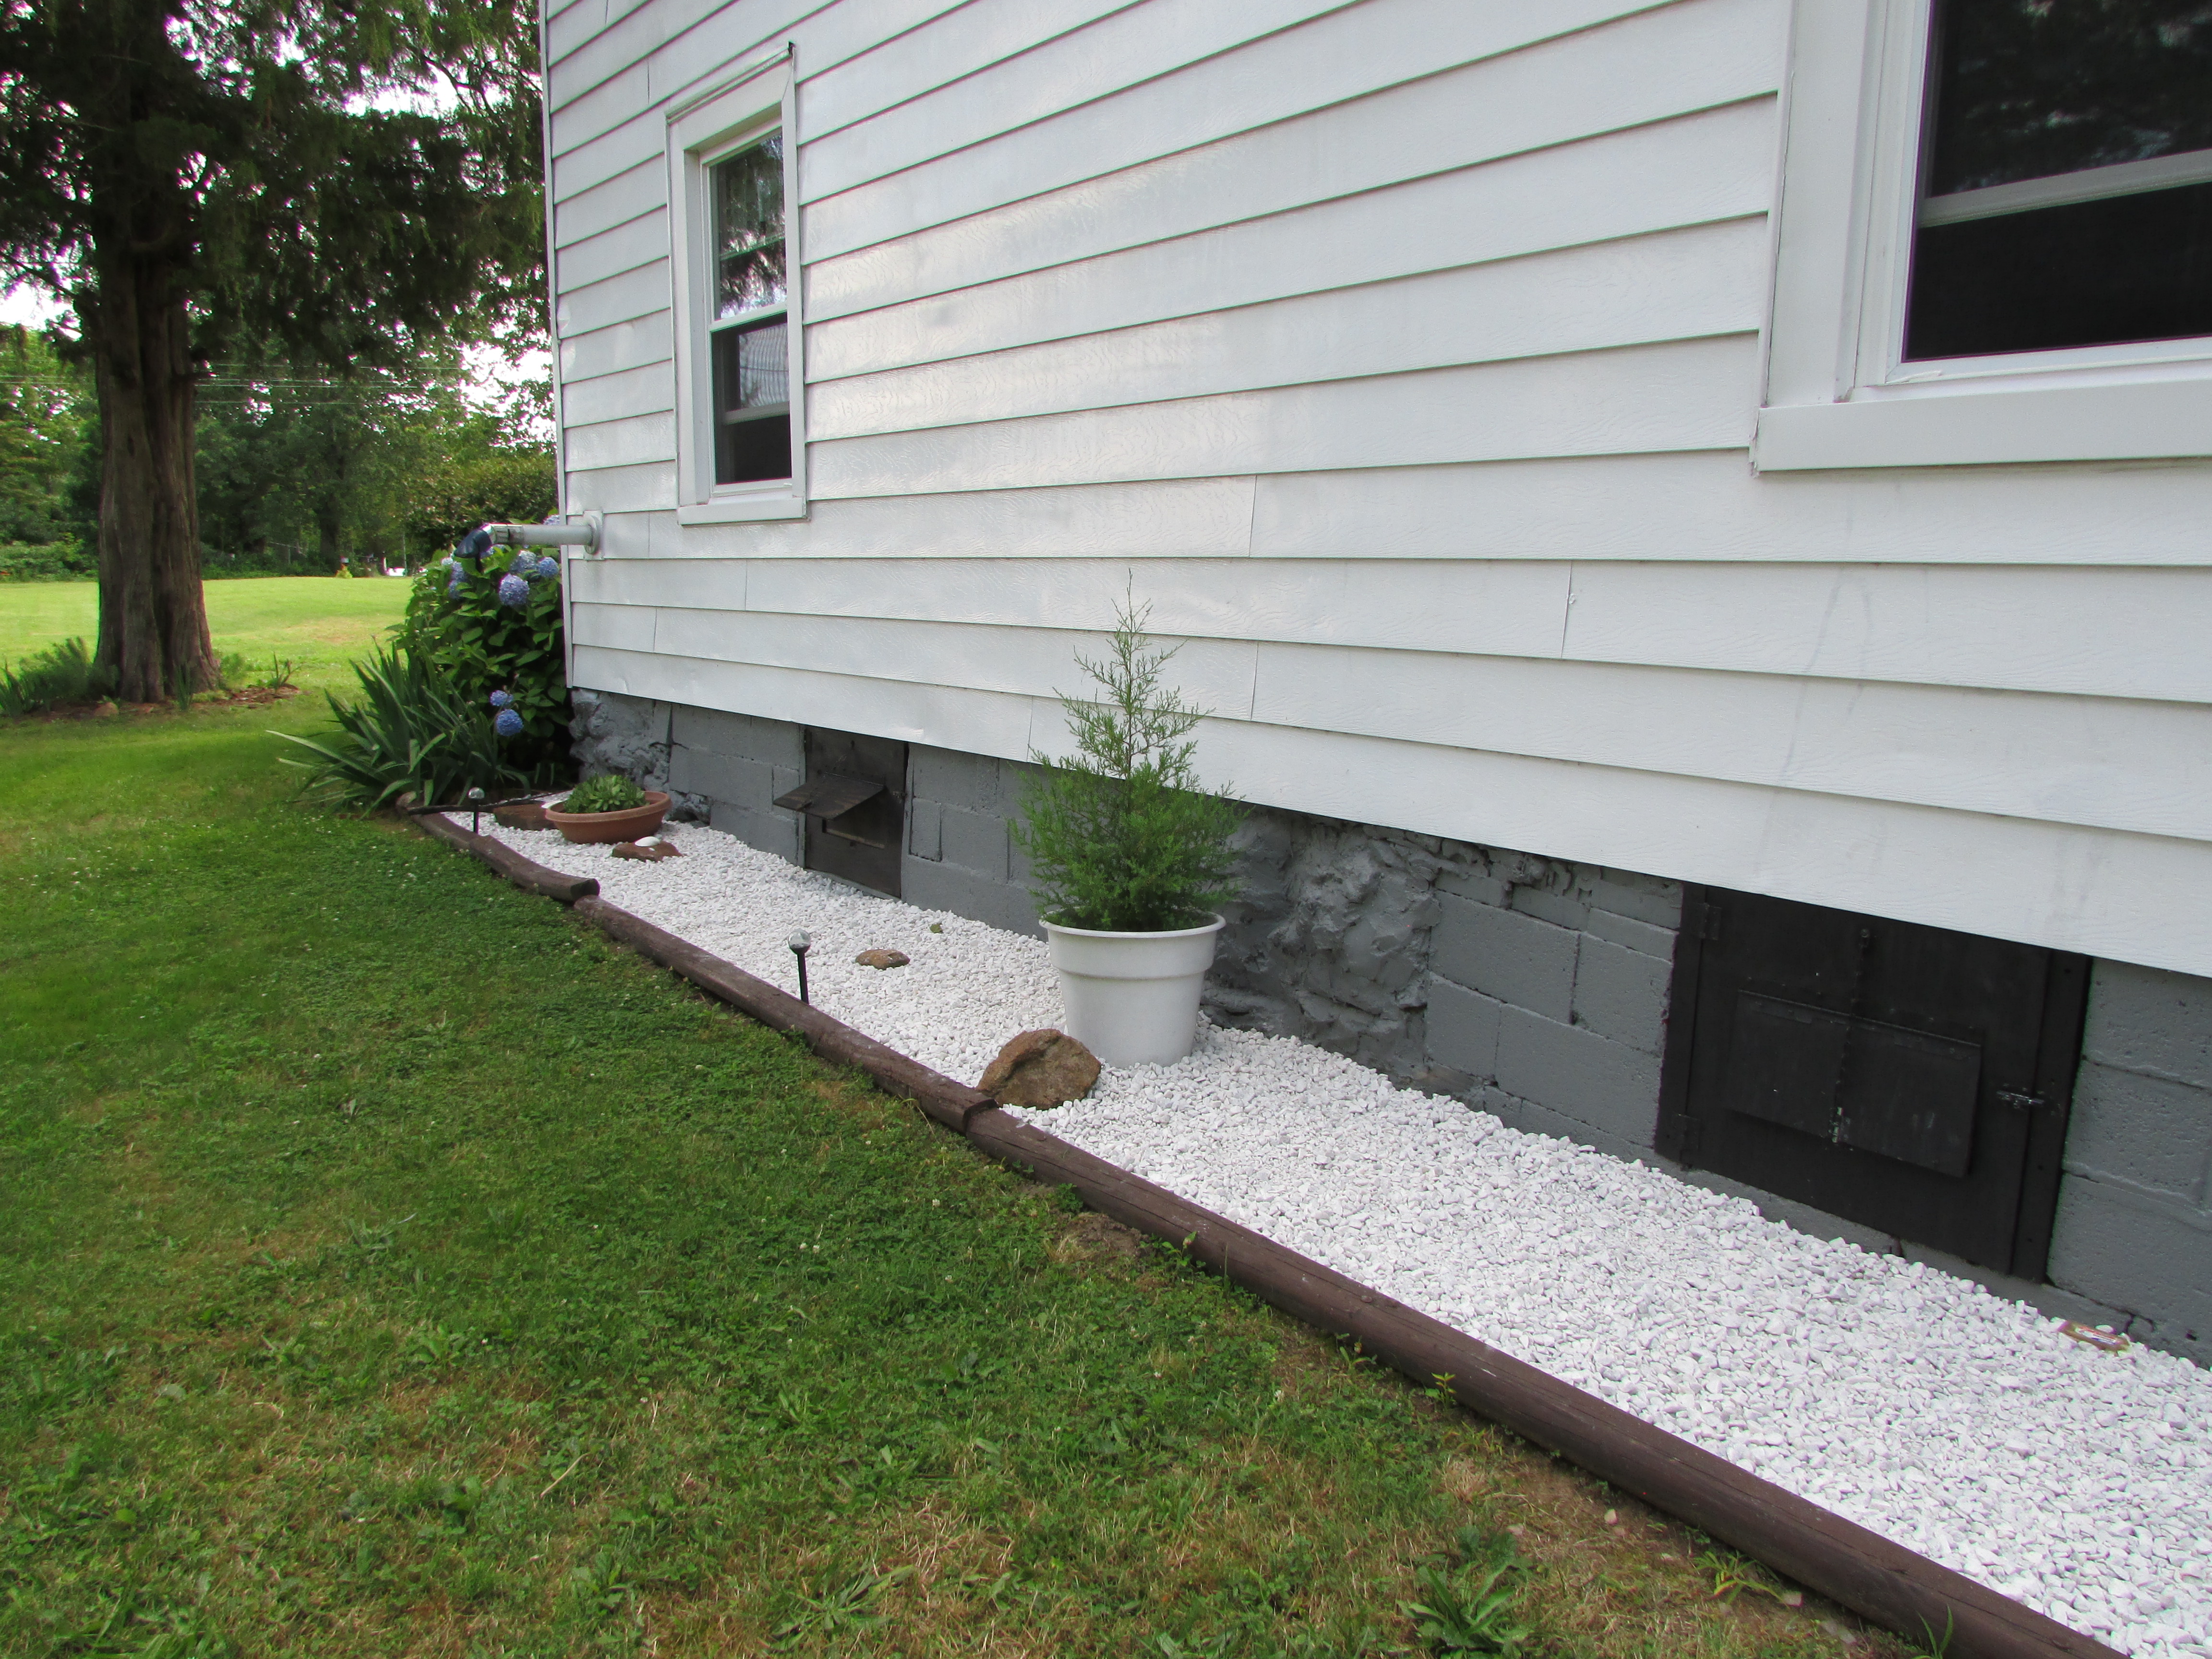
Photo by M.A.D.
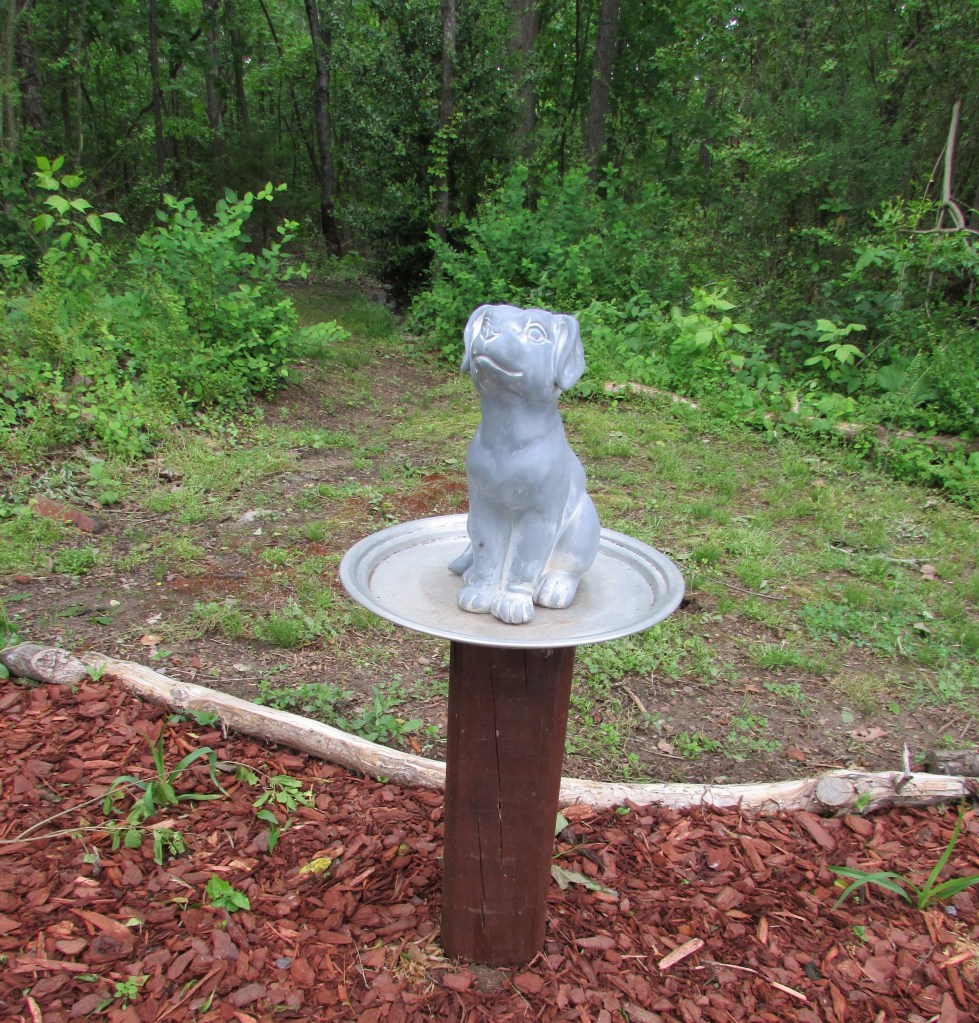
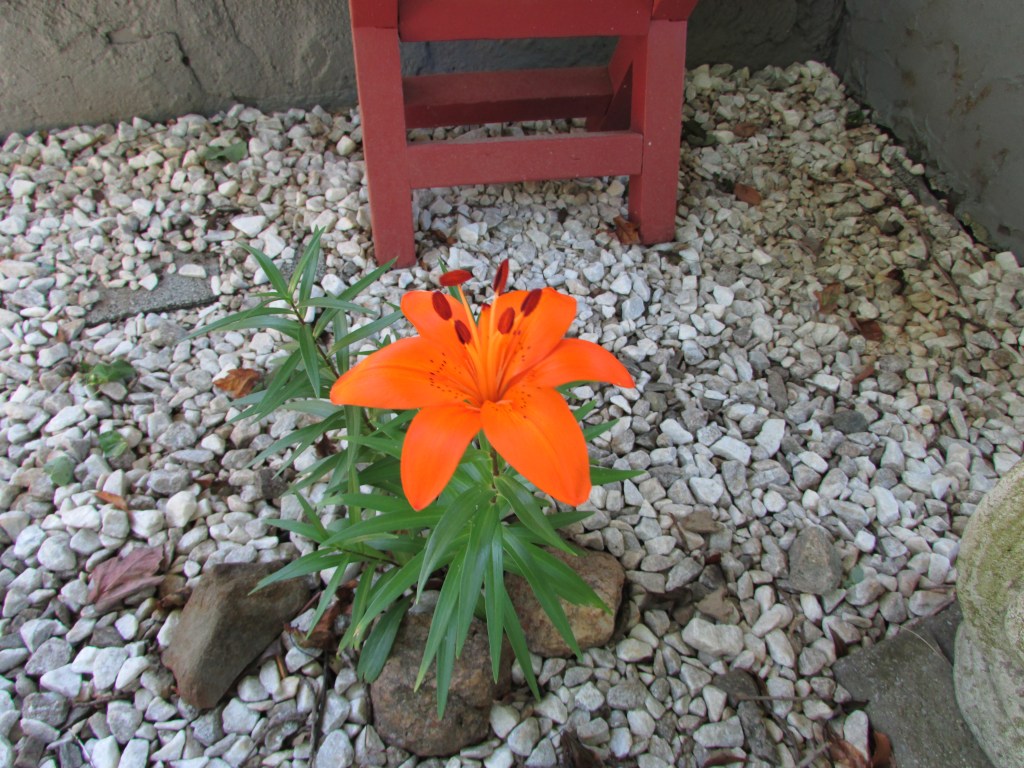
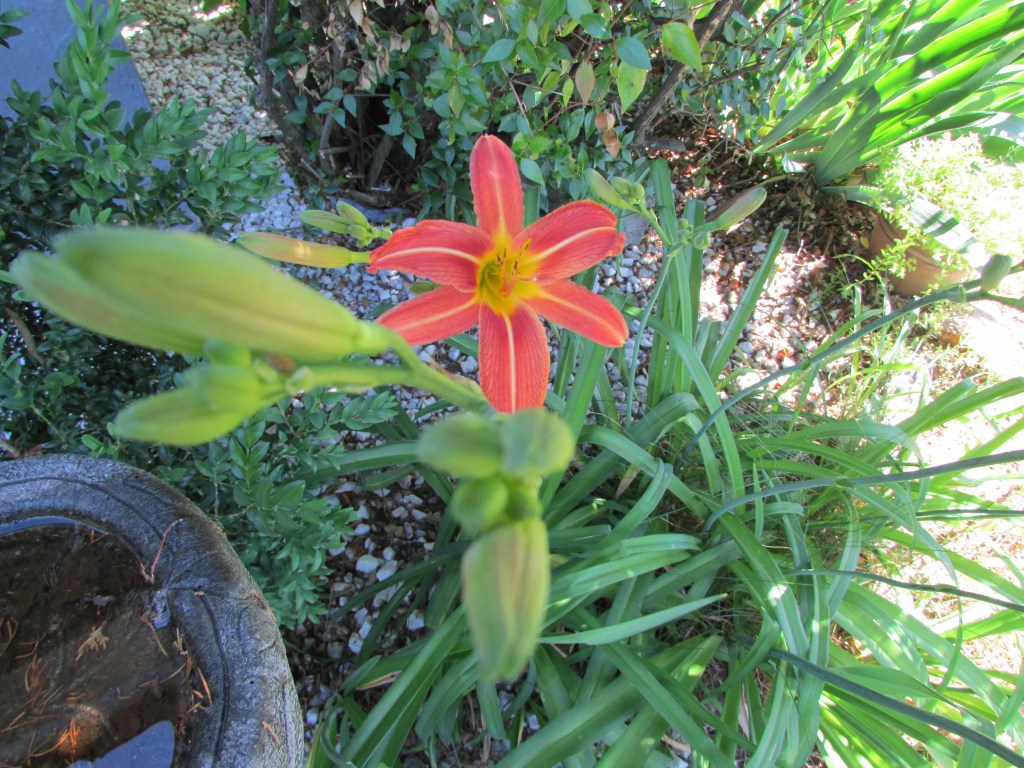
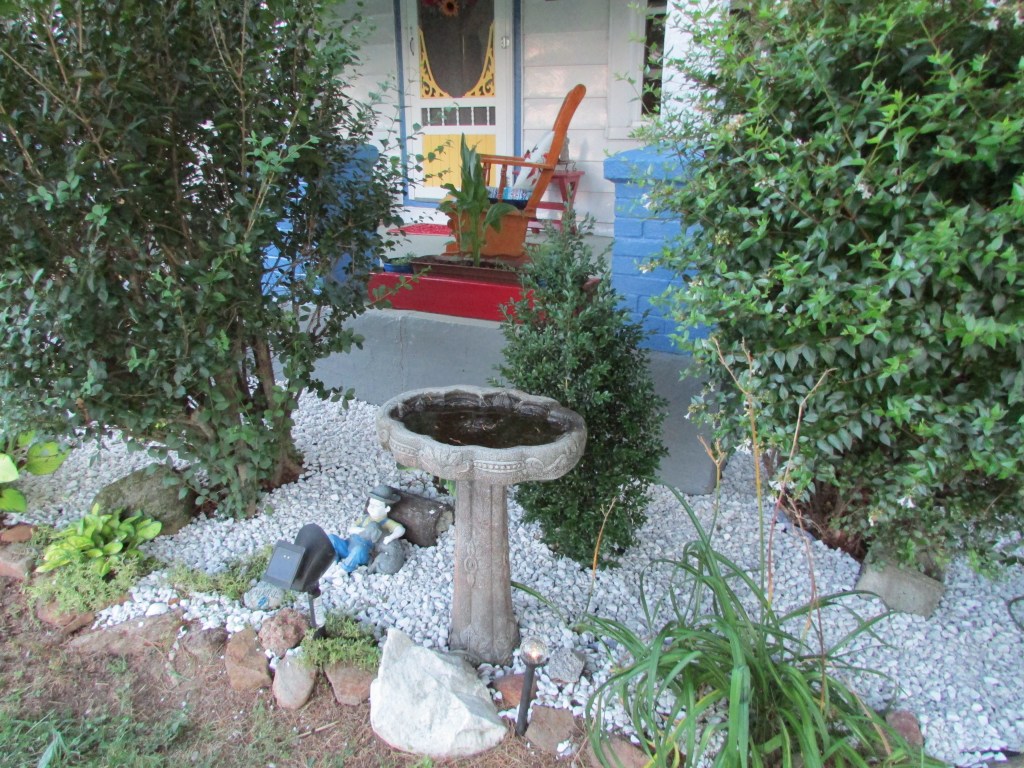
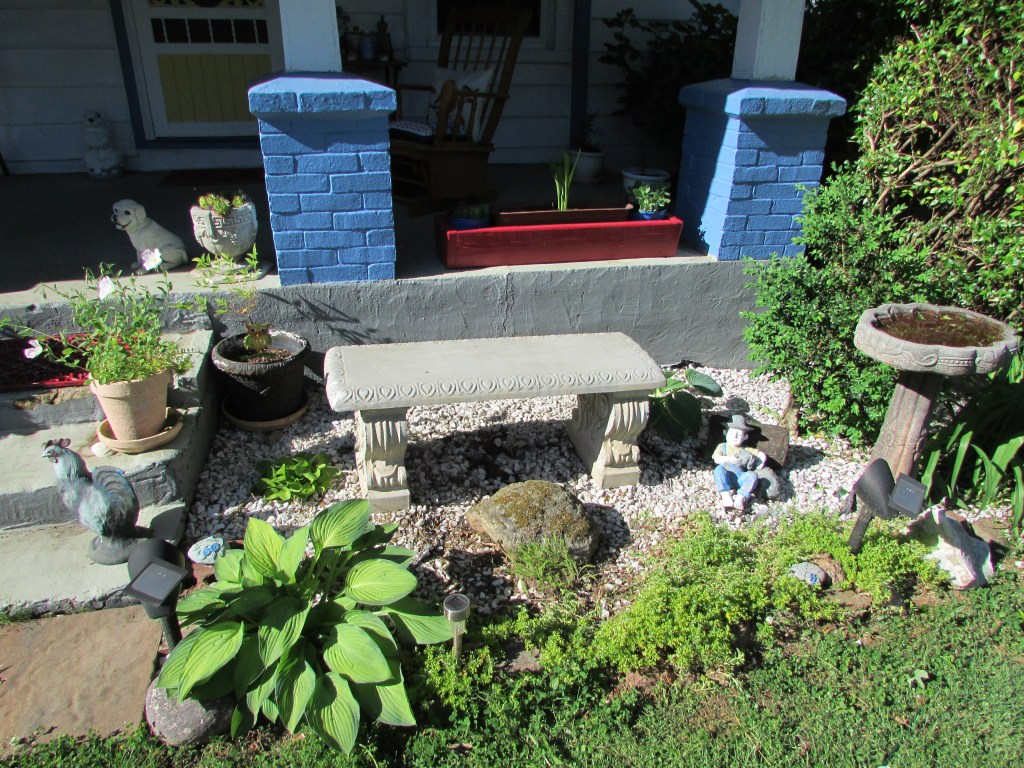
The marble chips were placed all around the house. Here you can see two existing bushes that we were able to save, after trimming them, and also one of the dwarf boxwood trees behind the bird bath. This boxwood was almost dead and it has come back slowly. The lily is also an existing plant. We added all the large stones found around the property. The Hostas and Hen and chicks plants are new, and added to the area. These were brought from my garden in Jersey. All the statues are recycled from my previous home in Jersey, and so is the bird bath.

Photo by M.A.D.

Photo by M.A.D.
Here you can see the other dwarf boxwood and other recycled plants.

Photo by M.A.D.
Here are some pictures of the same areas before. The dwarf boxwood looks brown and dying.

Photo by M.A.D.
A before view of the same steps where you can see the boxwood better.

Photo by M.A.D.
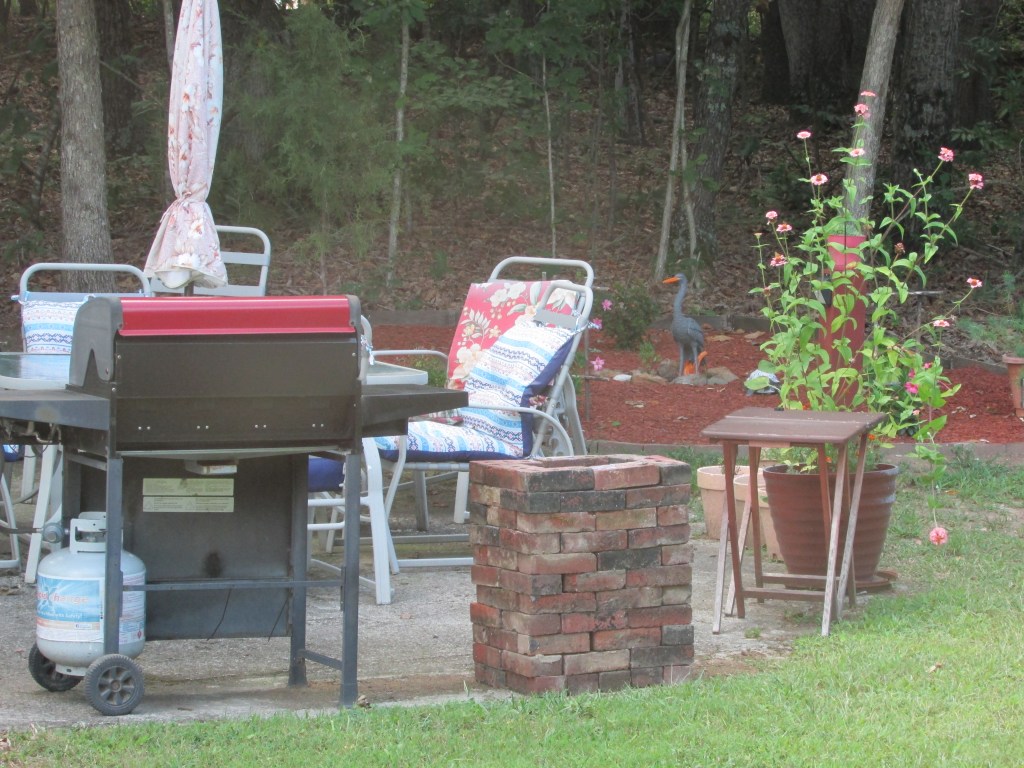
This is the side entrance area. There were no plantings, only weeds. This area was challenging to work with.
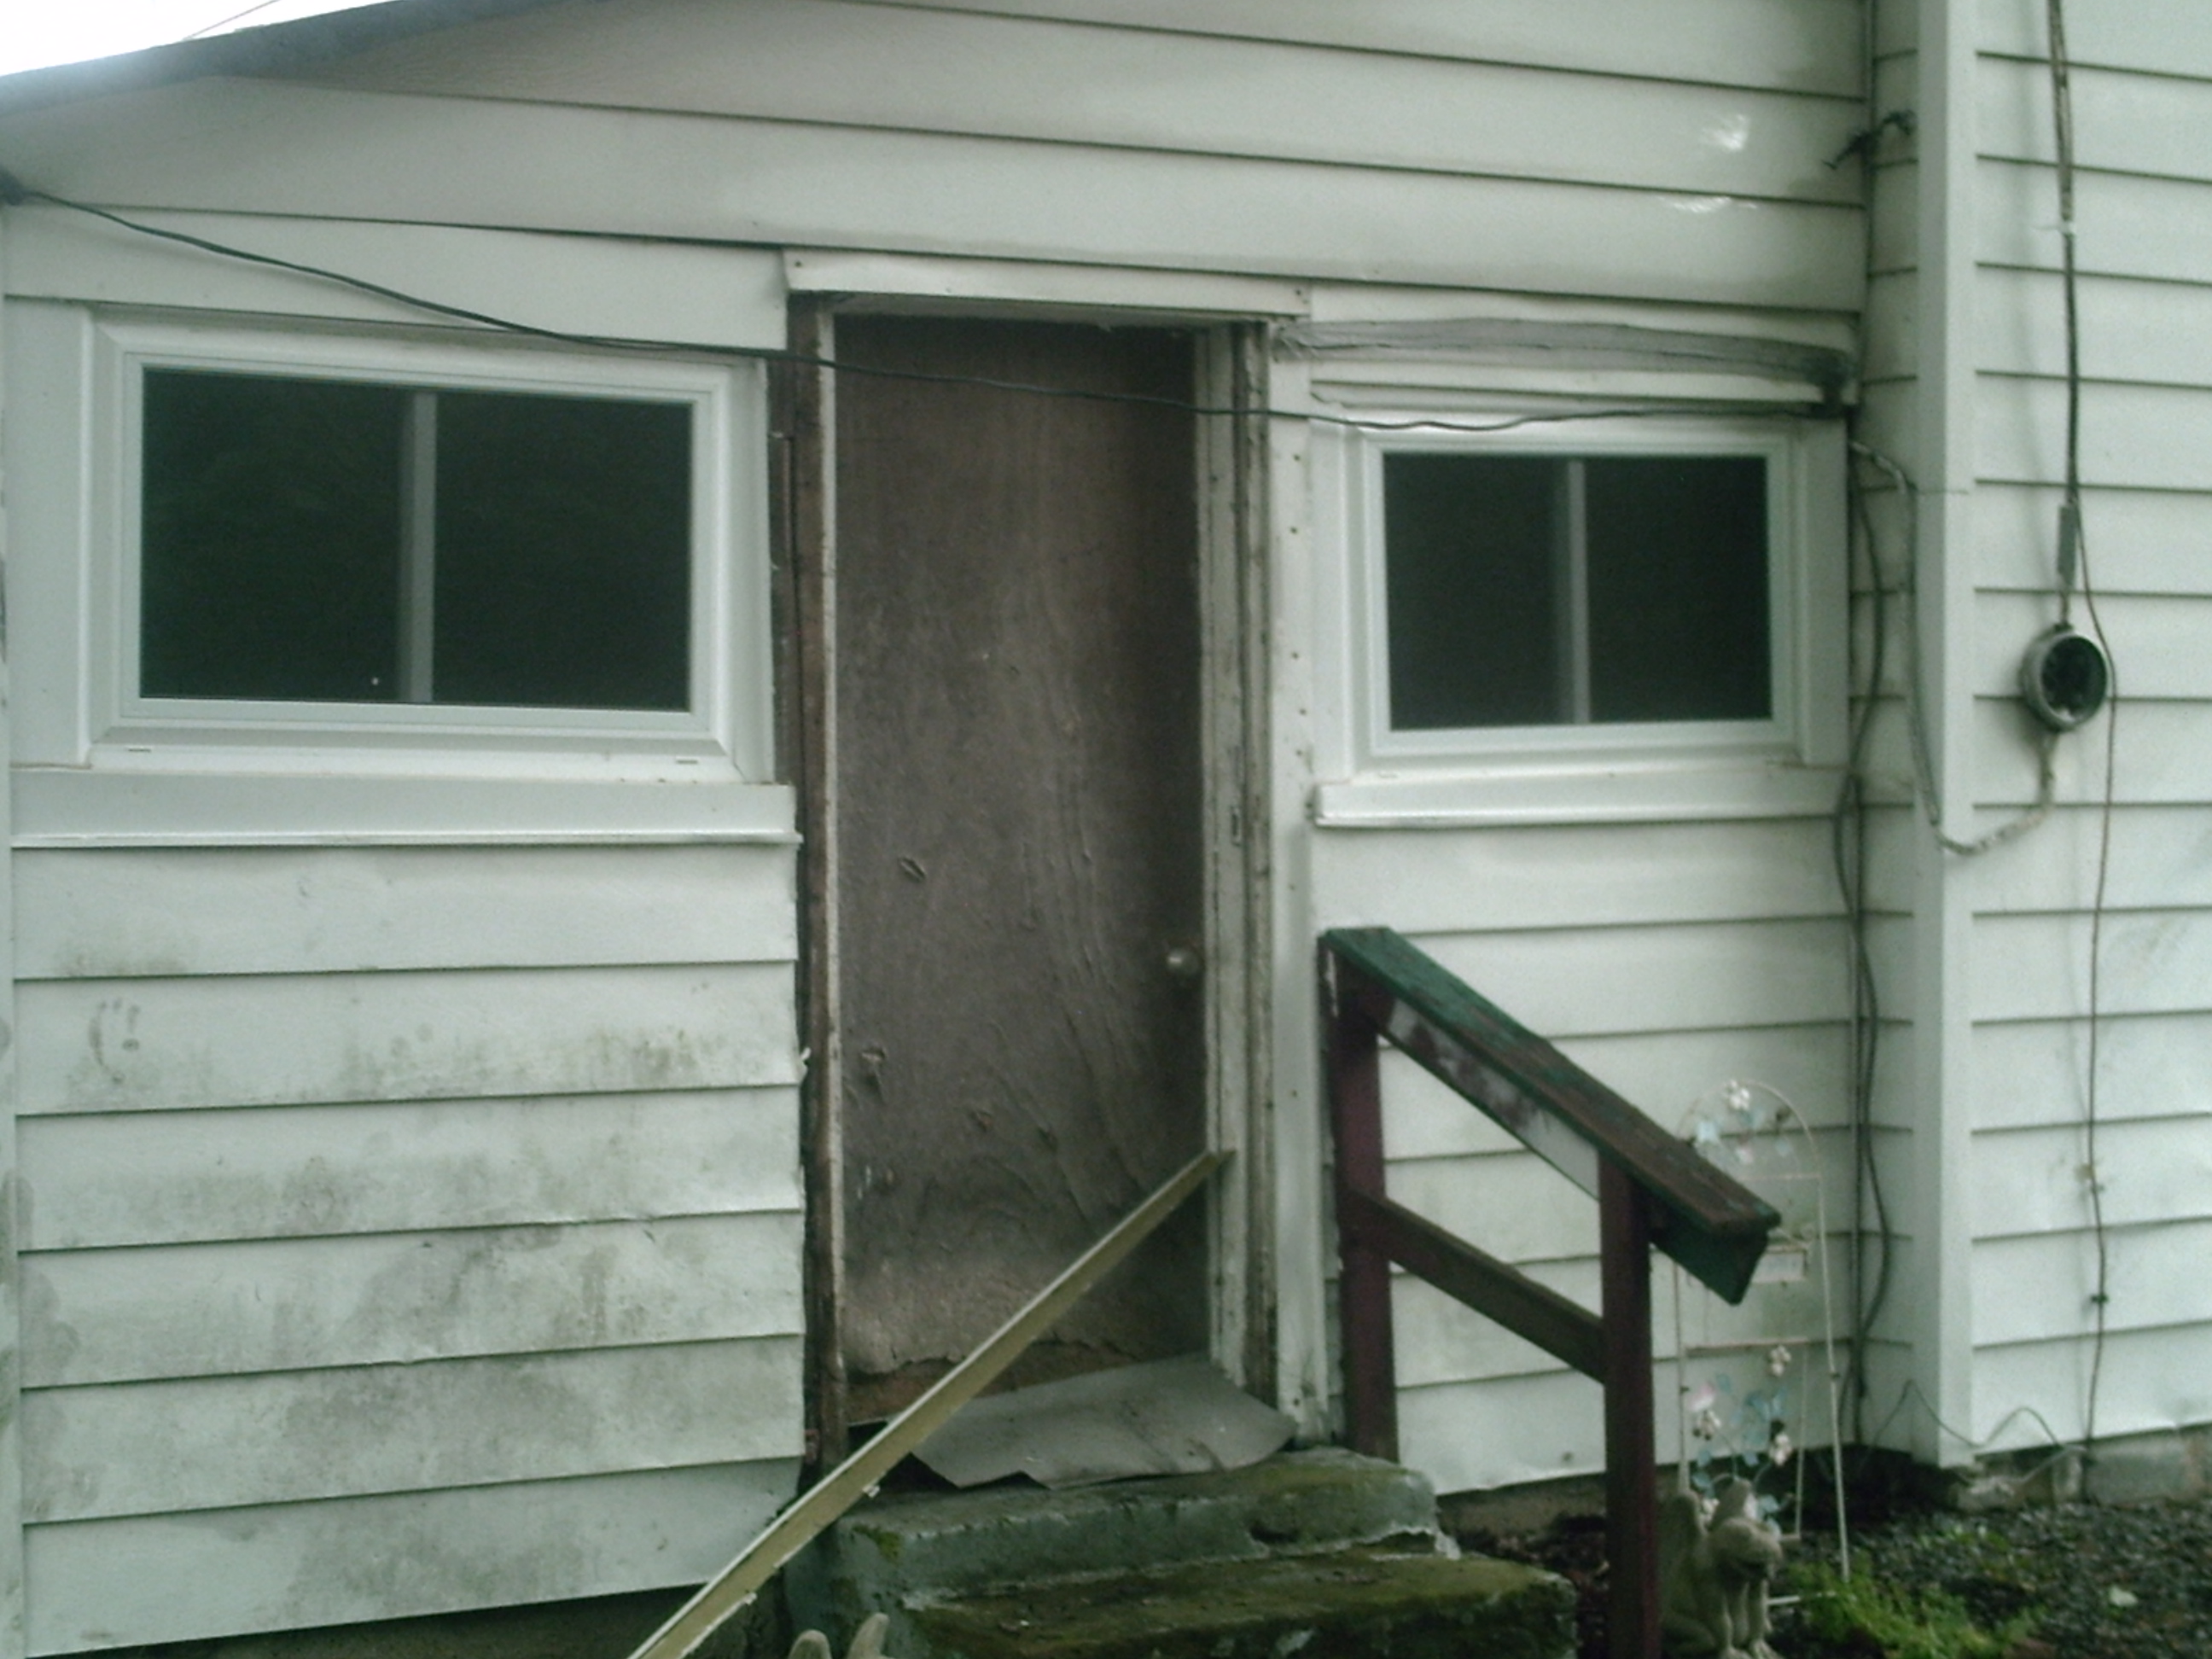
Photo by M.A.D.
Same area as it is today. New plantings have been added to the area, as well as recycled. All pots in the garden are recycled.

Photo by M.A.D.
We worked with some existing areas by keeping some of the plantings, and adding stones and new or transplanted plants. Here is one of those areas before.
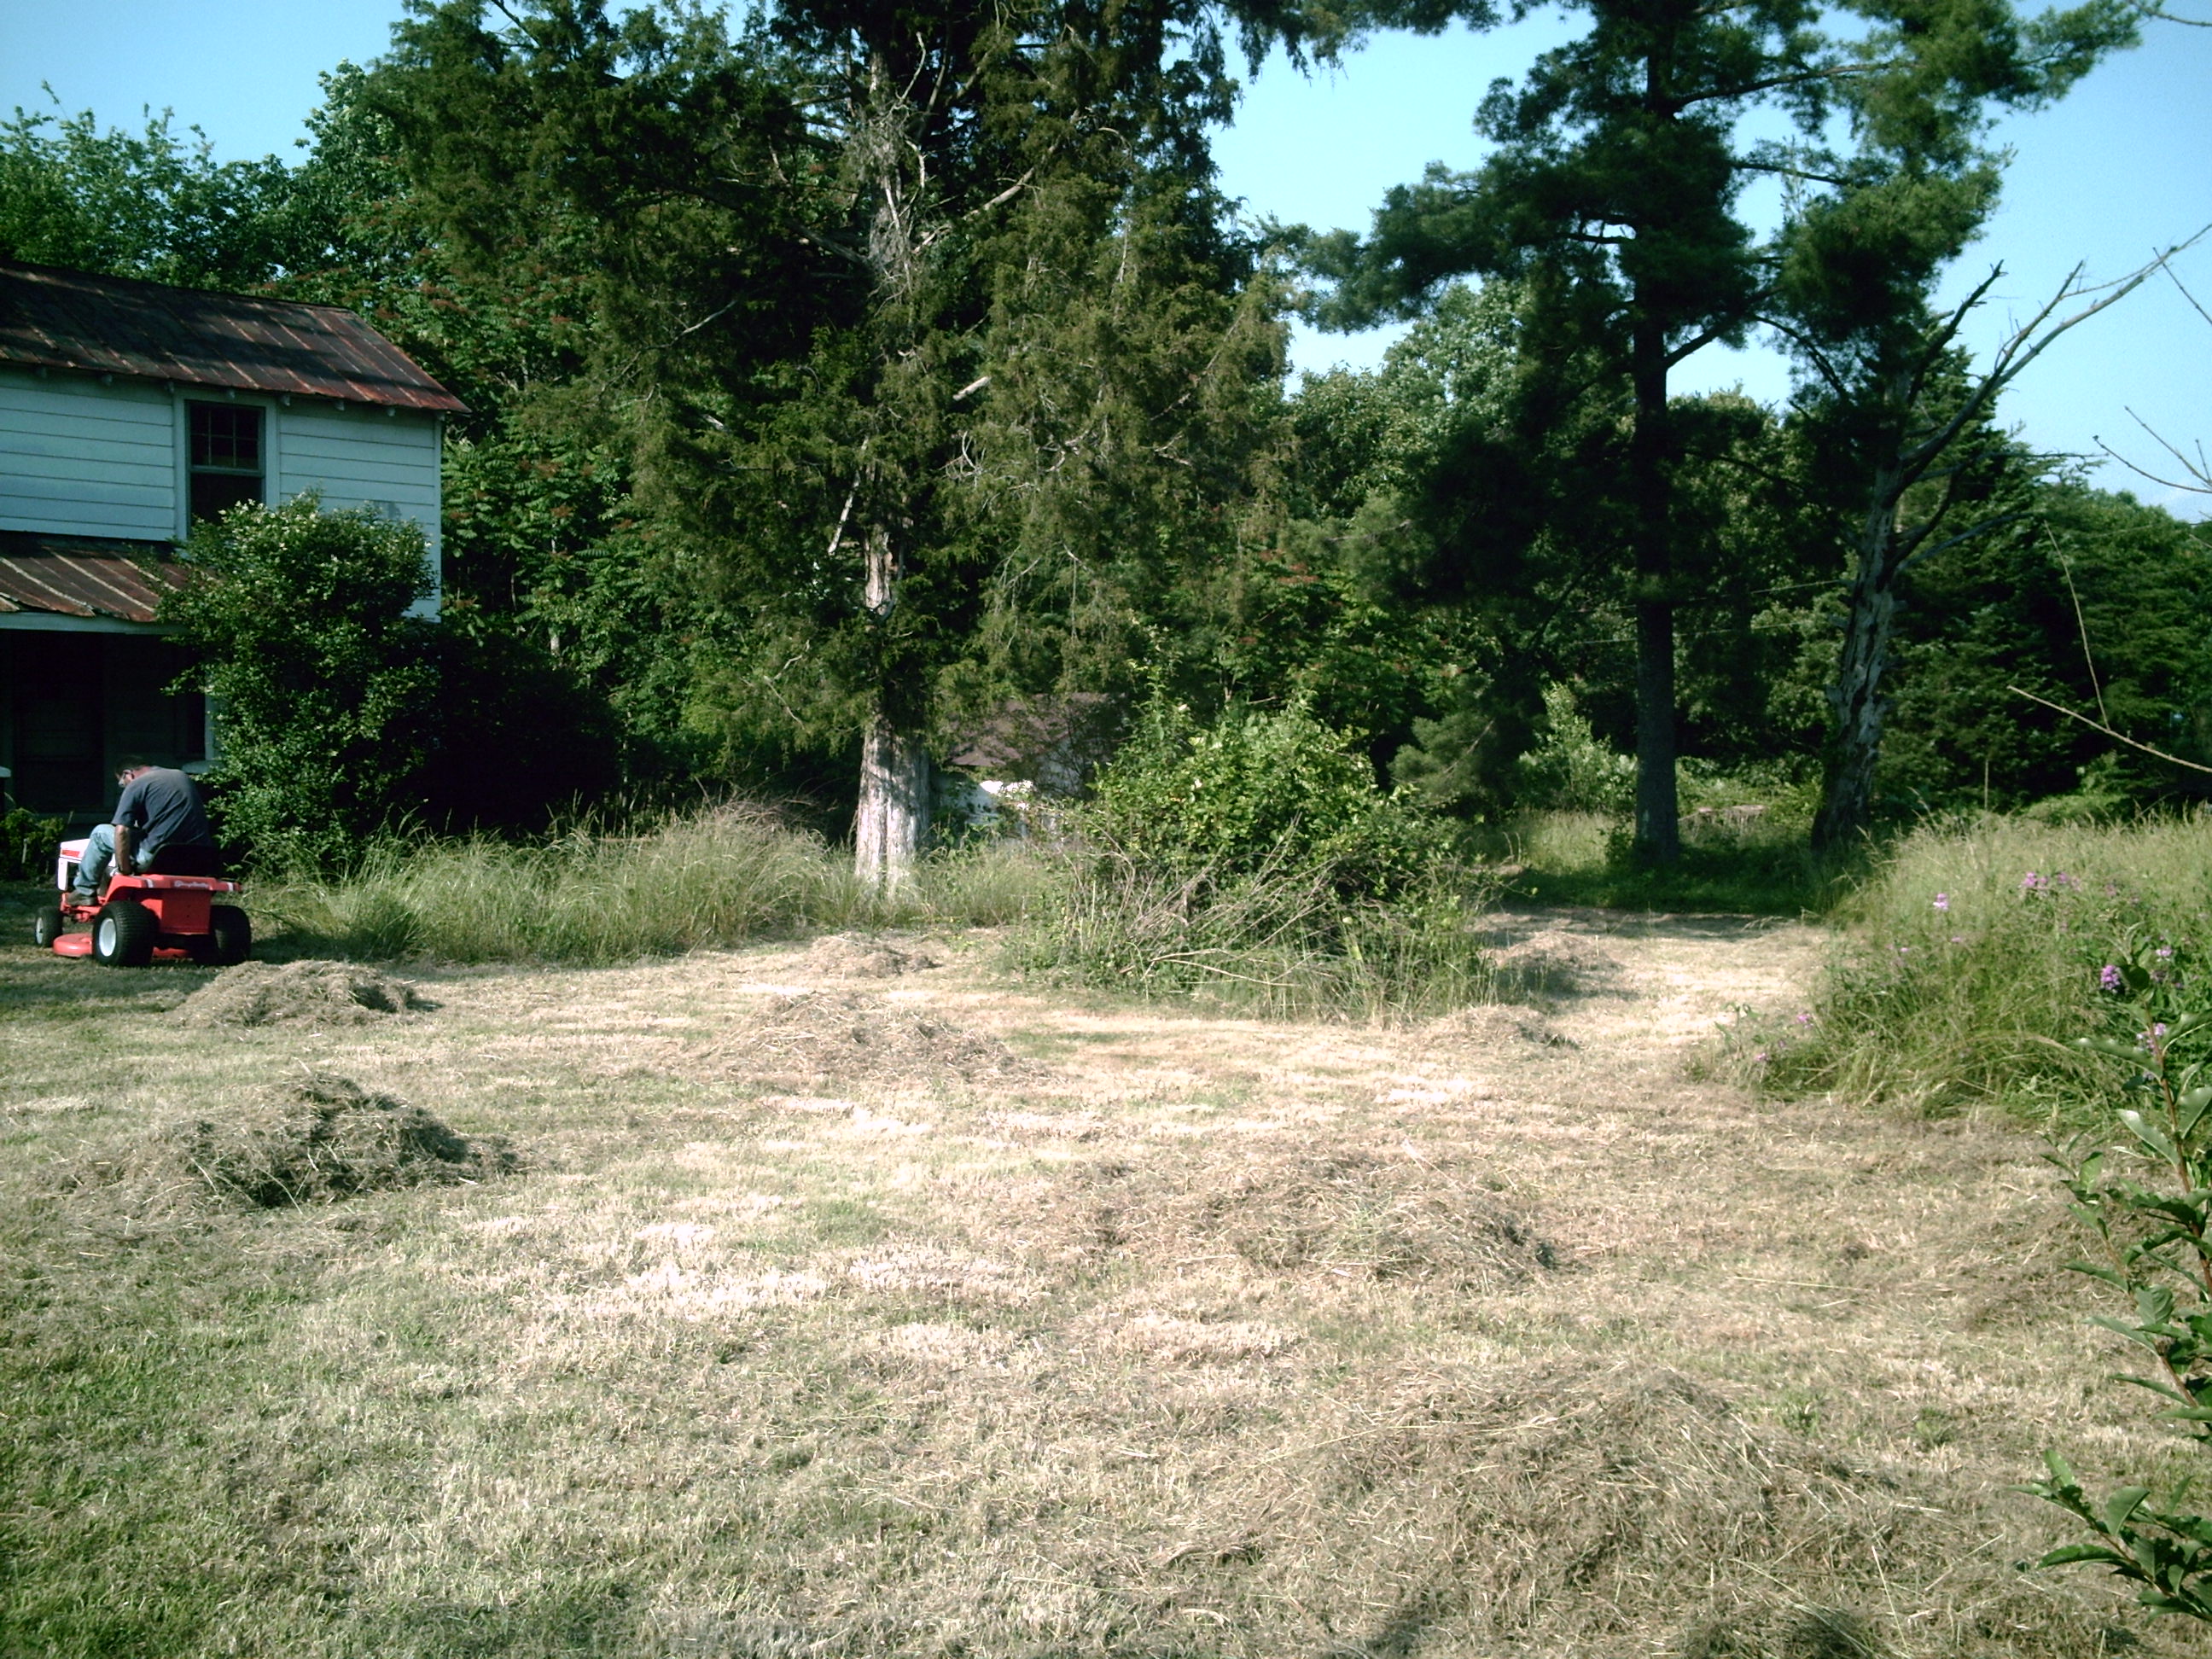
Photo by M.A.D.
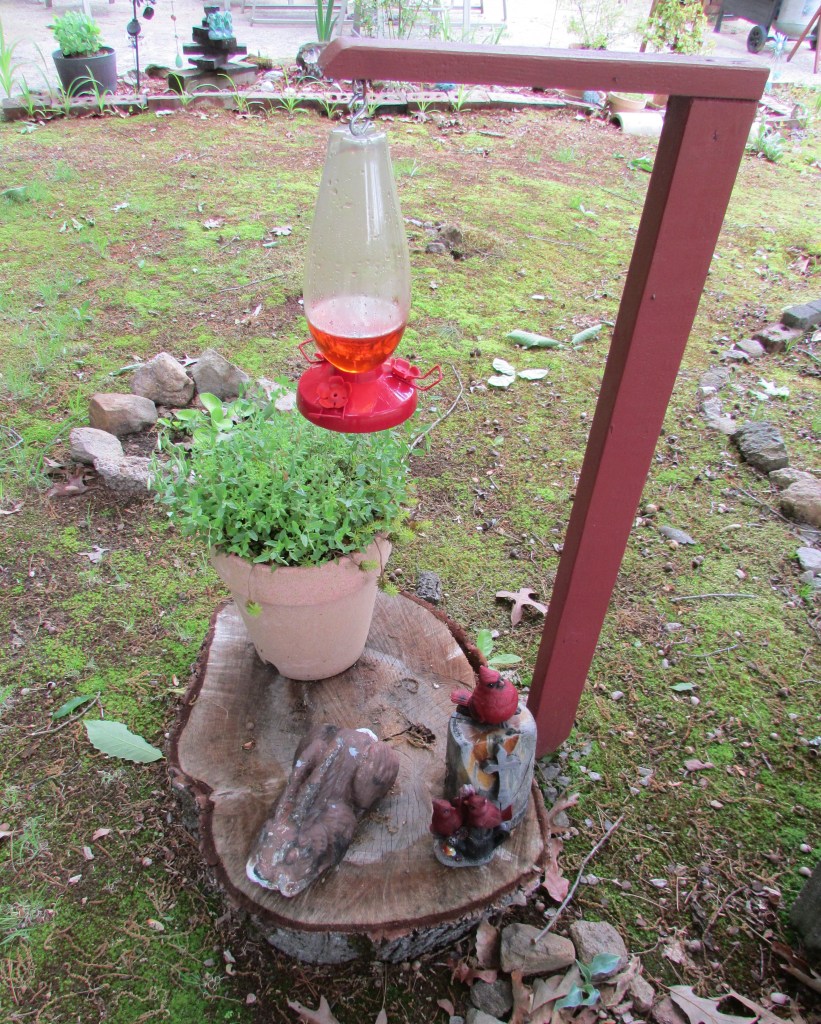
Same area as it is today. The only existing planting was the bush in the center, The rest was transplanted from other areas of the property. This area blooms throughout the year. In early spring the irises bloom first, followed by the lambs ear, and later in the summer other plantings bloom. A solar light and a couple of statues and rocks dogged around the property were added.

Photo by M.A.D.
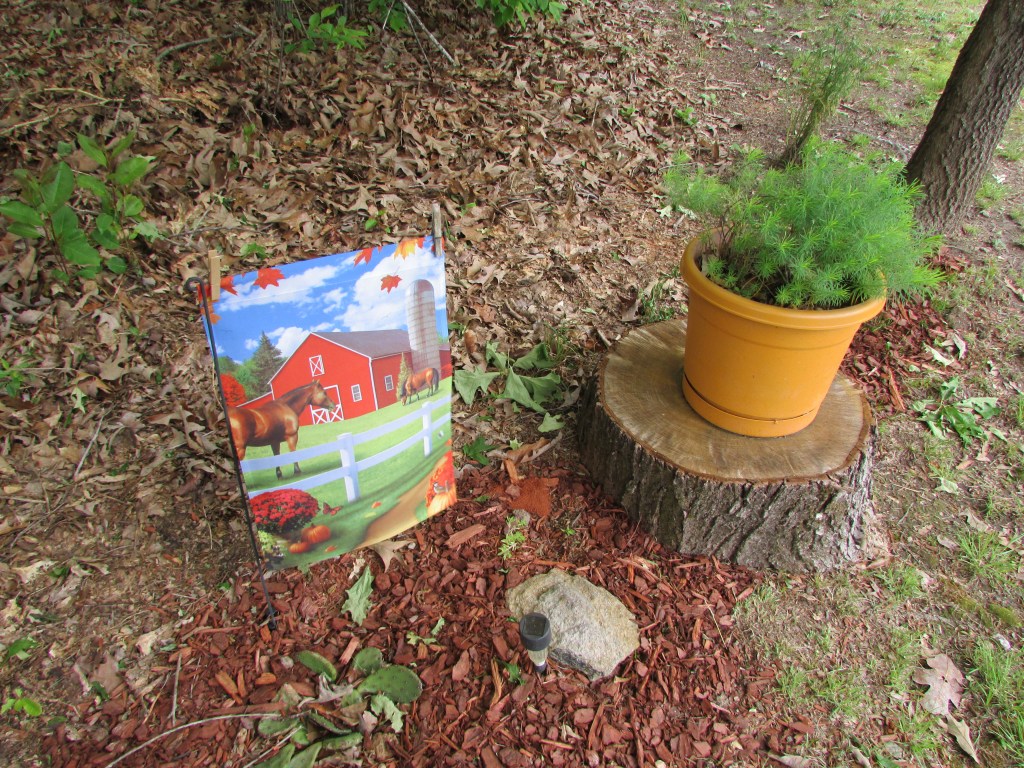
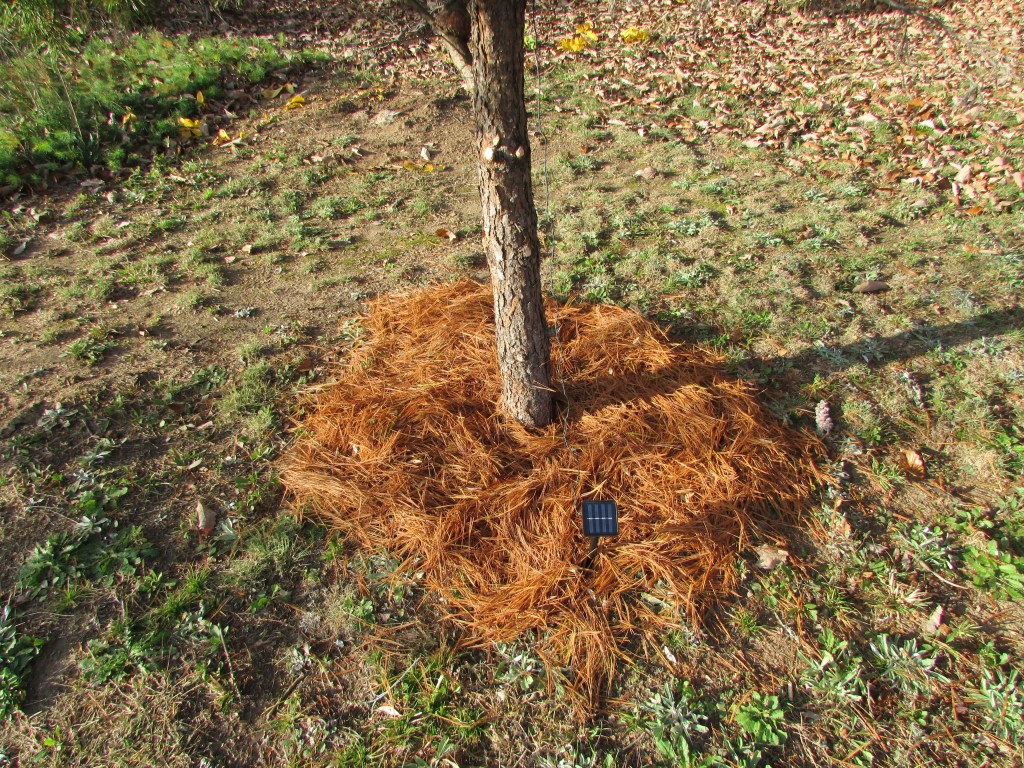
This area is directly under the giant cedar tree. It is one of the oldest trees around the house, and possibly older than the house, as I am told. We cleared/cleaned the area and added existing plantings around the tree. Red mulch was added as well.

Photo by M.A.D.
The giant cedar before. Today, it looks healthier.

Photo by M.A.D.
Other existing areas that we were able to save. Before, after clearing the area a bit and cutting the grass.
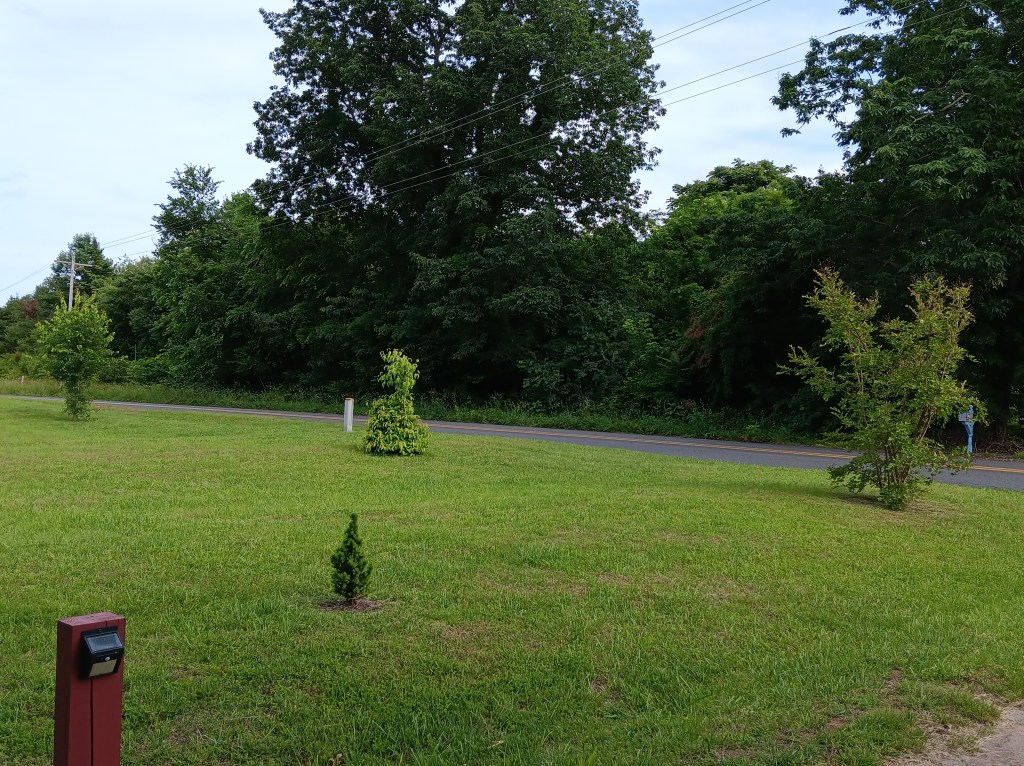
Same area as it is today.
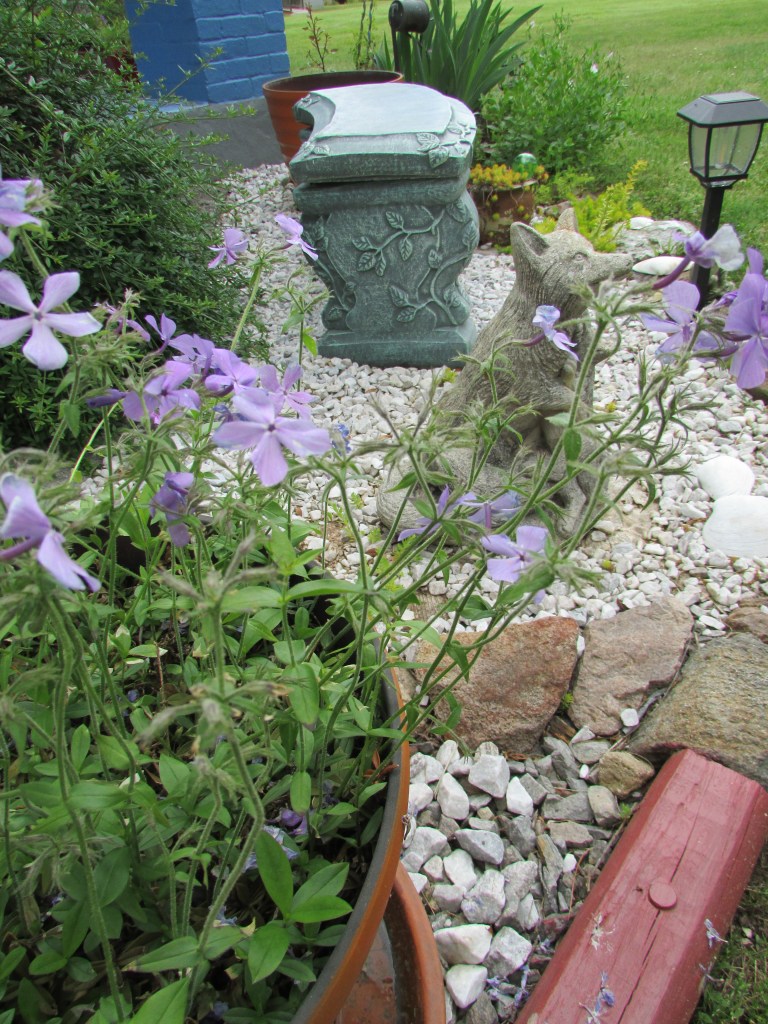
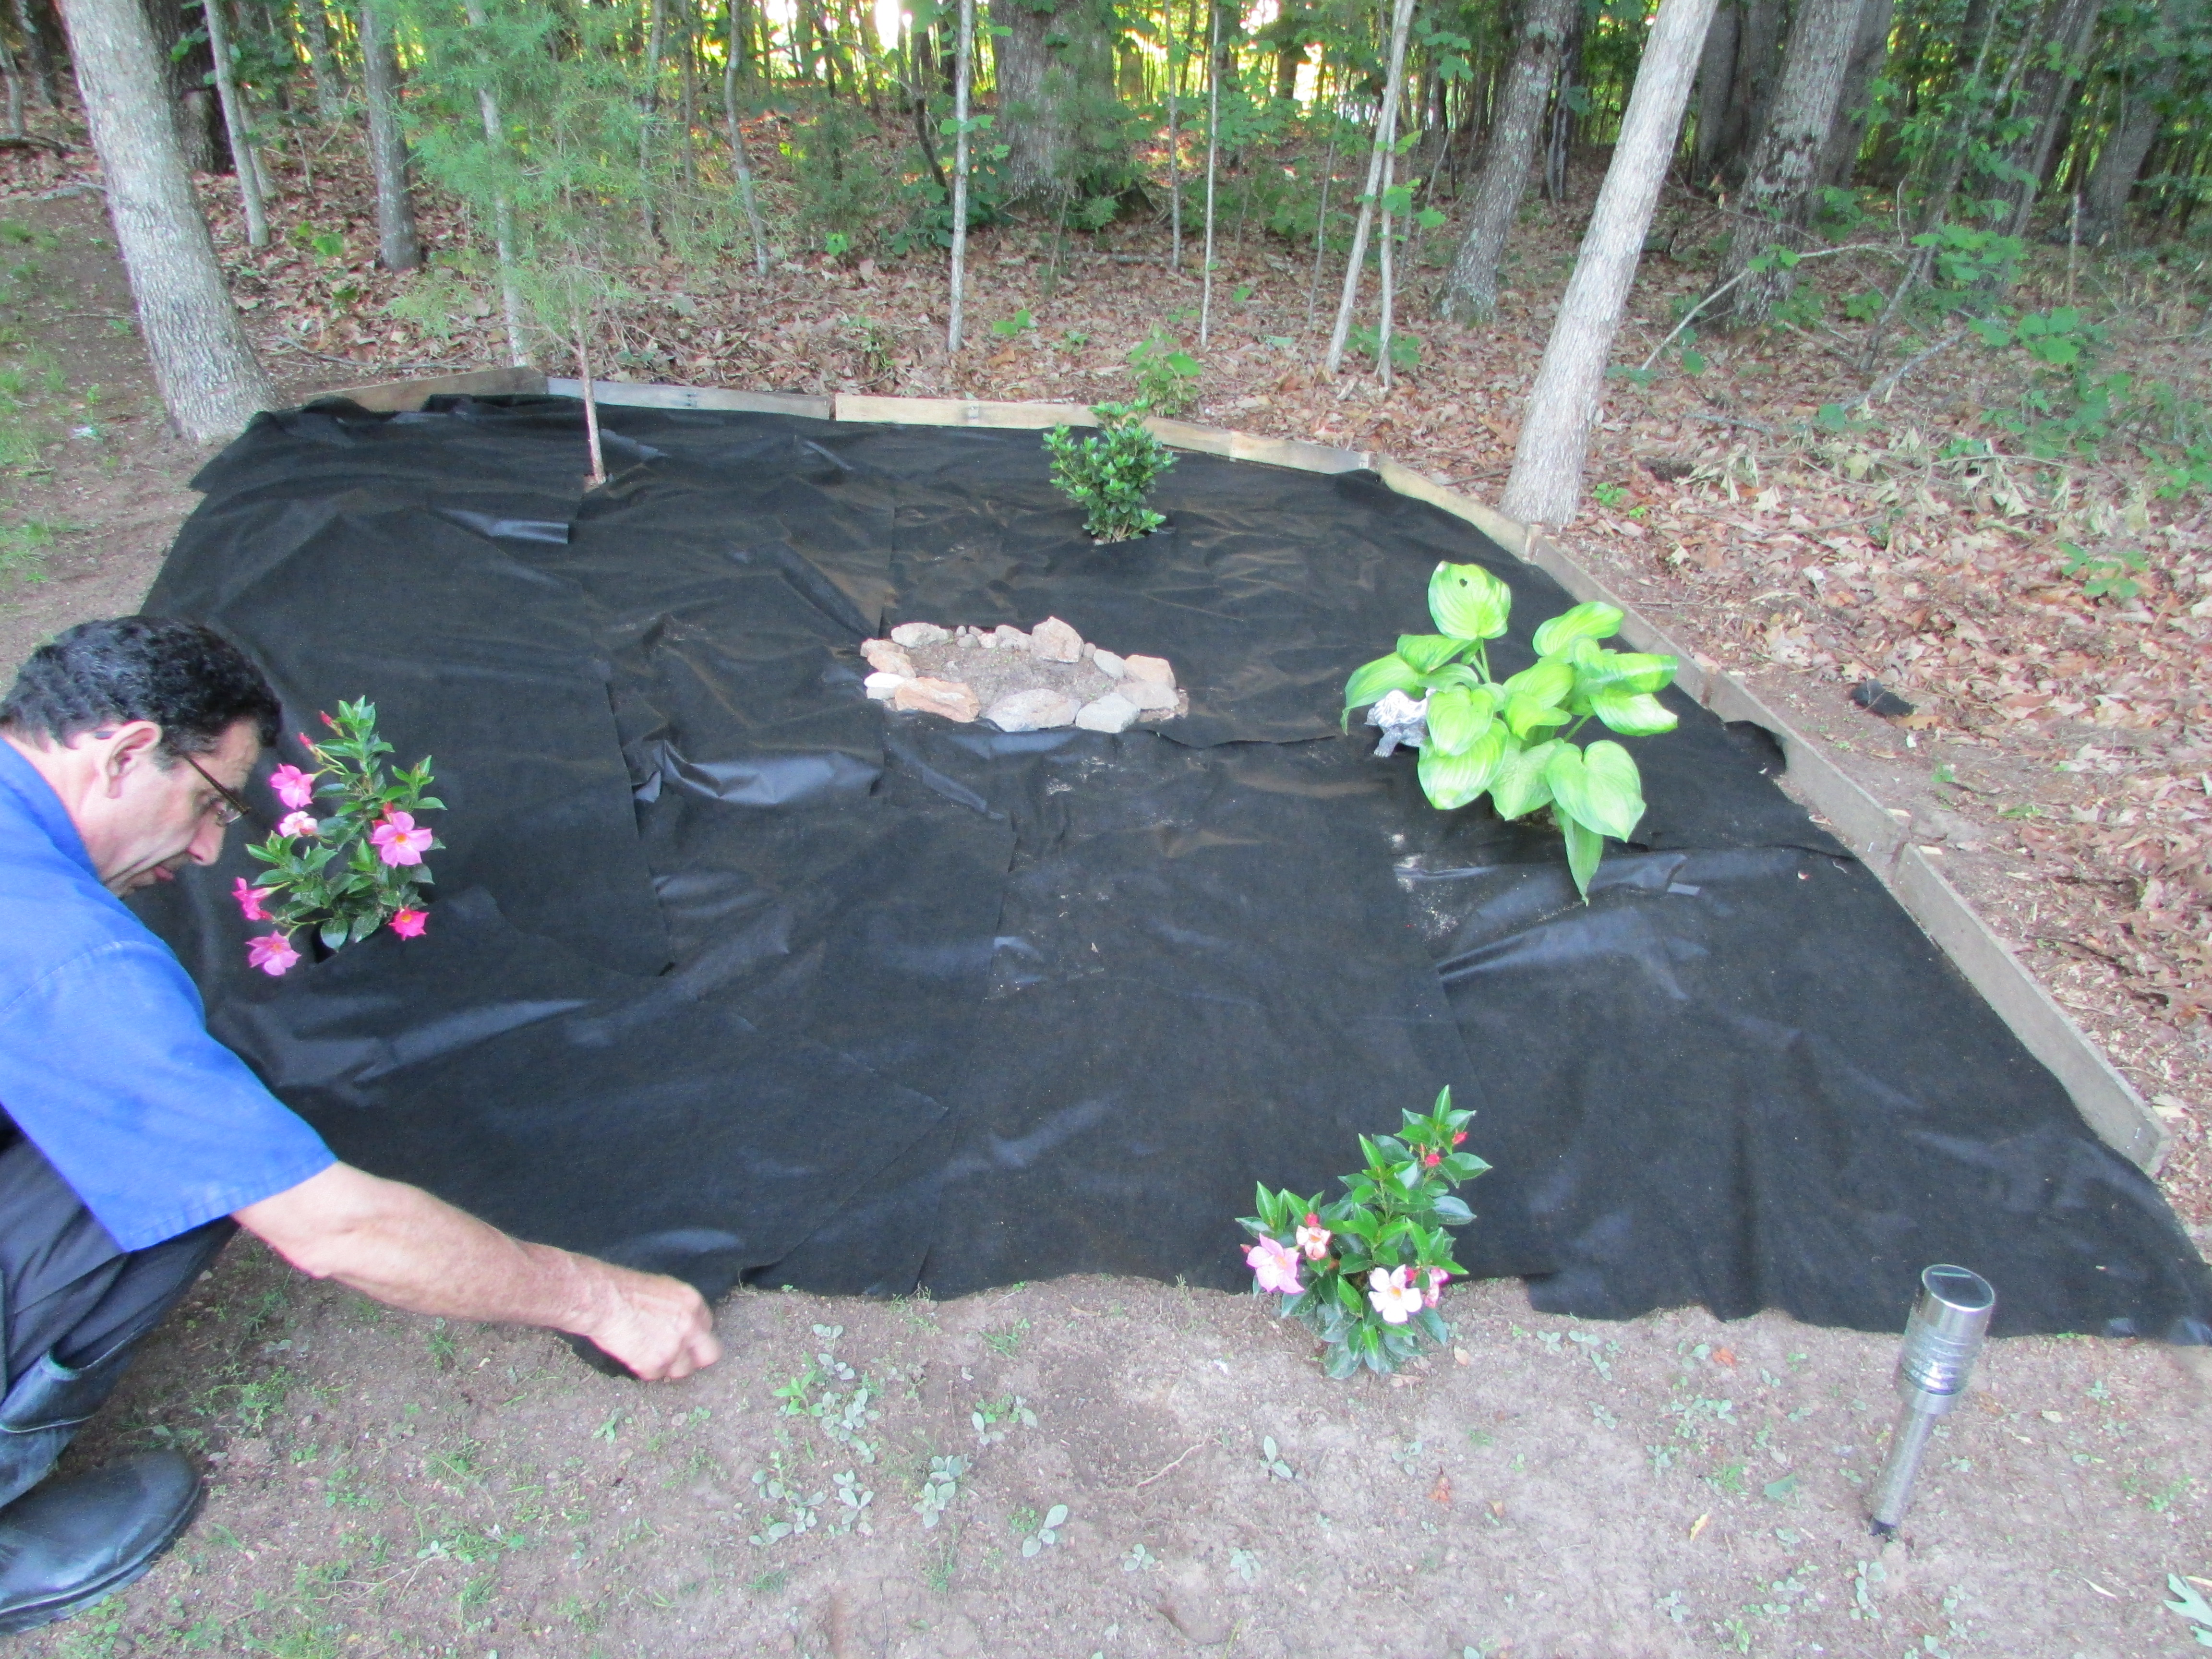
I have mentioned the faerie garden on a separate blog post, and it is one area in which we added much to it while working with existing elements. The area before and after.
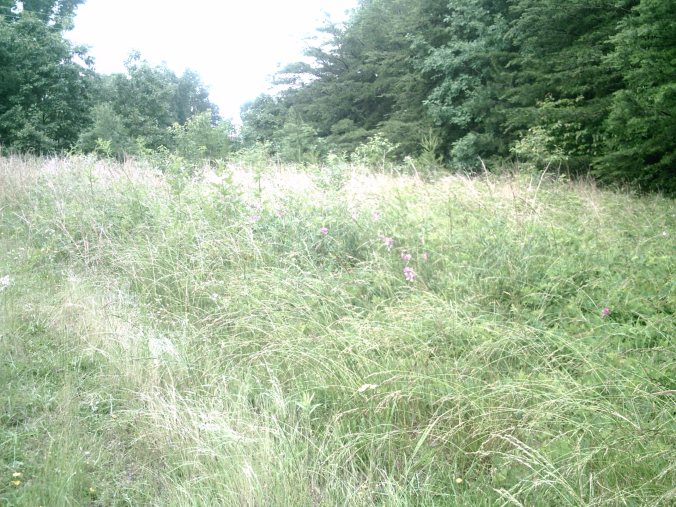
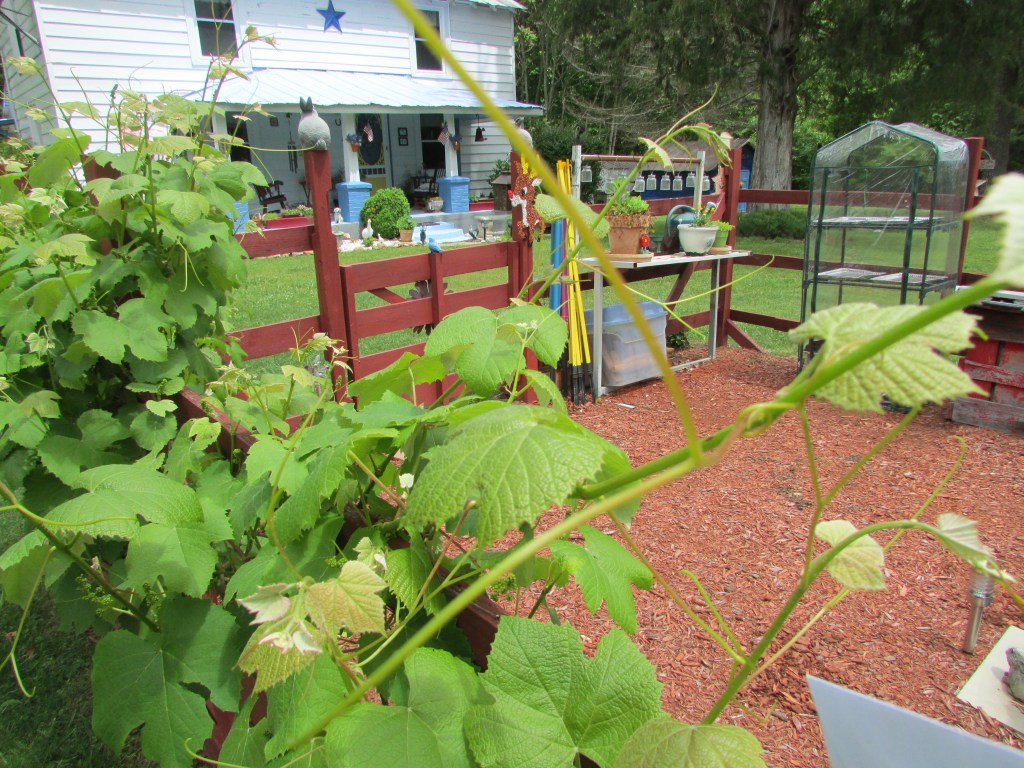
There are a few new areas, and that includes the veggie garden which was not there, and what I call the circle of flowers. Pictures of this area before. Today, the circle of flowers is where the overgrown bushes are, and the veggie garden a few feet right behind.

Photo by M.A.D.
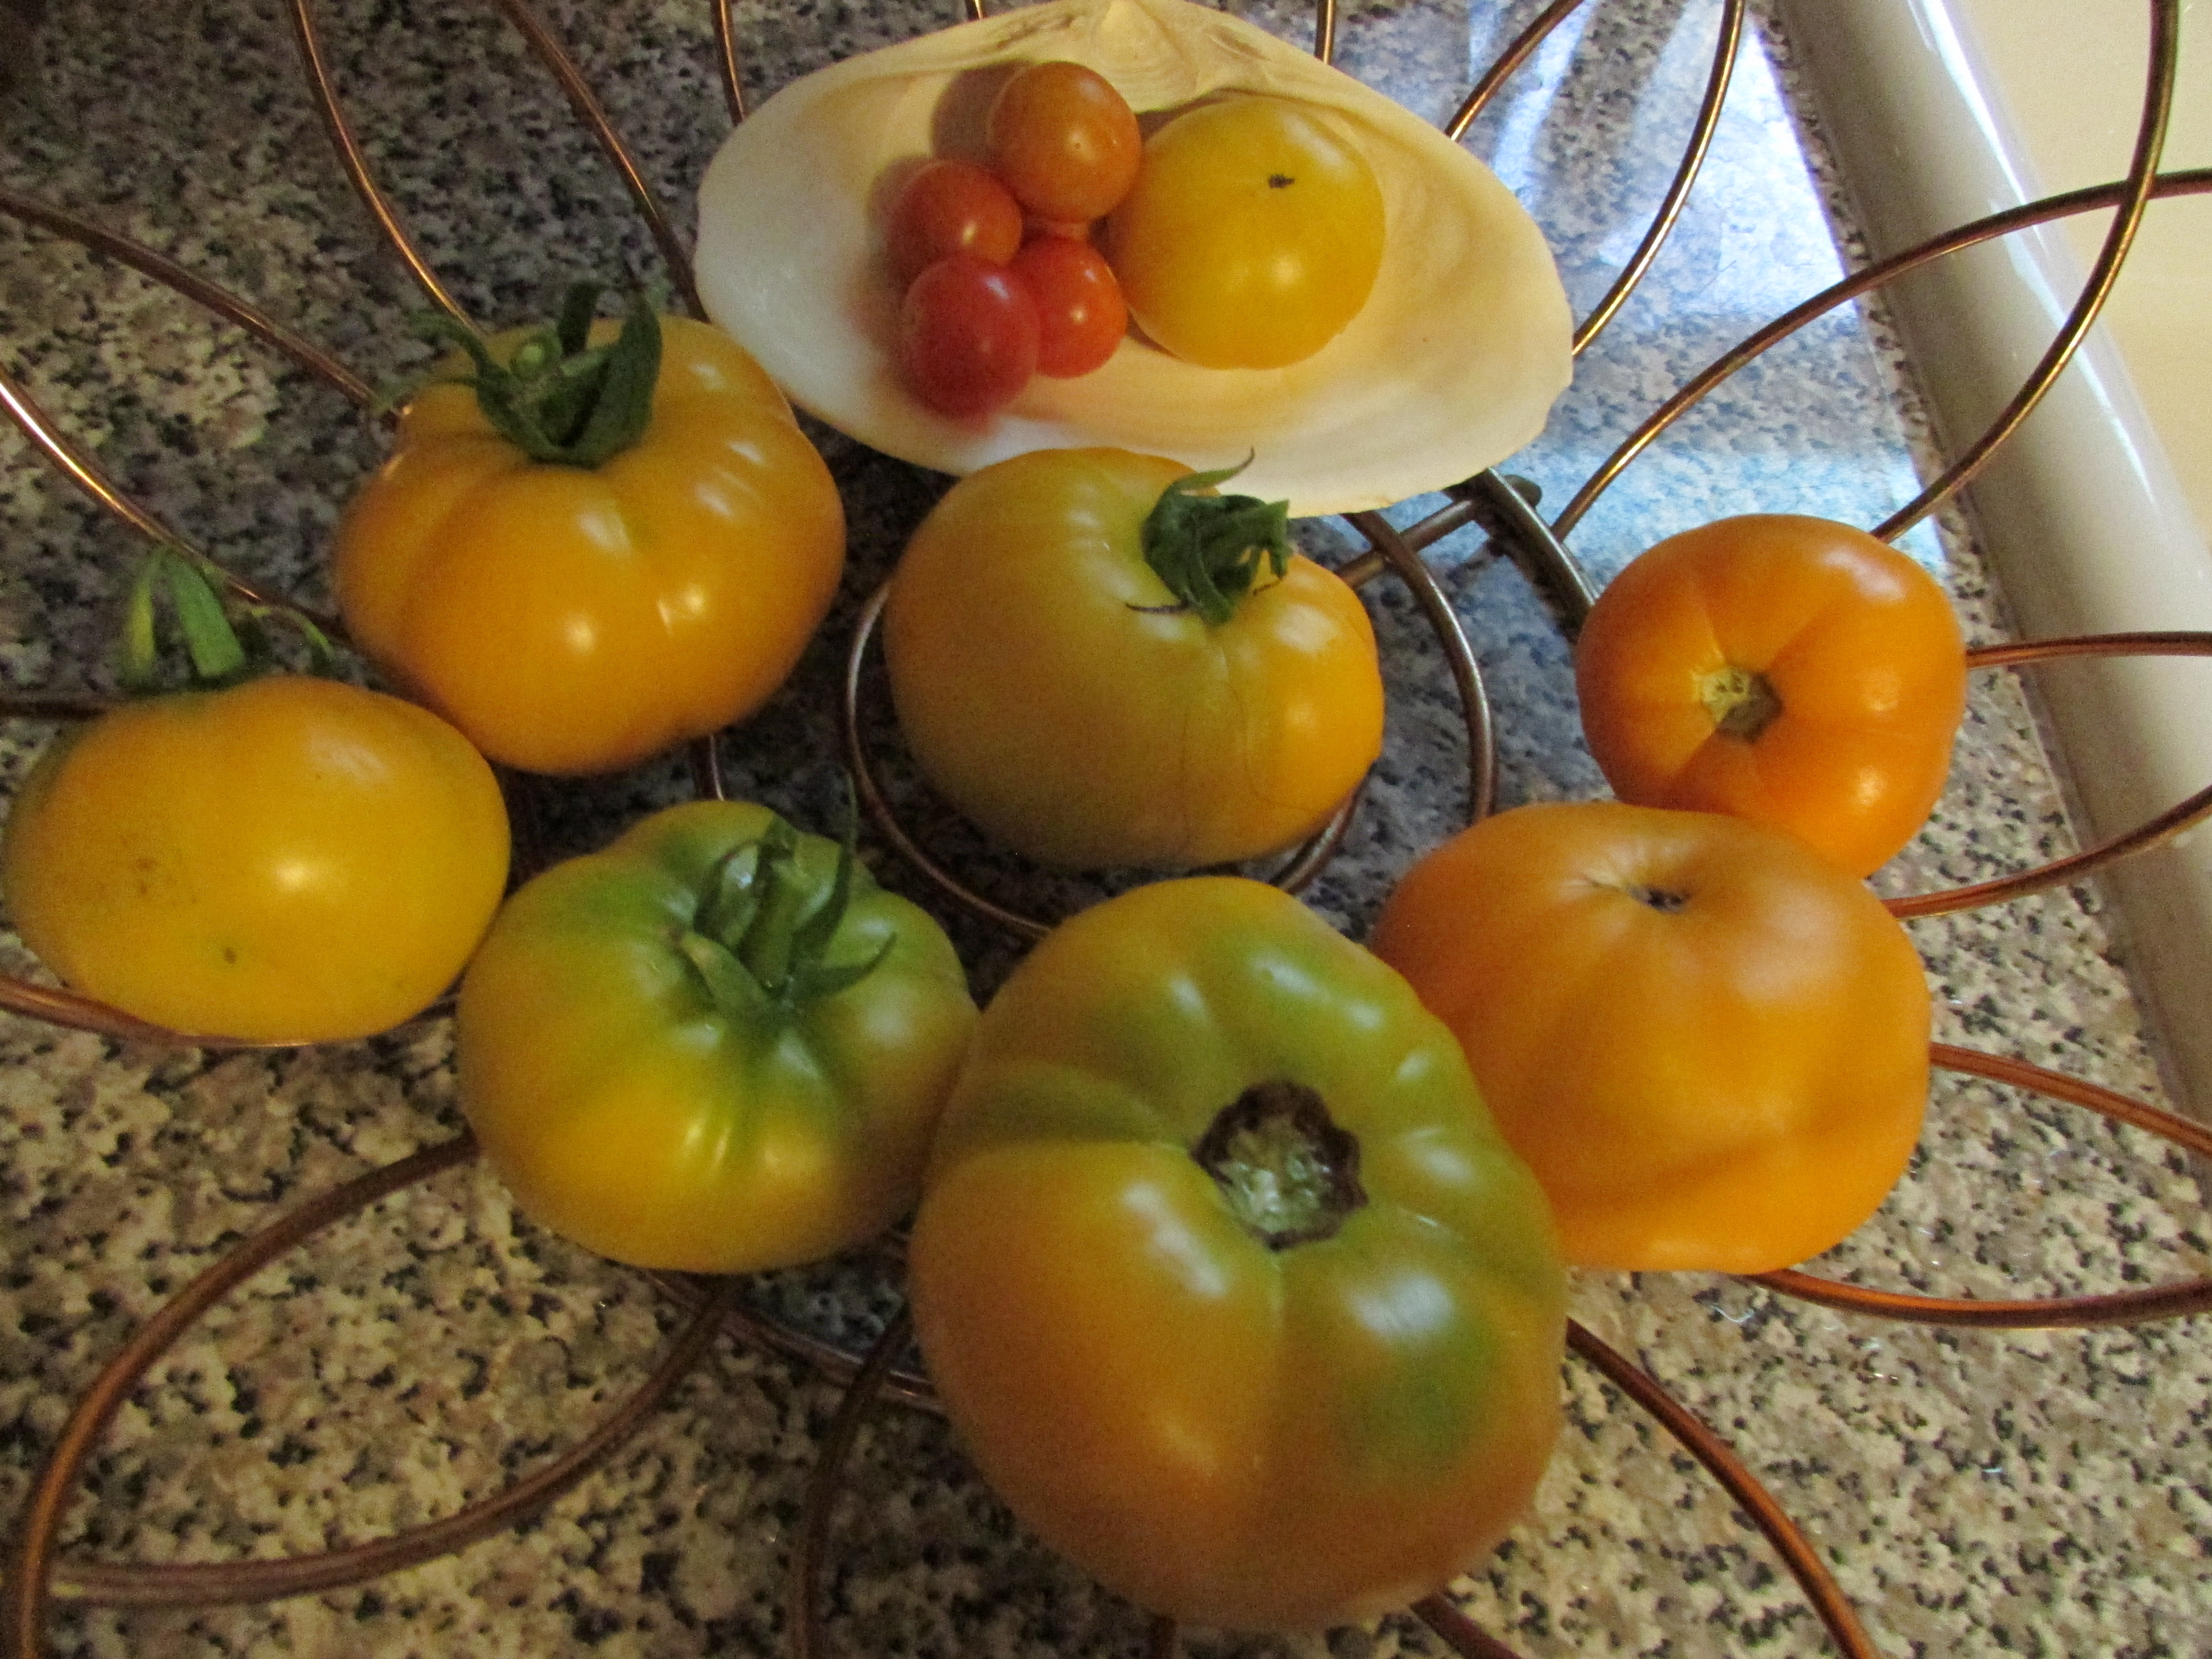
The veggie garden
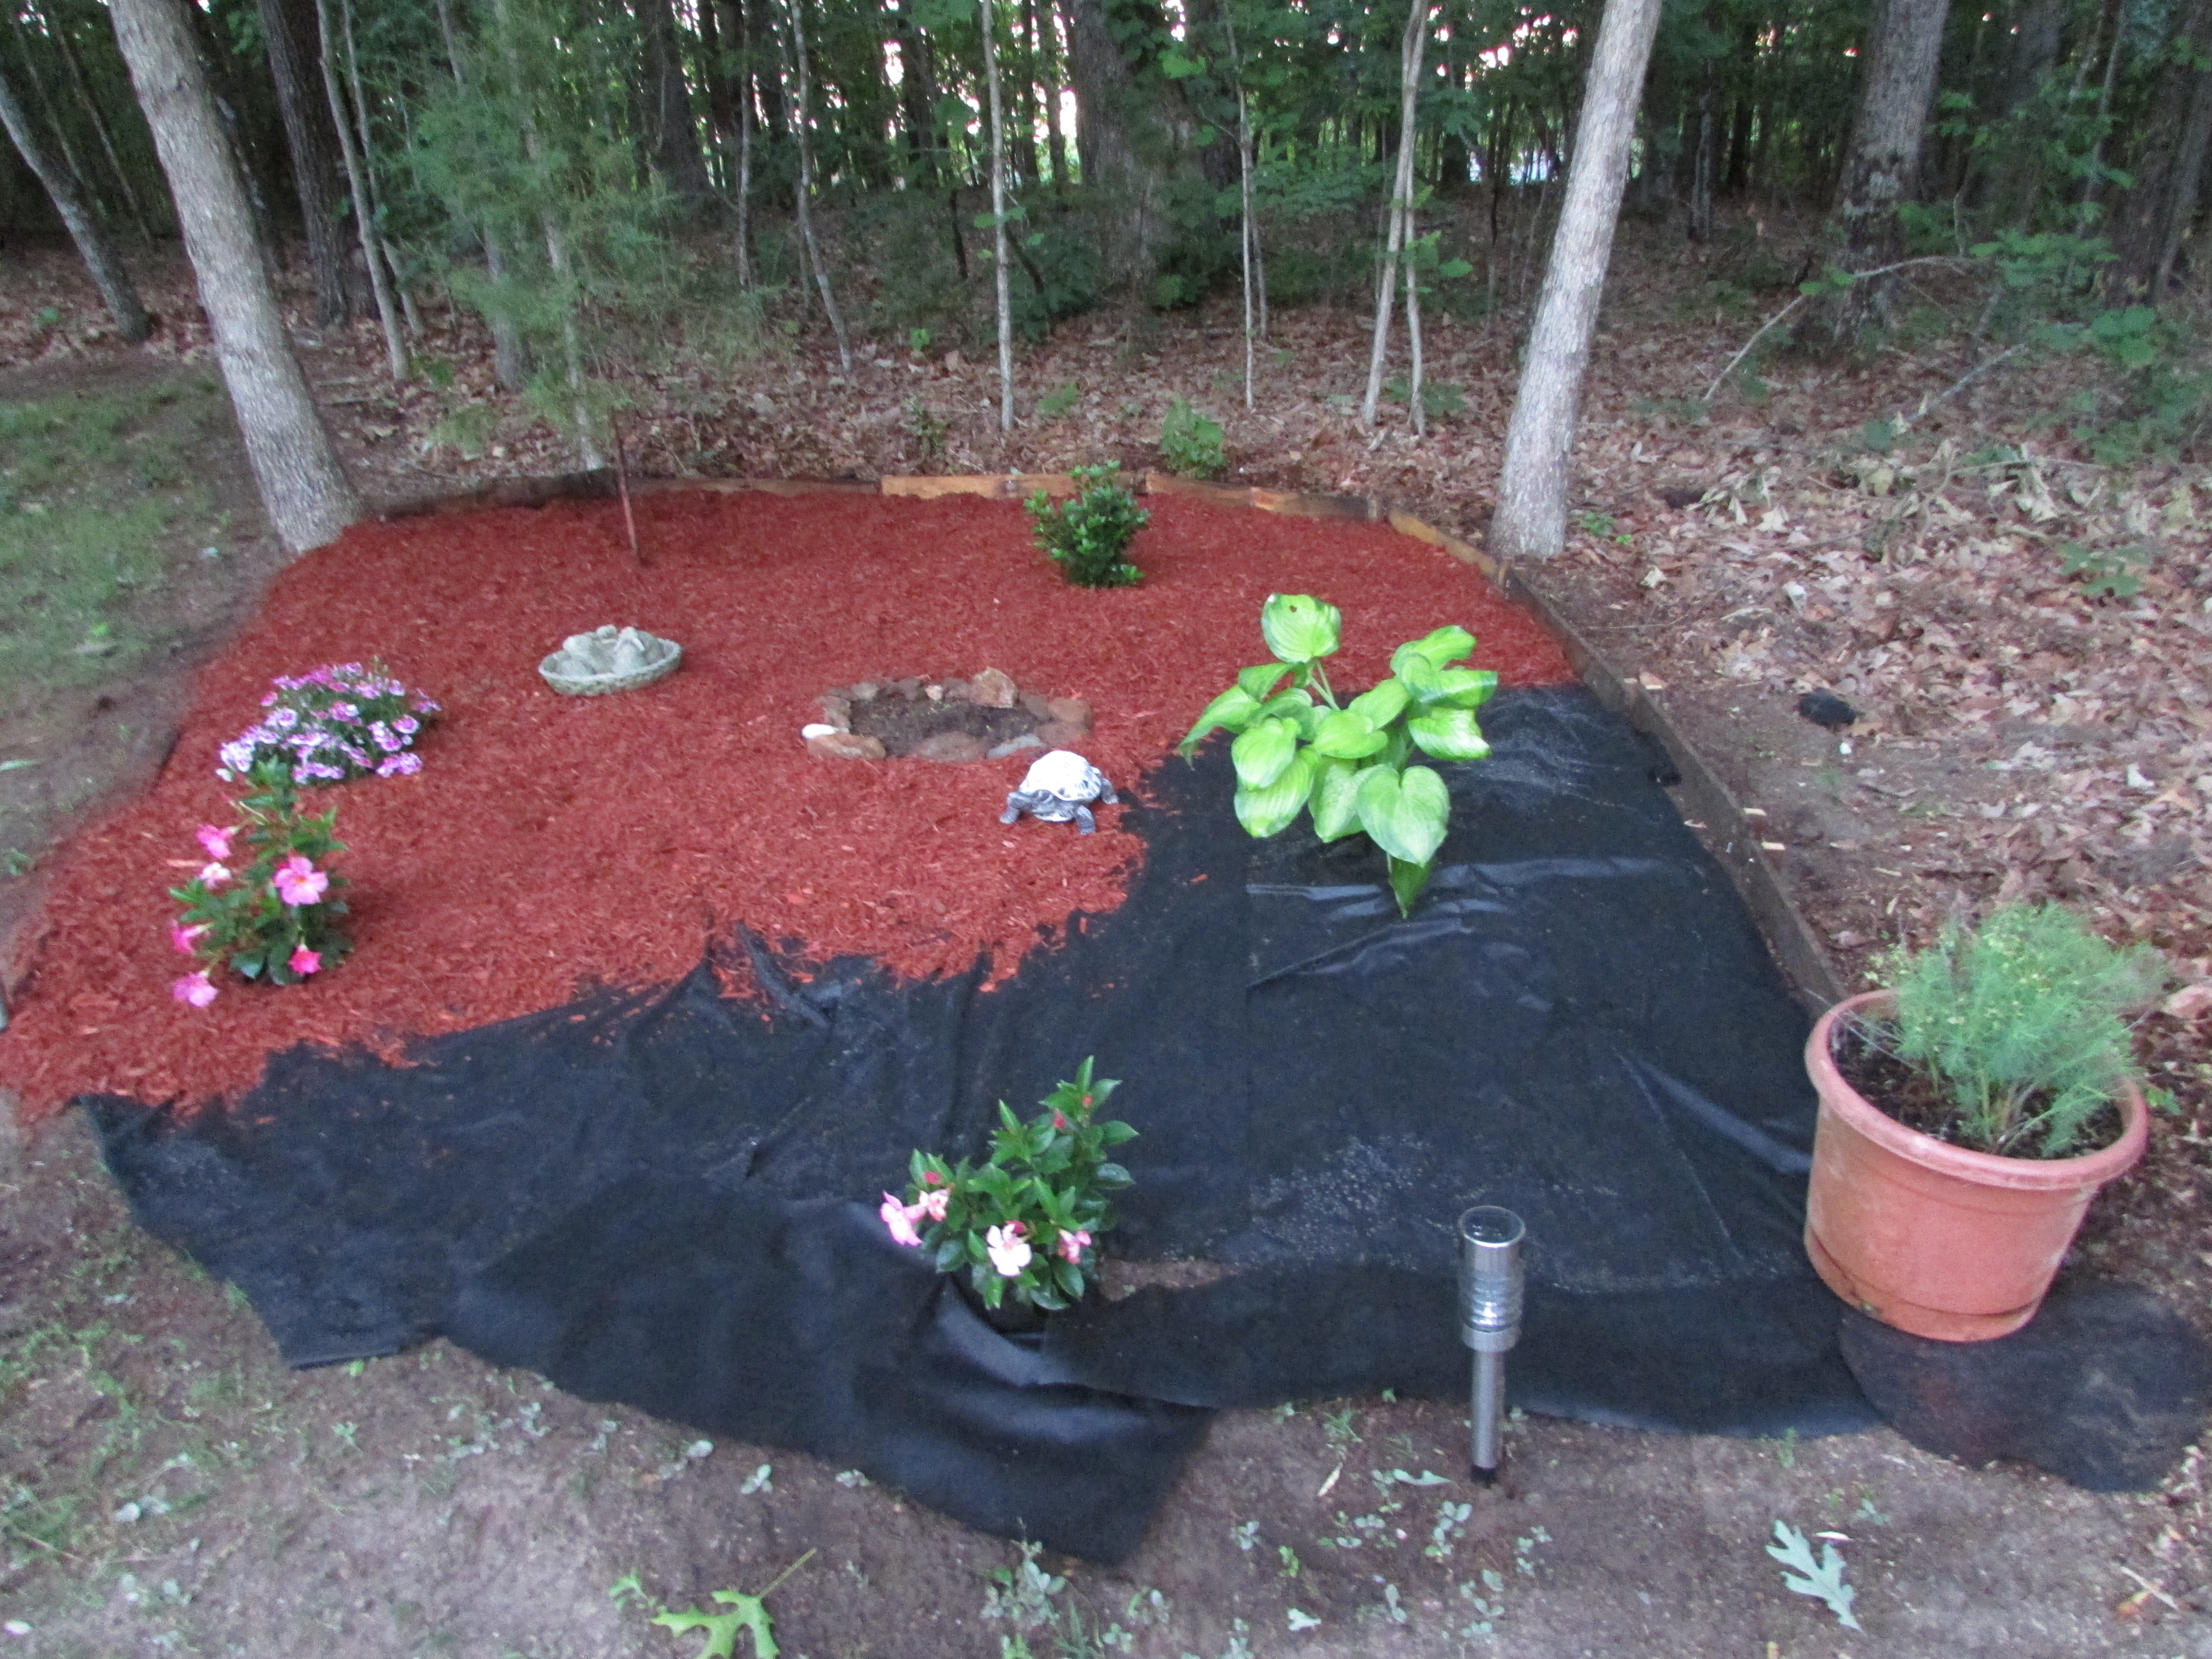
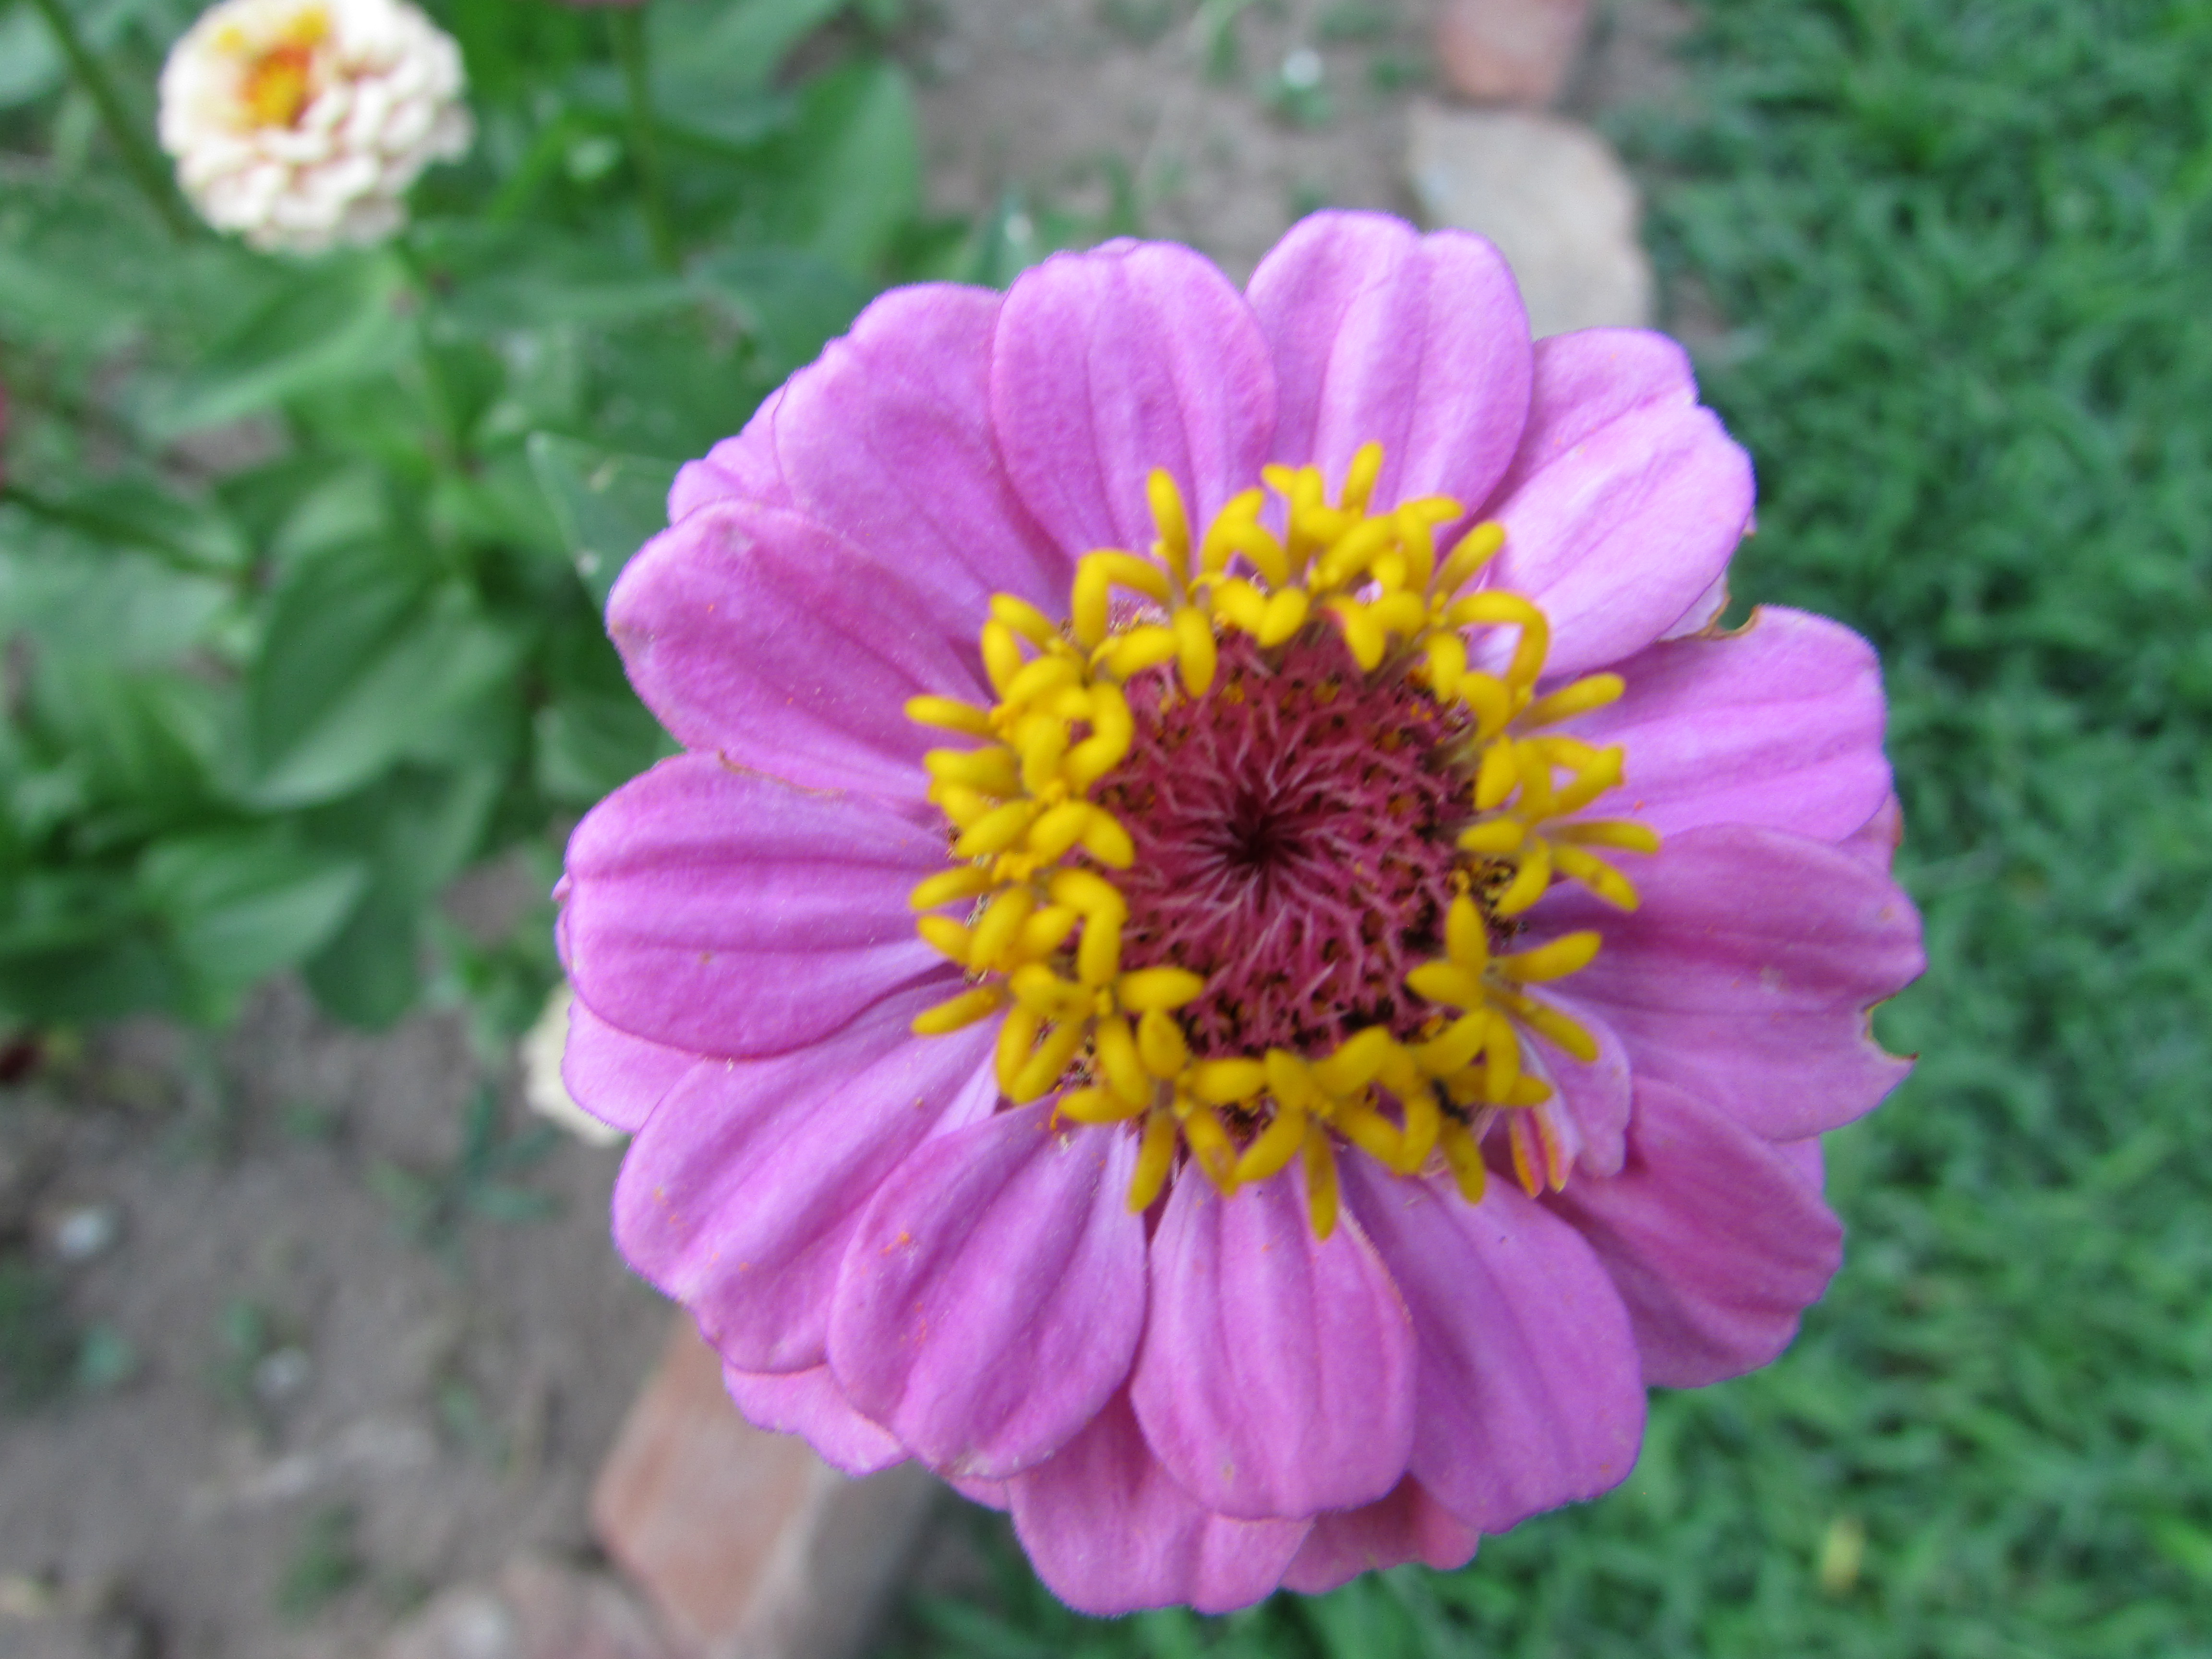
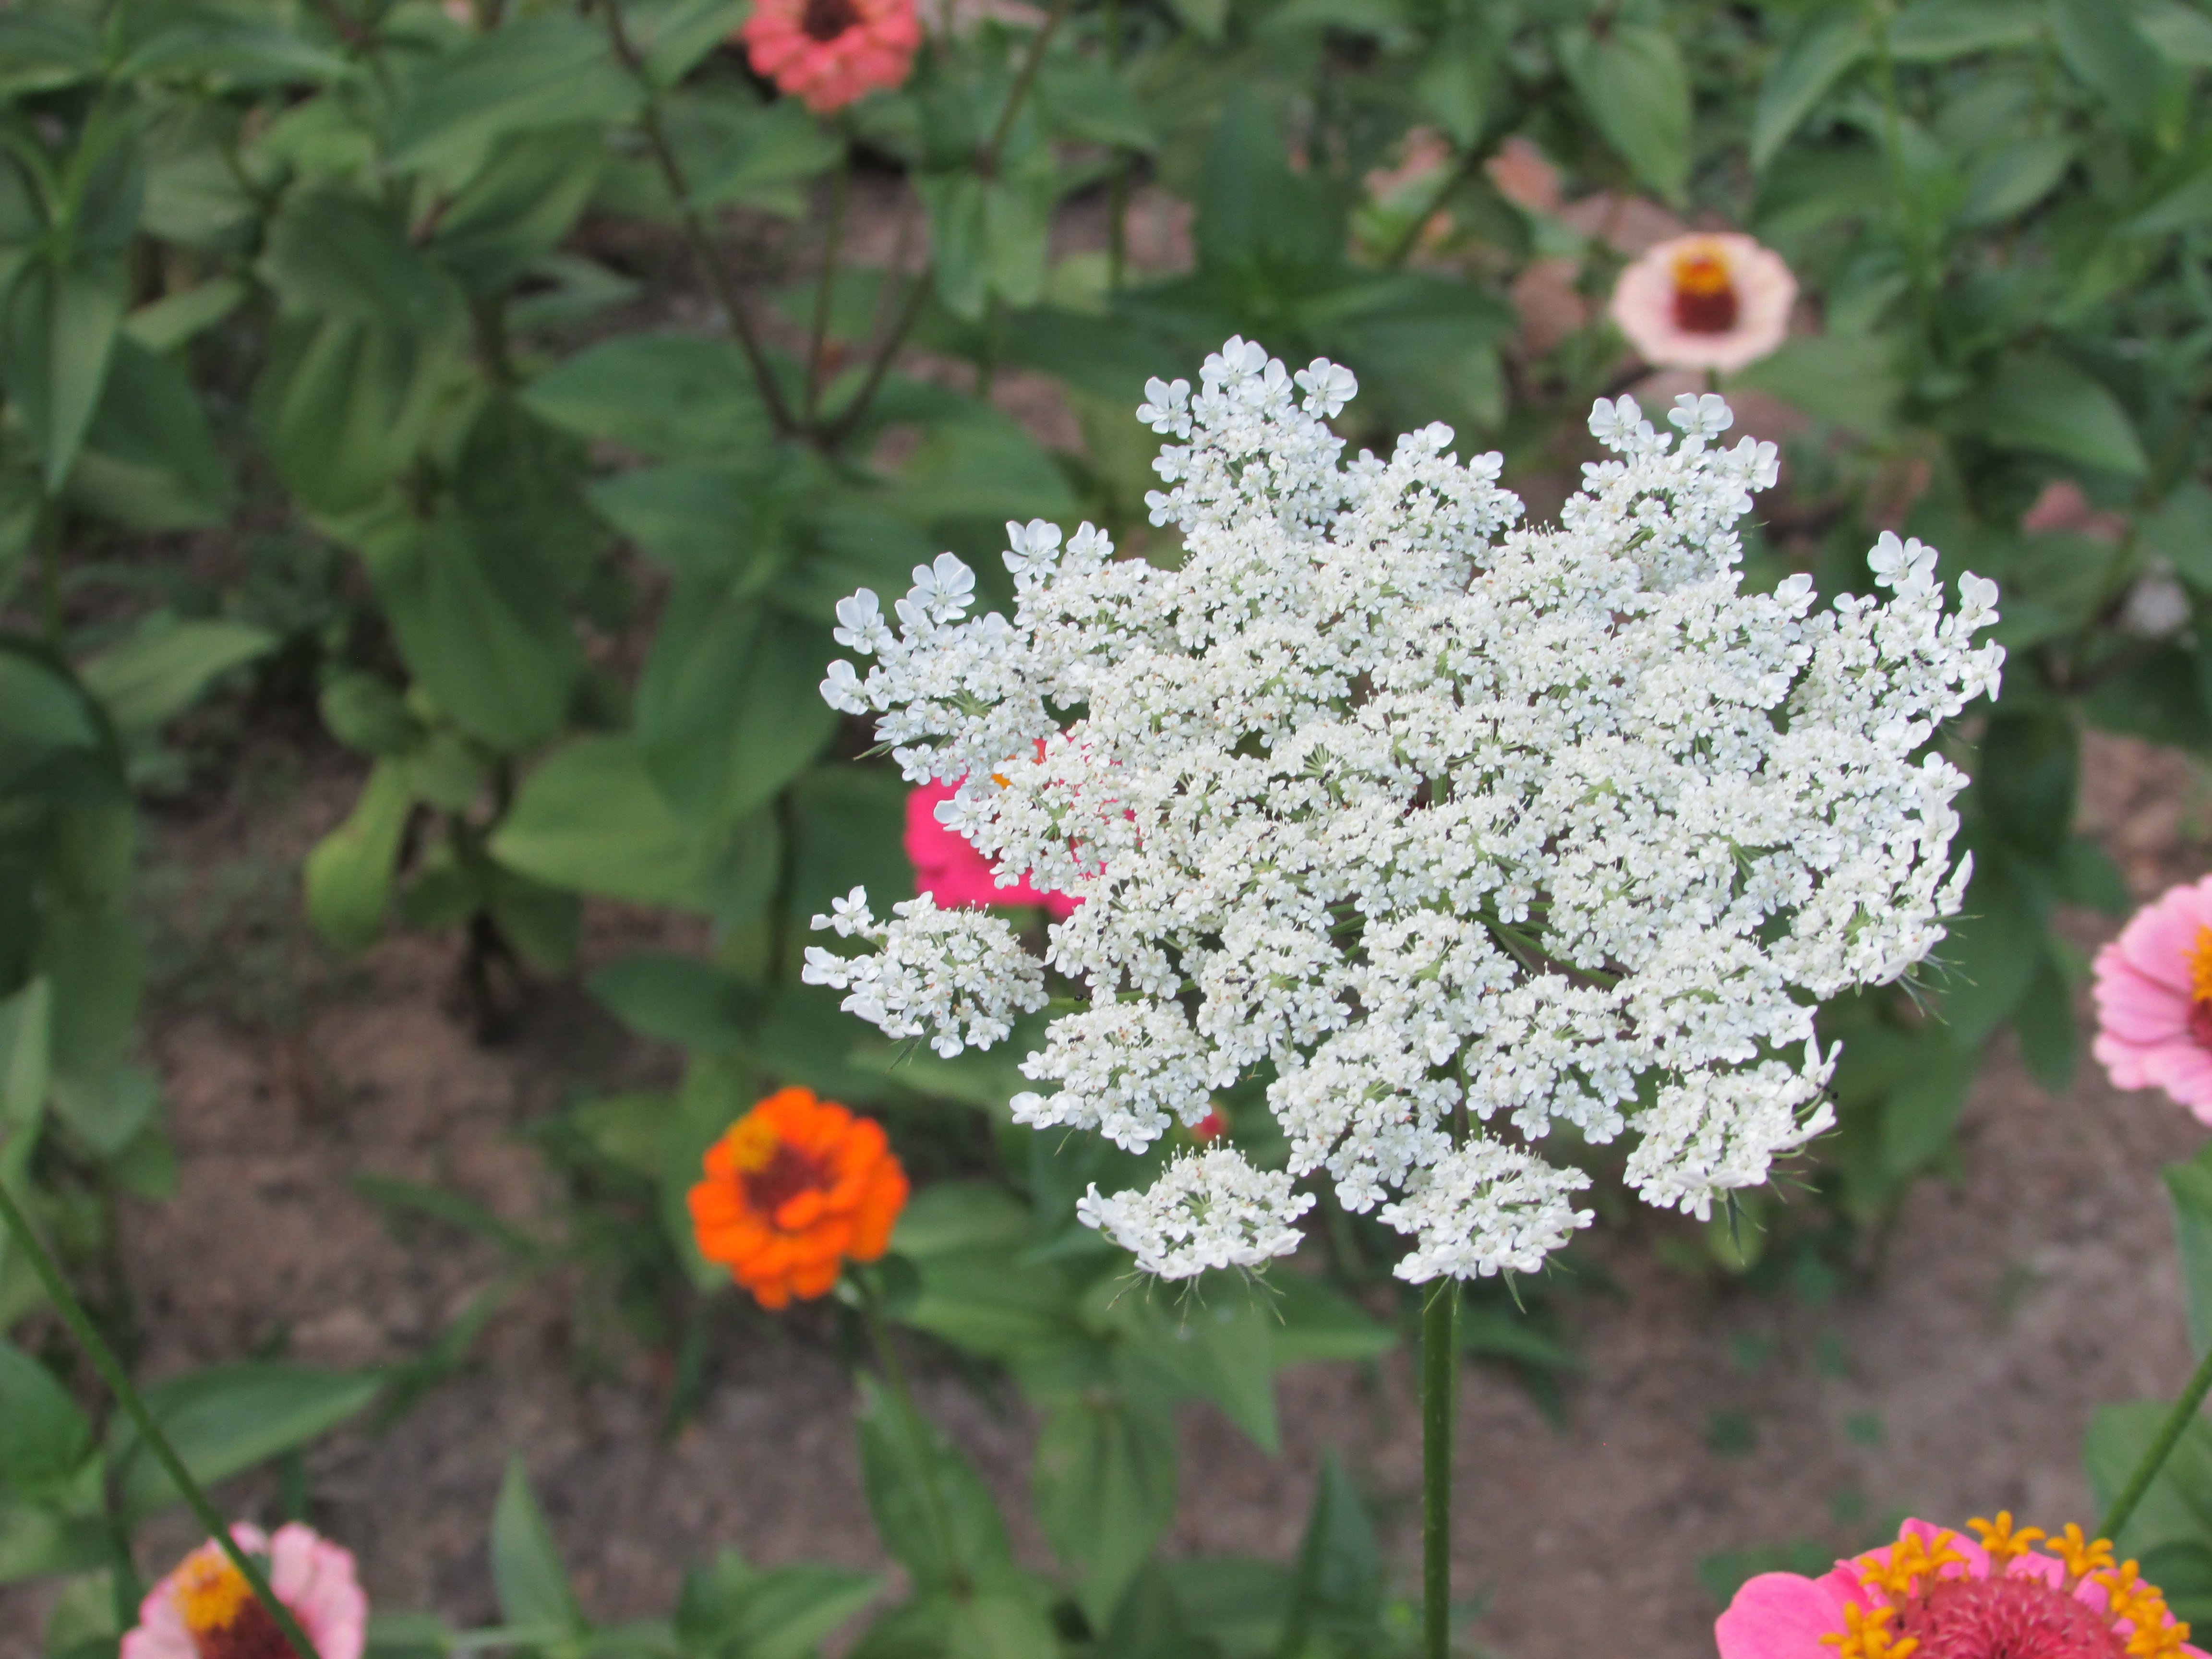
I created the circle of flowers because I wanted an area full of color, where I could pick some flowers to bring inside. It started with clearing out a circle where old stumps remained, and placing some stones we collected around the property. We planted some seeds, and many of them continue to grow and bloom today. Next to it, we created another circle (still needs the stones around) where we planted sunflowers. They have not bloom yet, but soon they will. As of today, they are a lot taller.
This concludes the outdoor changes so far, although there are many other plans. We created areas around the home, and separate, individual new areas. Instead of tearing everything down, we worked with existing areas that had potential, by first uncovering them, salvaging some plants, and adding to these areas.
Little me in my grandmother’s garden. Hope you enjoyed this post.

Photo by M.A.D.


")


