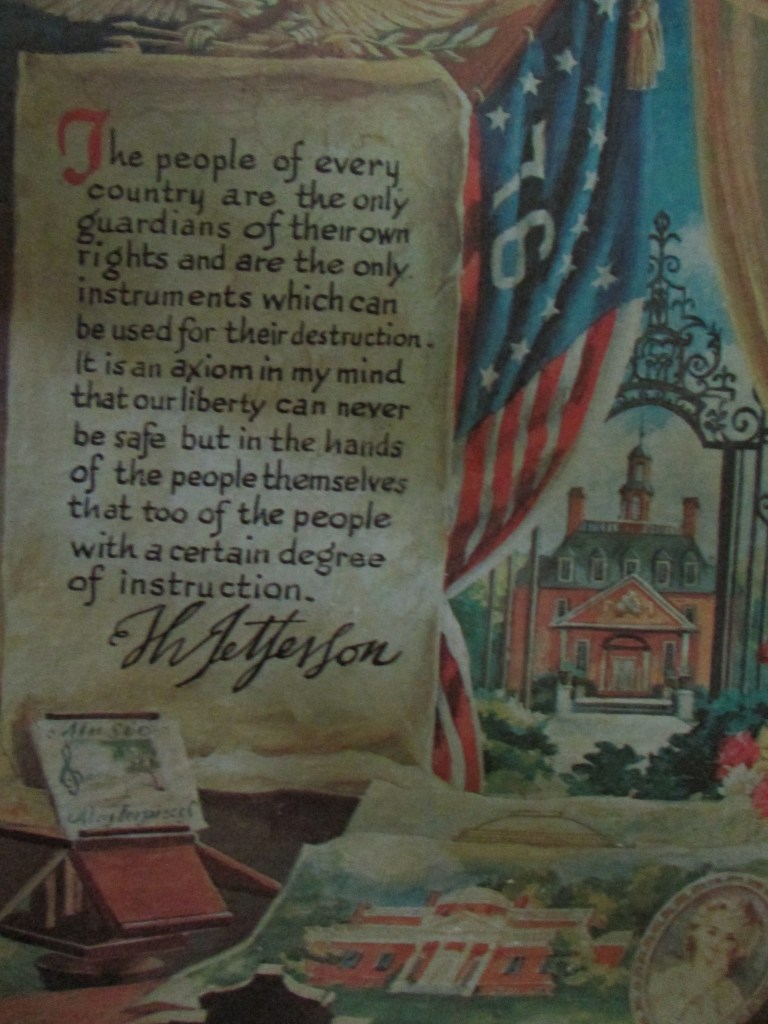
“By wisdom a house is built and by understanding it is established; by knowledge the rooms are filled with rare and beautiful treasures.” Proverbs 24:3-4
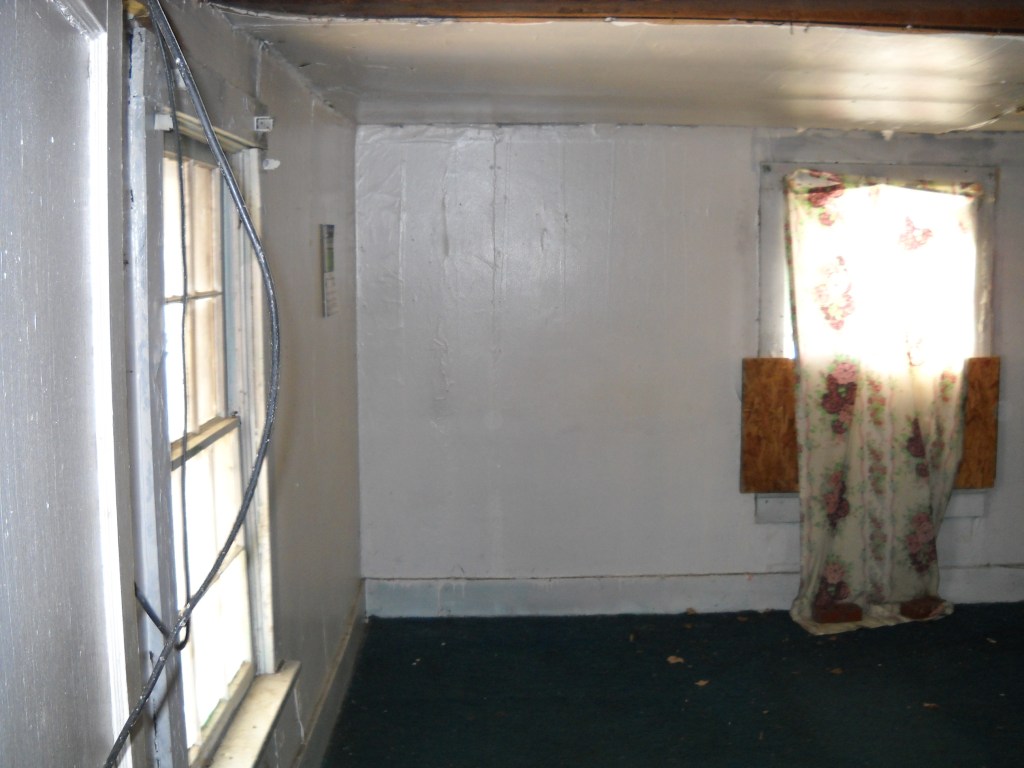
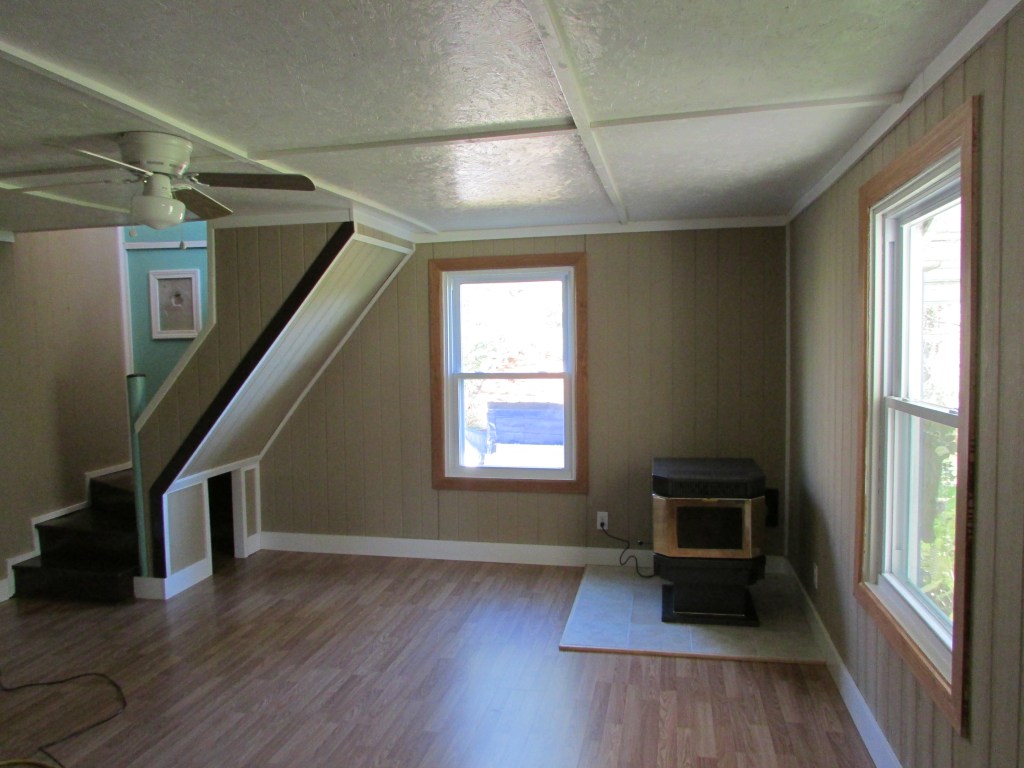
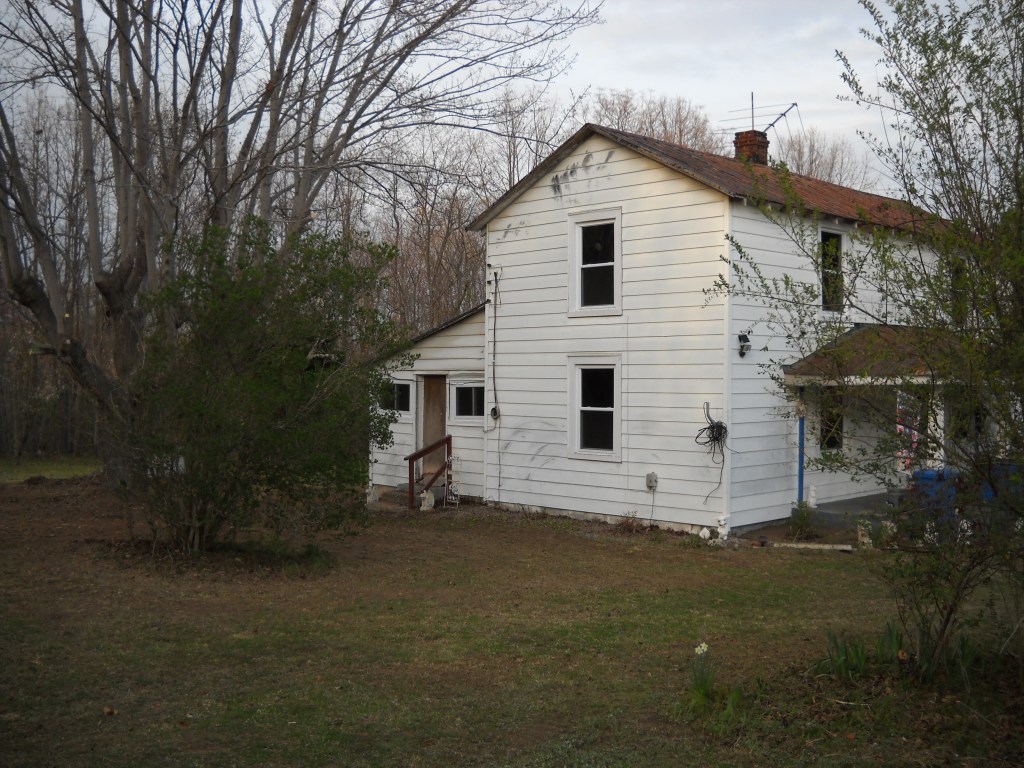
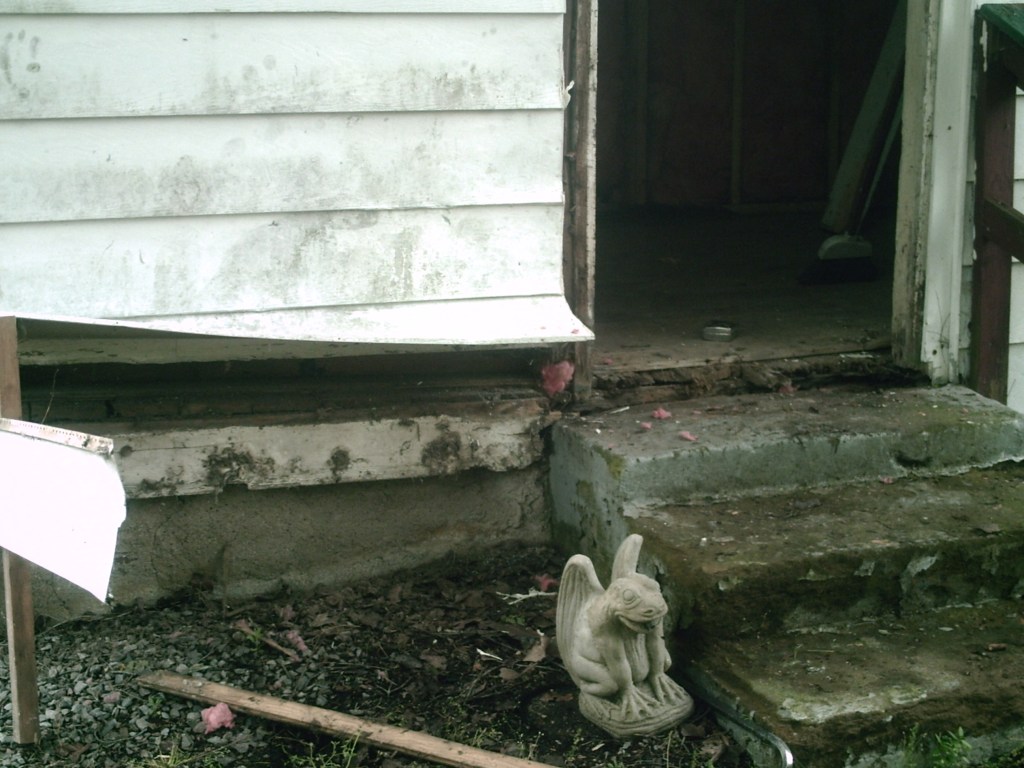
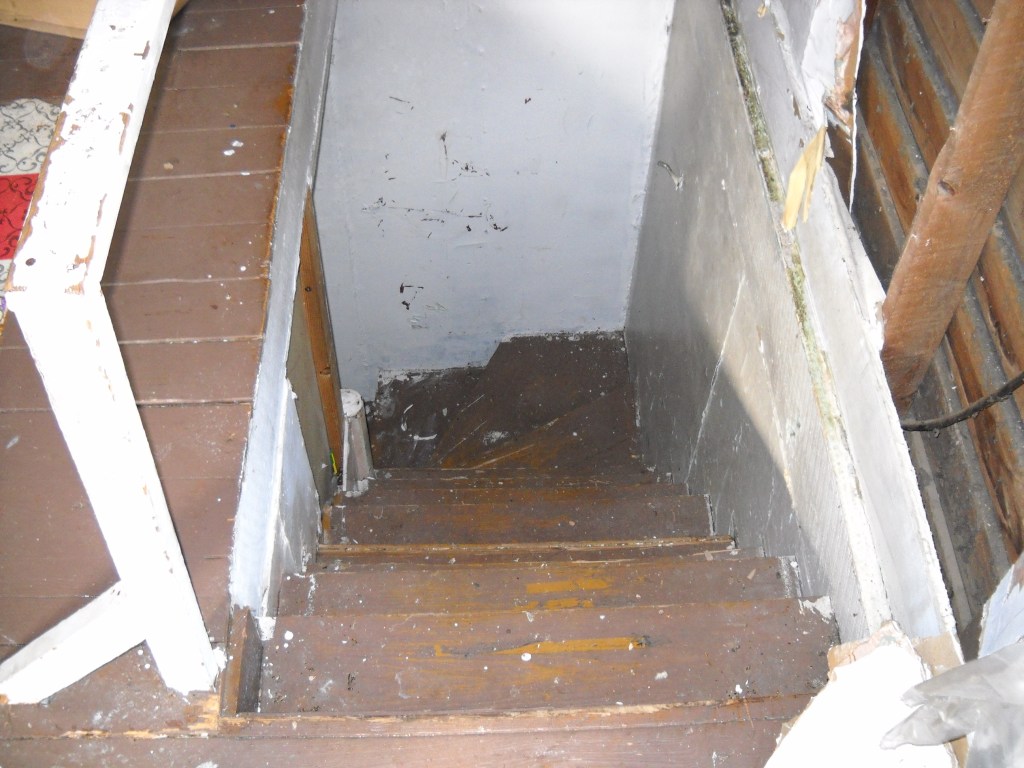
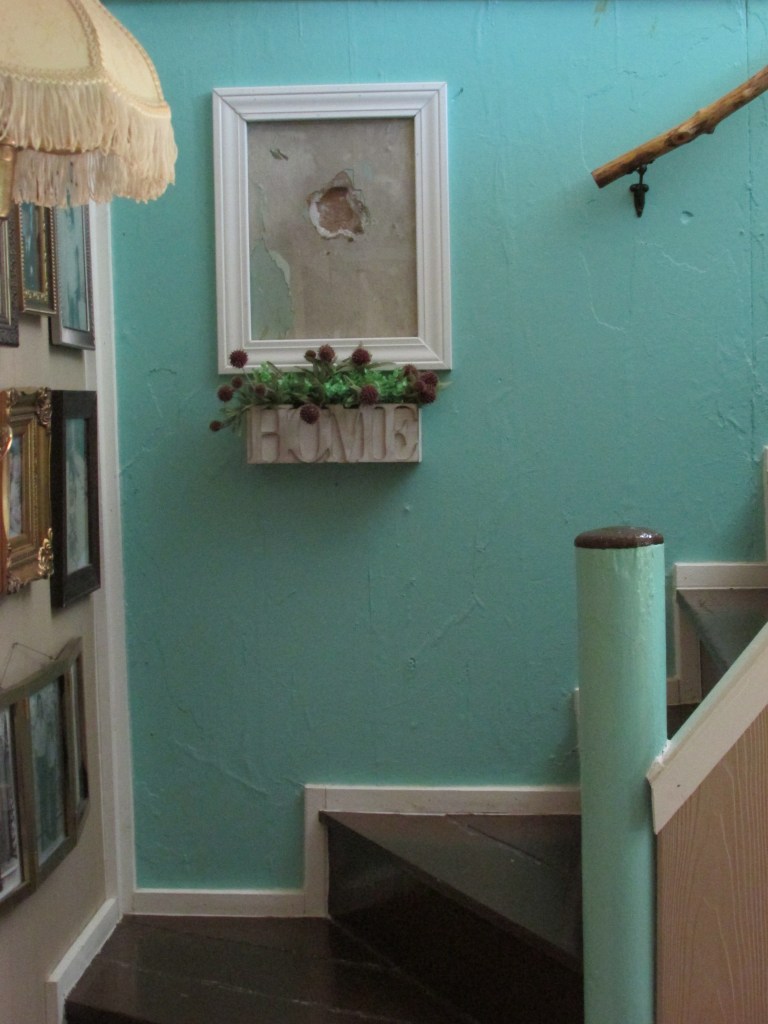
I think that the stairway of this home deserves its own blog post in the Fixing an Old Farmhouse series. After all, it was my favorite feature inside the home. When we saw the interior of this old farmhouse for the first time, we did not think that we would be able to save the stairway. A few steps were broken, other steps were loose, however, the structure felt very solid. It felt stronger than the brand new stairway we had in our Jersey home. We knew that the steps could be fixed, and the wall it was attached to could remain as long as we patched it and painted it, so we decided to keep it, along with the unusual rounded post at its end.
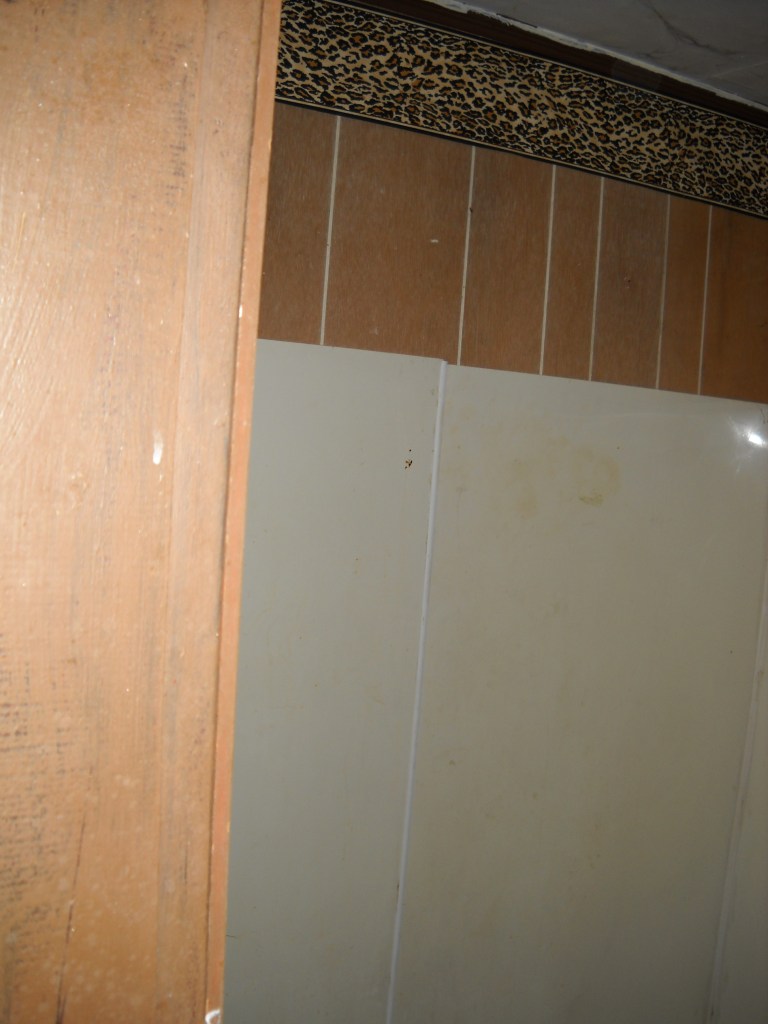
I had selected a vintage green for the walls that I kept in storage for a little over a year. There must have been something wrong with the paint because when I opened the can it was as hard as a rock. I was disappointed. A little voice inside me whispered, “mix all those leftover paints.” Those were almost-empty cans of paint that we decided to keep from our former house. I opened them, and to my surprise, those were still looking good. The cans were over nine years old – sage green, blue, gray, and white. Because I had nothing to lose, I decided to try it, and I mixed the paints. Something magical happened. I was staring at the original color of the wall, the first layer of color that was ever applied. You can see it here.
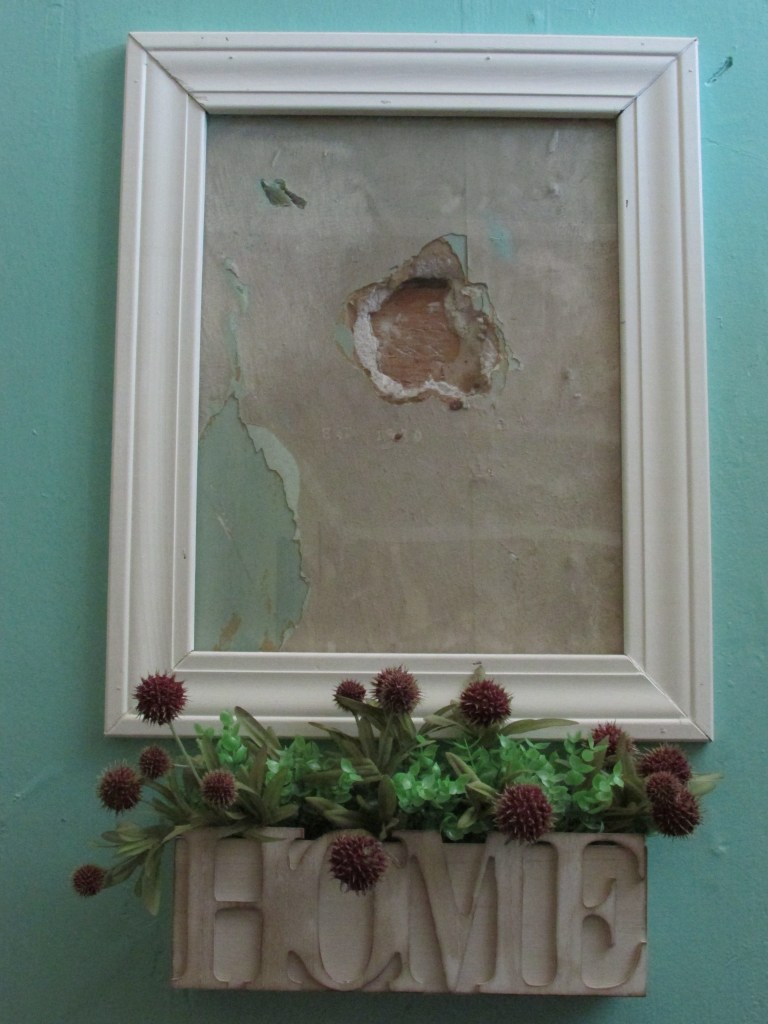
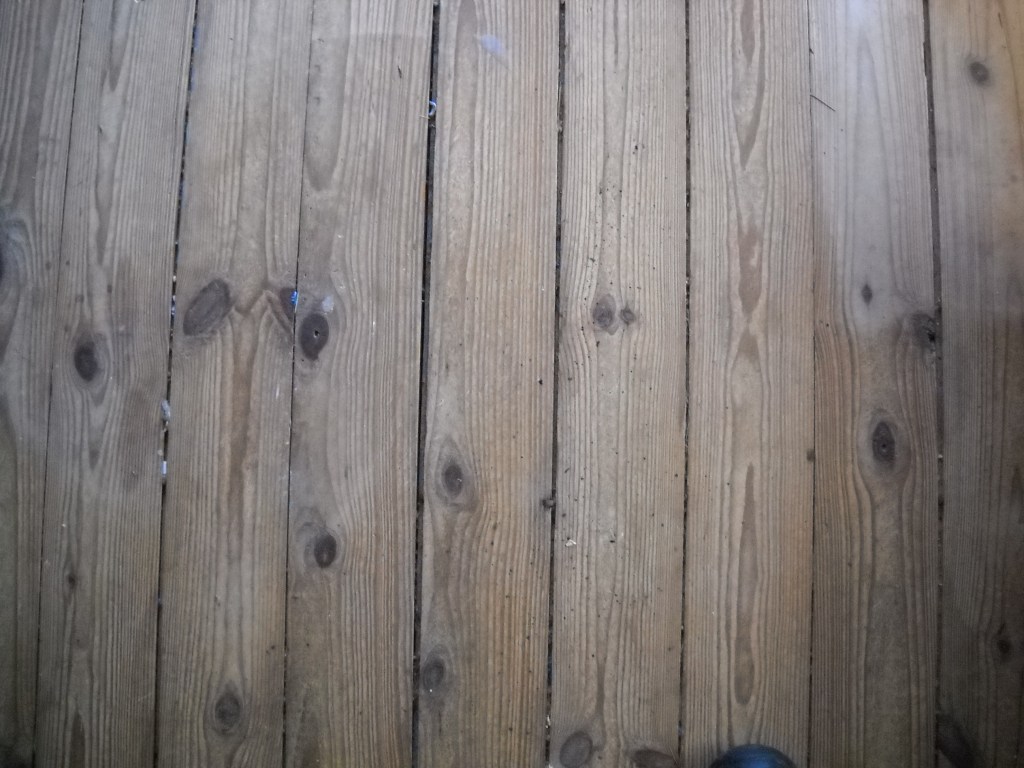
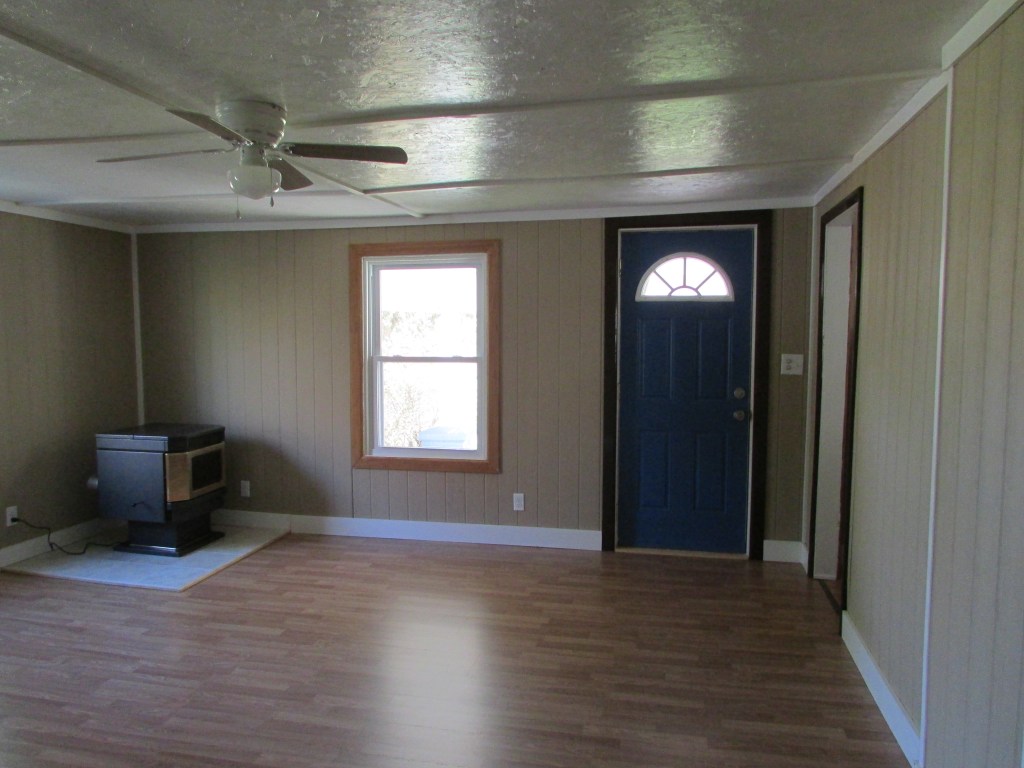
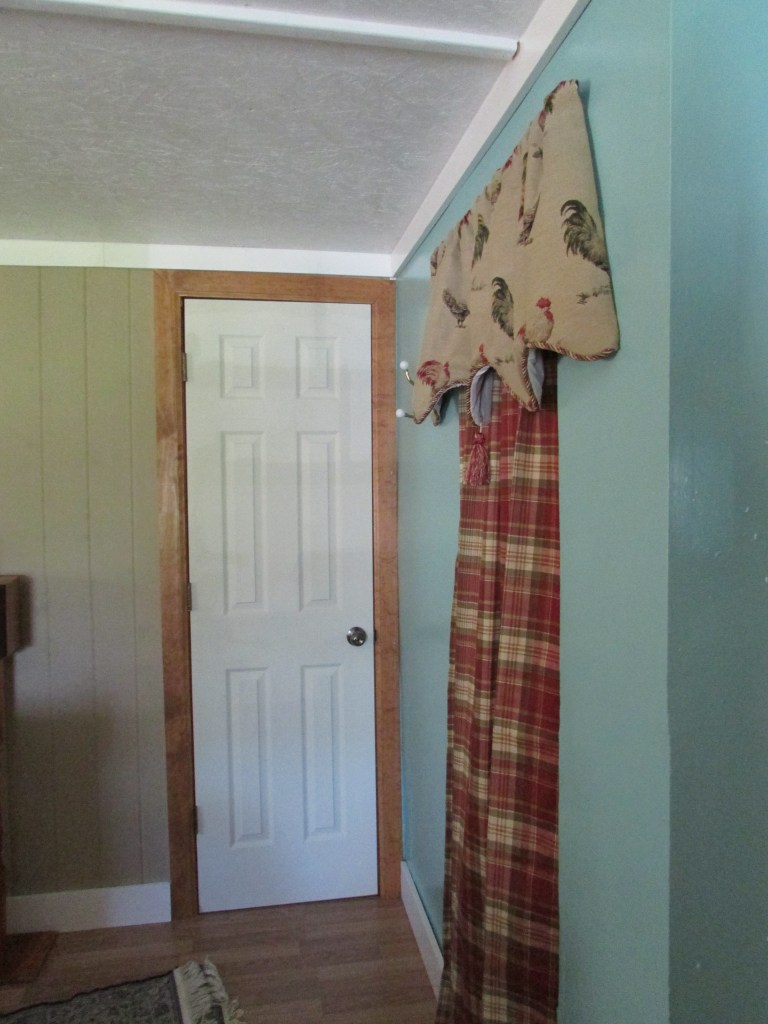
I ended up painting the wall that color. There was enough paint left to do the closet in the living room. Sometimes, a house knows what it wants; listen to it. We replaced some steps, patched the wall a bit, and reinforced what needed to be. We painted the steps Leather Brown, and put moldings where there were none originally. If you look at the wood above the wall, you can see the way it was cut originally. It is a rough cut, as opposed to the factory cut and finish we see today. I love that character. The stairway is one of my favorite features of this house. The handrail is made from a tree that hurricane Sandy knocked over in the back of our home in Jersey. We sanded and glazed it. It serves a purpose and it is a memento as well. Here are some pictures of the process.
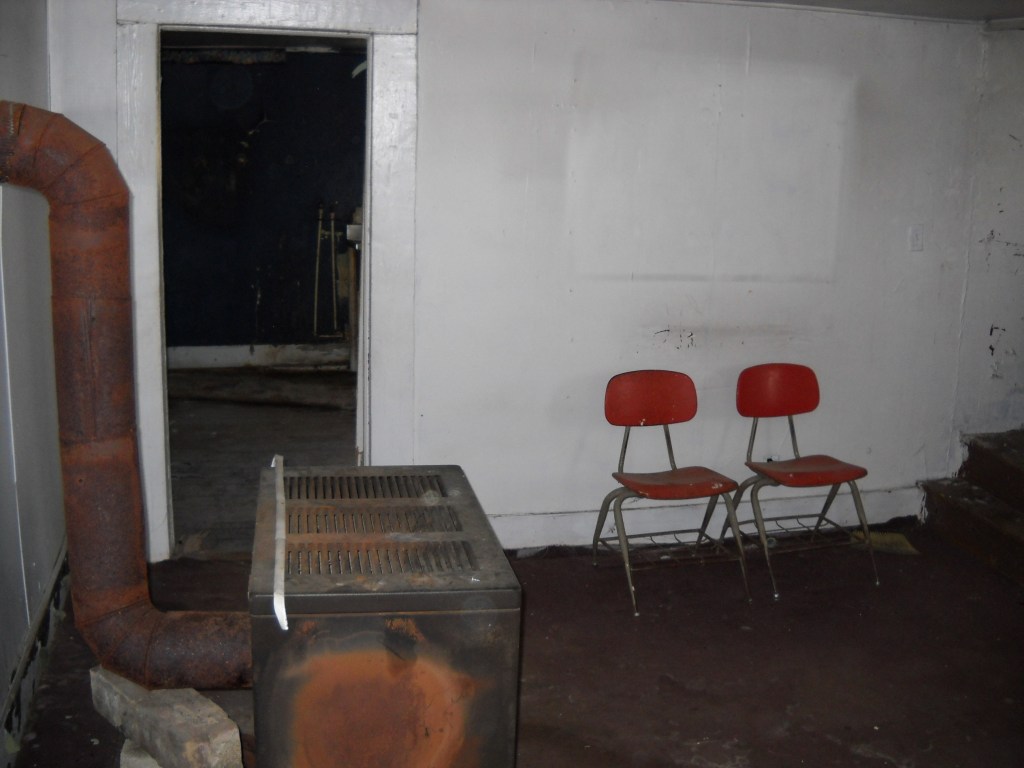
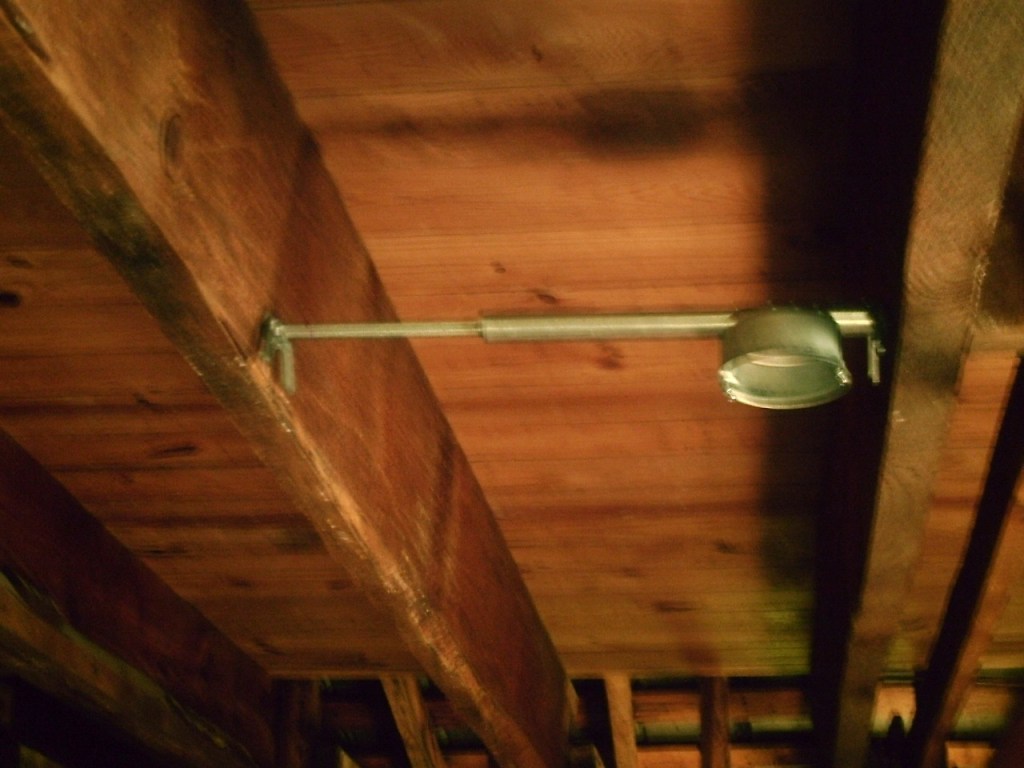
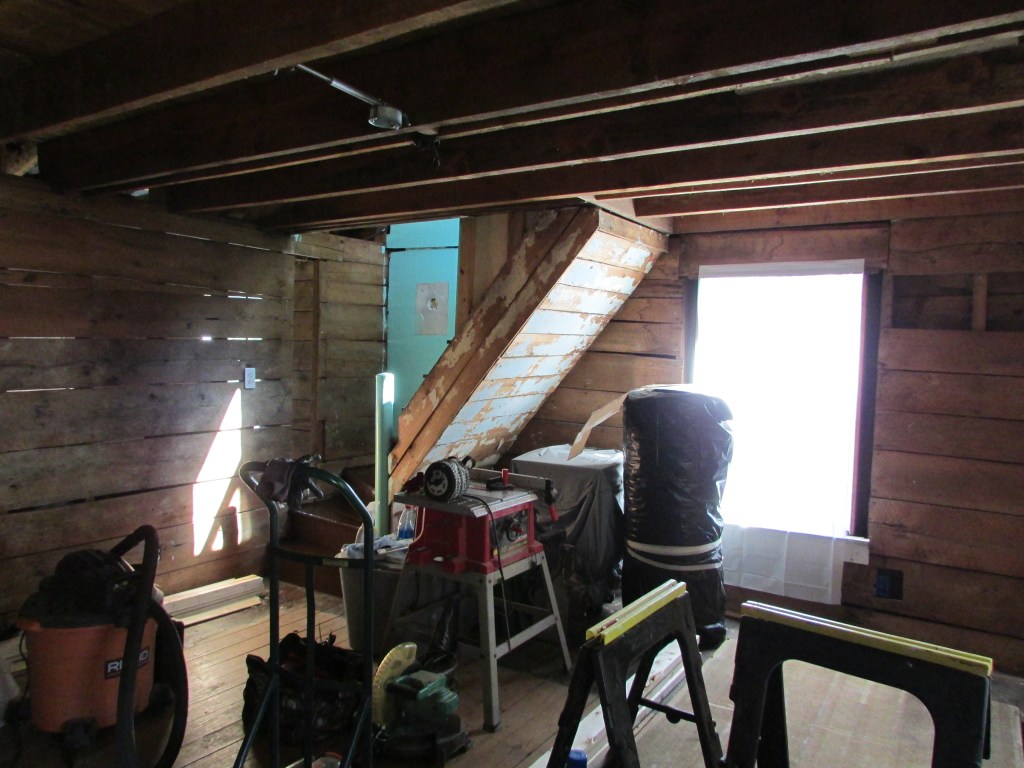
Before.


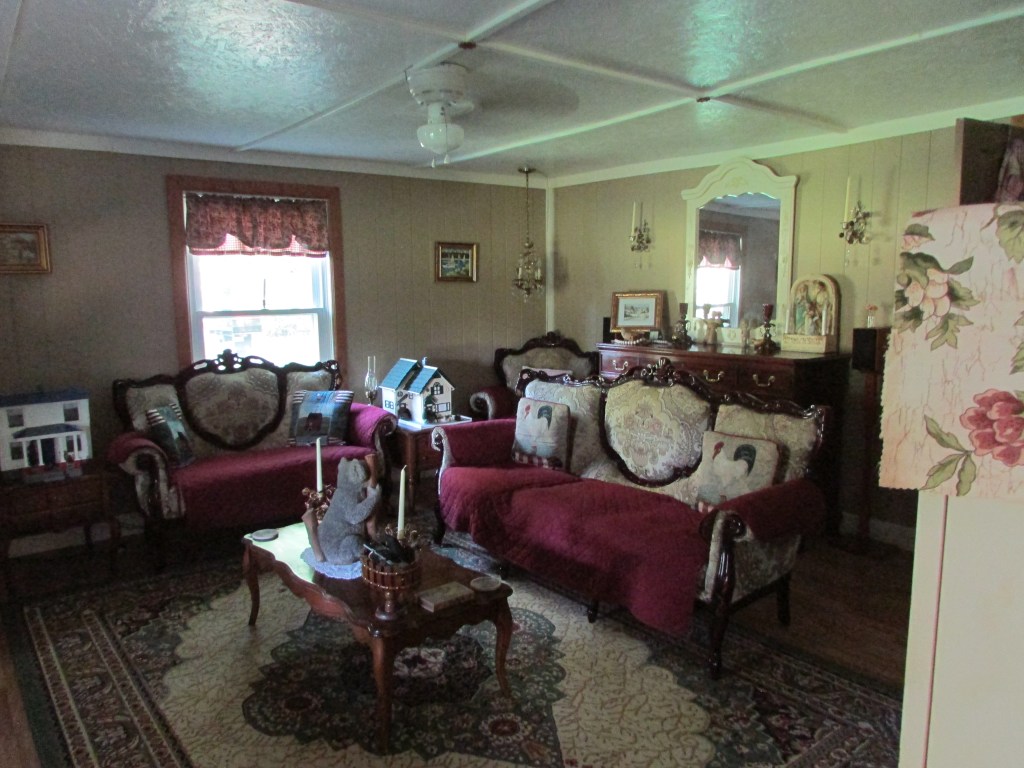
After

I hope you enjoyed this post about fixing these old steps. I am glad we worked with their character and did not take them down. It would have been a mistake.