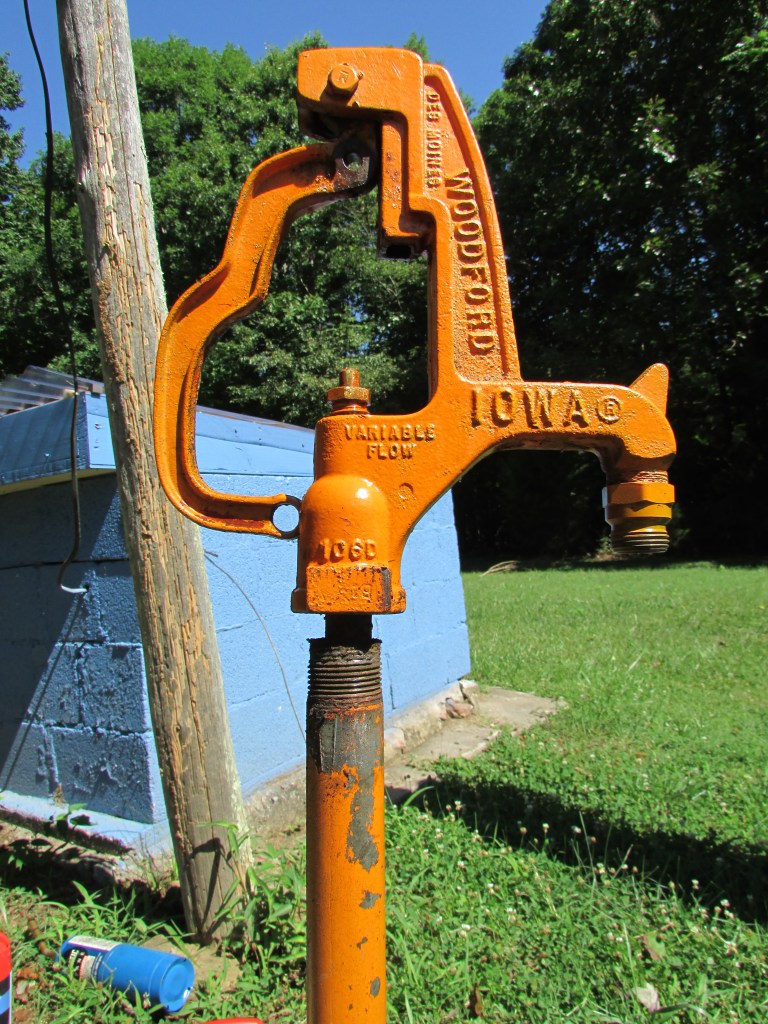
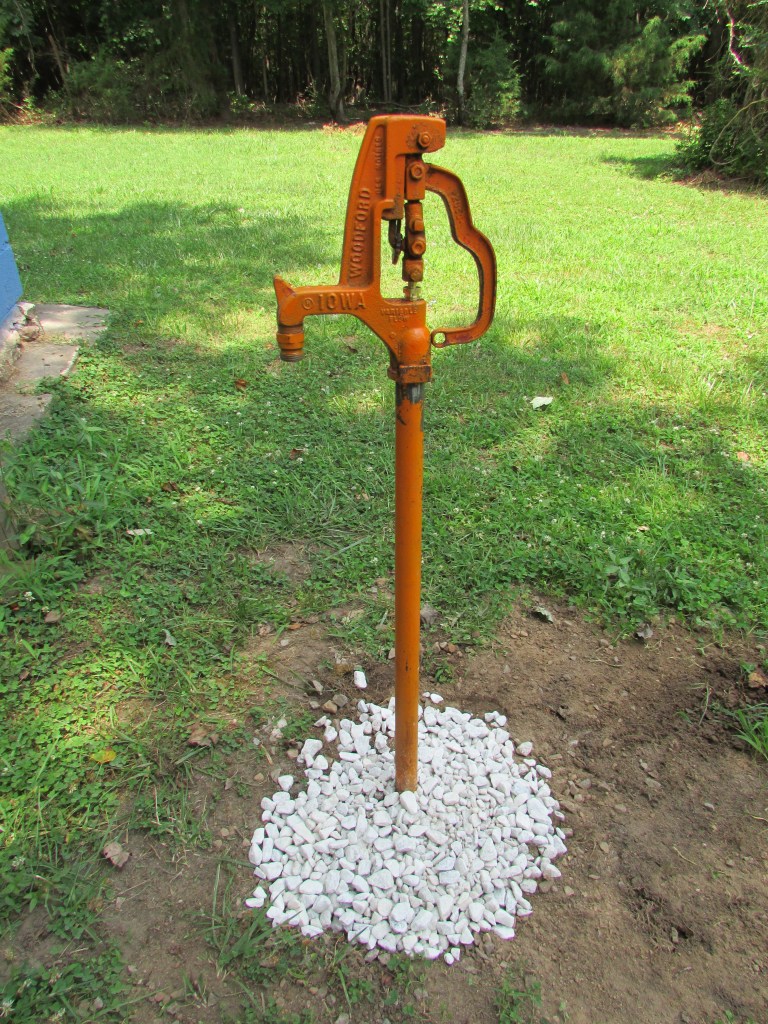
This project came about unexpected and out of necessity. Unbeknownst to us, the yard hydrant had been leaking underground, and it wasn’t until we noticed a permanent wet ground that we realized something was not right. This project had to be done in several attempts, and this is why. The hydrant is an old Woodford hydrant, one of the best in the market, that will last long, over 50 years, and this one seems like it has been pumping water for a long time. I wouldn’t be surprised if it dates back over 50 years. First, we had to learn how to do the job. YouTube was a huge help. Then, my husband had to dig to find out if the problem was the hydrant or below it, the water line. Once he figured out it was the hydrant, we were able to proceed. This project was very interesting to learn. Here are pictures of the project. The first thing he had to do was shut the water off.
FIRST ATTEMPT


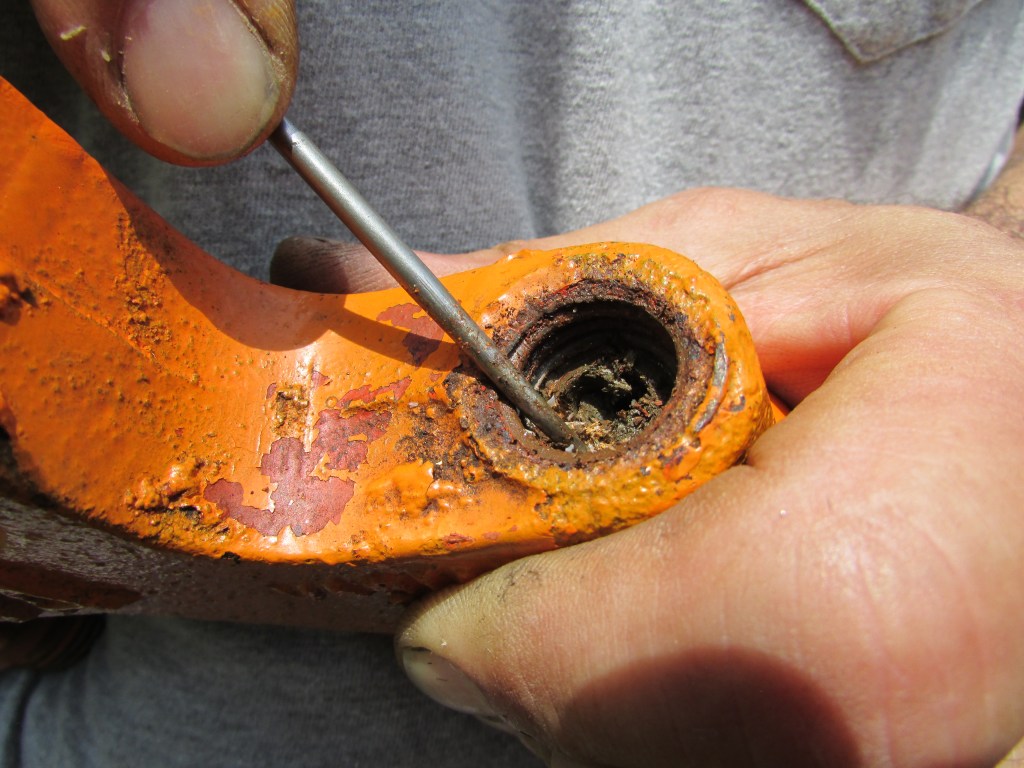
It was very had to get anything loose due to the many years of rust, and paint. Oil had to be used to loosen parts, and even heat. My job was to assist with tools and to hold the pipe well so it would not crack.

We bought an Universal Kit, but after dismantling everything it did not fit the old model.

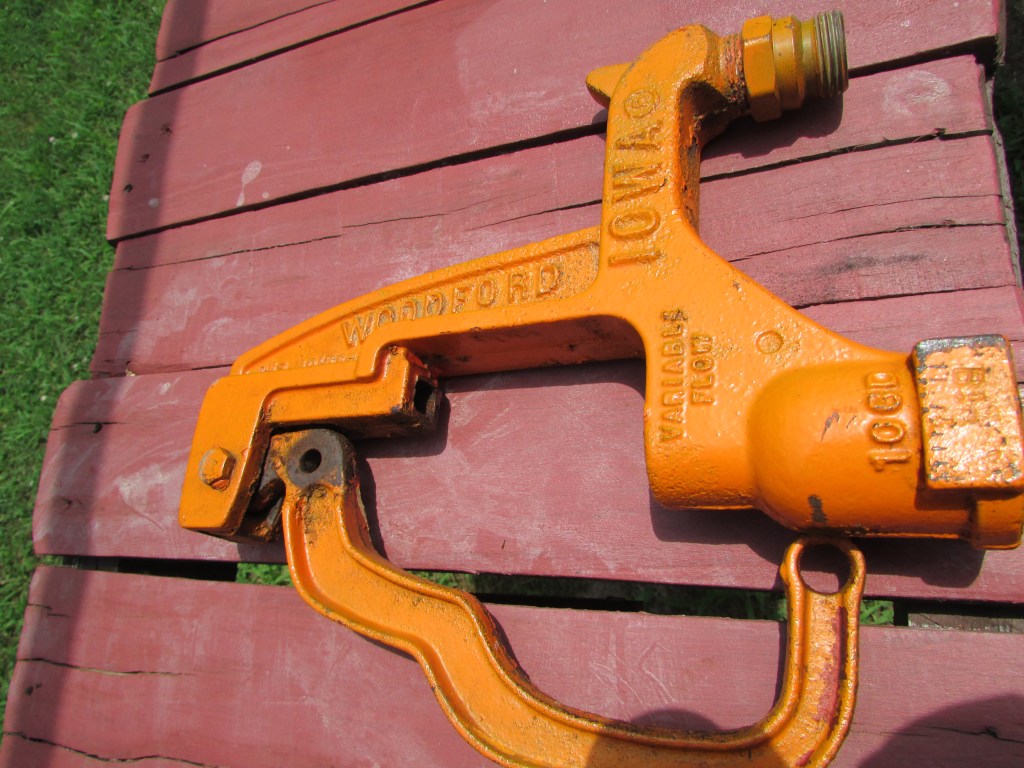
After realizing that the Universal Kit was not a fit, my husband had to put everything back together, and try to adjust the top of the hydrant so the leak would at least stop when not in use. A proper kit was not found in the area stores, so we had to order one online. In order to do that we had to figure out what kind of hydrant (model type) it was. It is done by looking at the number stamped at the bottom of the hydrant.
SECOND ATTEMPT

This time parts were a bit easier to take out; however, installing the new plunger was not. Heat and a lot of force was required to loosen up the rusty part.


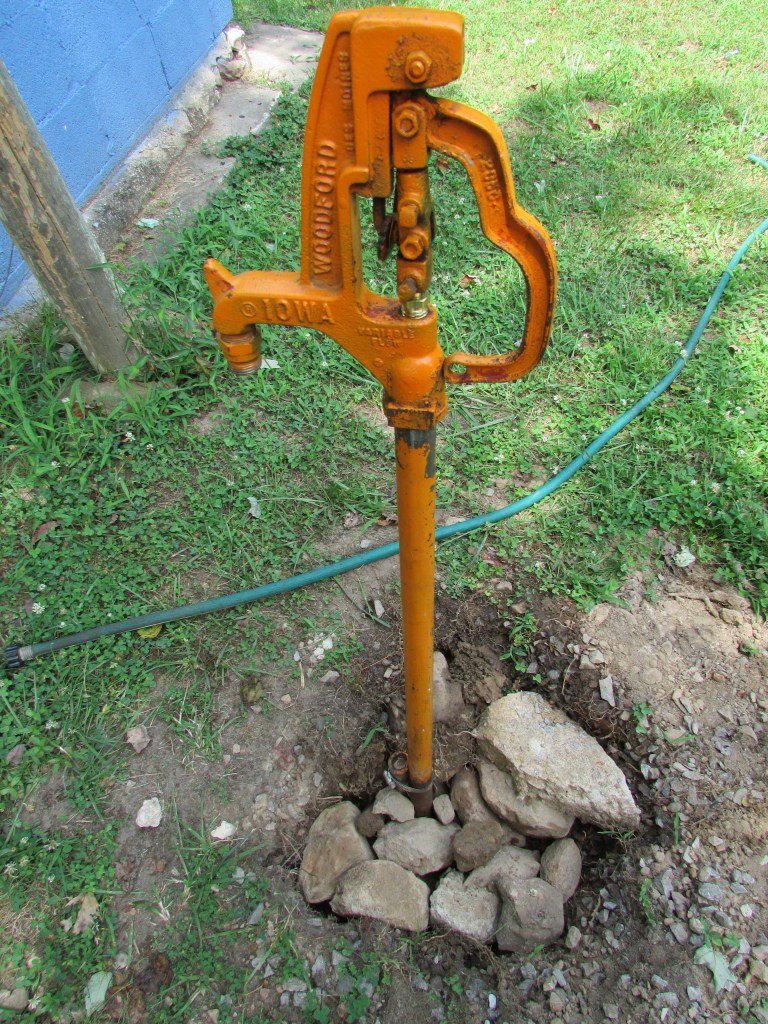
Next, my husband put everything back together. It was a process as well; this time in reverse order. He turned on the water back, tested the hydrant after adjusting the top, and once everything looked alright, it was time to cover everything back the way it should be.

This process saved money, about $400.00, maybe more. It would have been simpler if we had ordered the genuine parts from the start, and forego the Universal kit. Old farmhouses come with tons of surprises. I hope you enjoyed this project.
