The long list continues to be tackled one item at a time as time and money allows, and with the help of the Lord. This project has been waiting for a while, mostly because we were not sure of what to do with the steps, and what would be the best economical way to fix them. If you know anything about construction or masonry, you will know that this type of work is very expensive, and we did not want to spend a lot on these steps that were functional but needed some help. My husband came up with a good solution, as well as under budget.
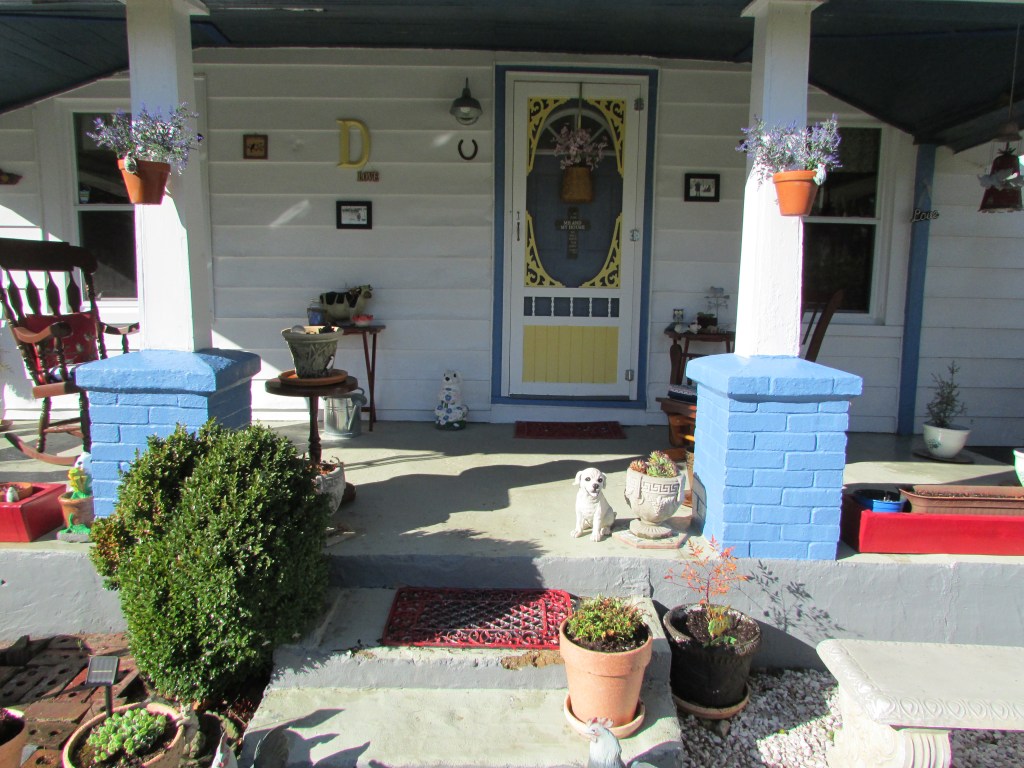
When we first bought the old farmhouse, the steps were broken as well as the entire porch, so we decided to patch things up as best as possible and paint them. For the purpose of this post, I will share the steps/porch from the beginning so the reader can appreciate the development so far. Most important is that we are happy with the results, and I think that my husband did a great job at it. I did not work directly on this particular last project, only appreciated the process and took pictures.
Here is a photo of the early days, as it was when we bought the derelict farmhouse.
The porch and steps of the old farmhouse, as it was when we bought it. The cement was broken, well, everything was. (Photo by M.A.D.)
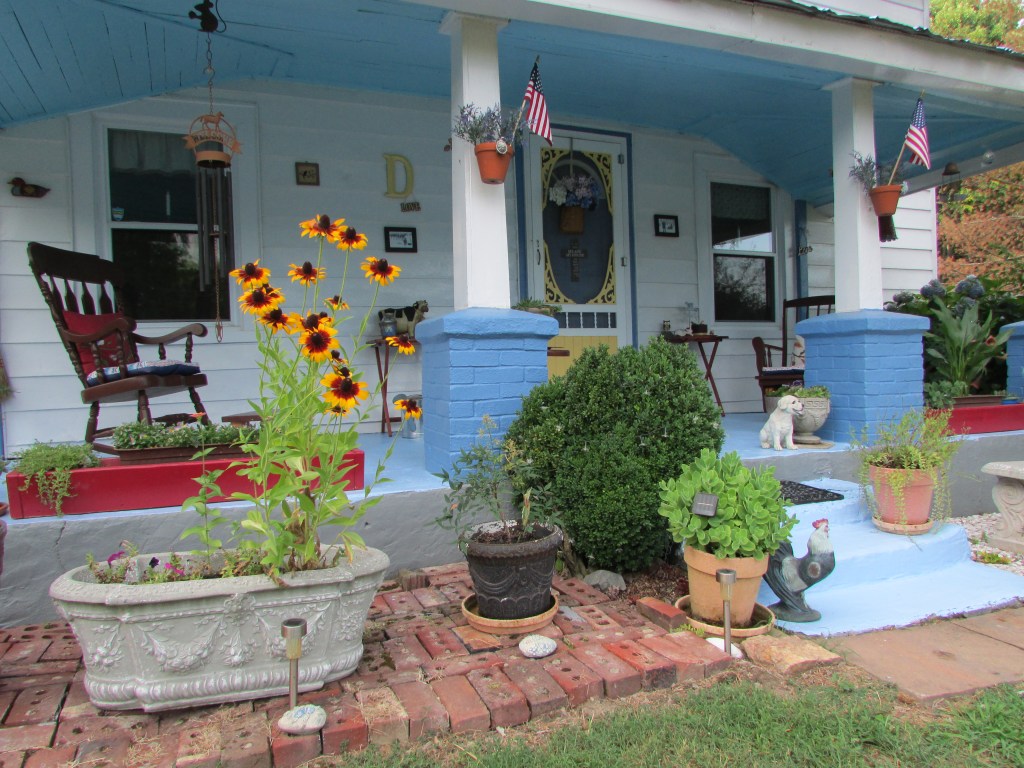
In order to move things along the way, we fixed the porch and steps as best we could and painted them. Here is a picture of what we did in the meantime.
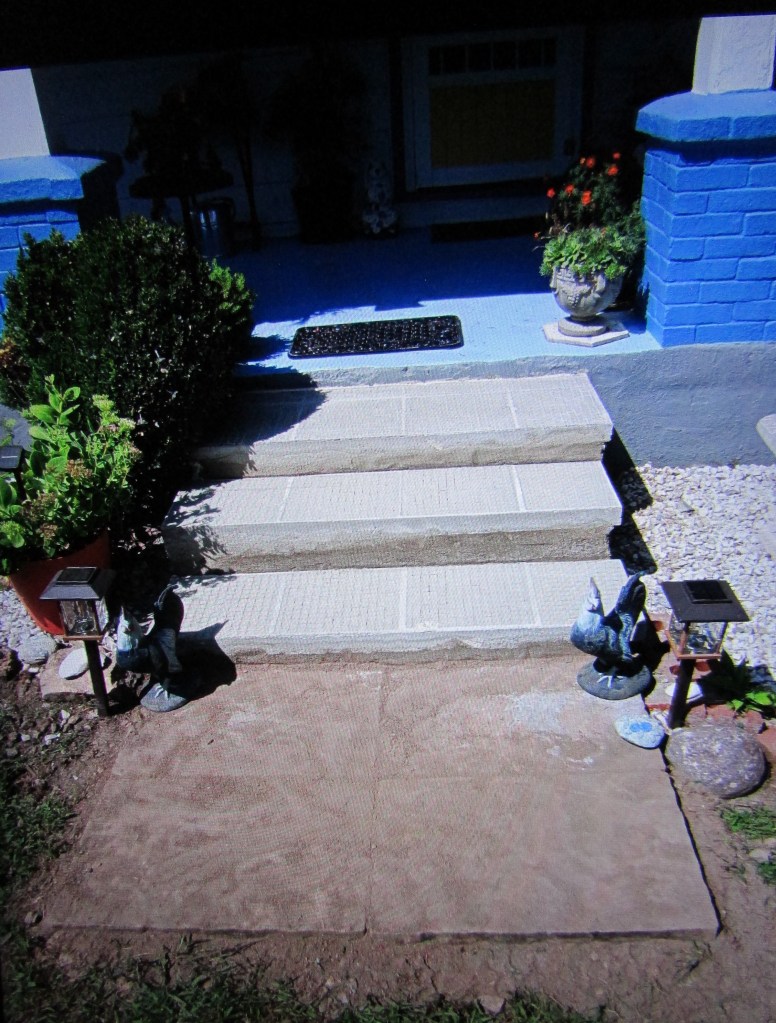
We knew that we needed a more permanent solution, eventually. Here is where we are today, and the process my husband followed to level the steps and build new steps.
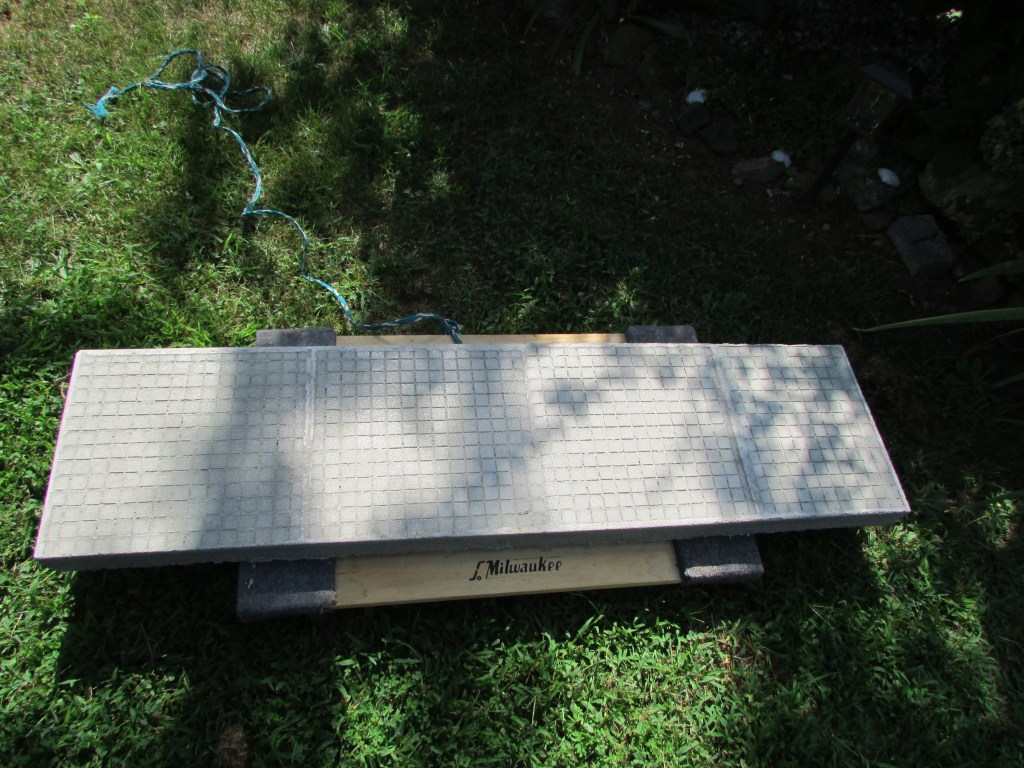
First, he measured and built the steps using cement, and tiles that we had bought from a builder but did not use in the house remodel. (Photo by M.A.D.)
This is what the steps look like once the cement has cured. The steps are thick and heavy.
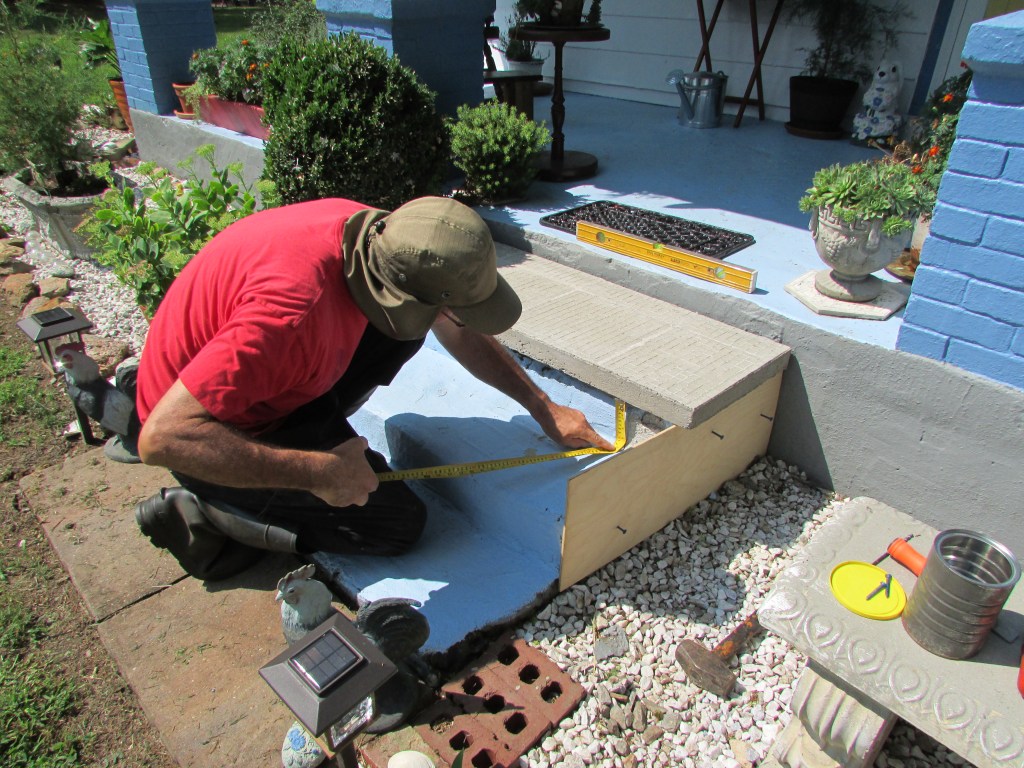
He measured, leveled, and filled the old steps in order to place the new ones.
The final result. Eventually, we will have to fix the porch floor by adding slate, but that is another project in its own time.
In the meantime, I was admiring a gigantic but beautiful slug that I saw by the side entrance. The next project will be fixing that area a bit better.
I hope that you enjoyed this project and became inspired with a little DIY.
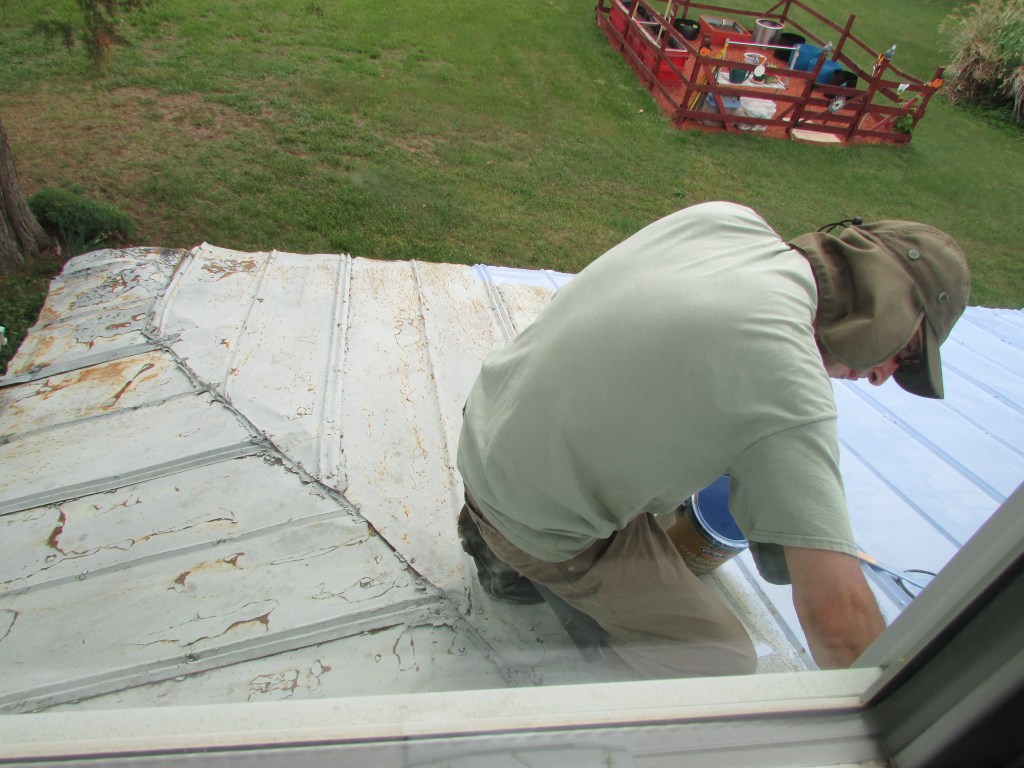
When we bought the old farmhouse, we decided to coat the roof because it was the original tin roof, and it was not leaking or damaged underneath, but needed protection since it was 100 years old at that time, and by now, 112 years old. Tin was the metal used back then, sturdy and durable, less pliable as well. Modern metal roofs are easier to bend and work with, and they come in a variety of styles, colors, and grades. They are more expensive than regular asphalt shingles, and they last a bit longer. We decided that when it was time to replace the roof, we would select a metal roof because the house was originally built for a metal roof. Shingles weigh about four times more, and being that the house is 112 years old, it makes sense not to add more weight to the top. However, that would mean for us to save the money for a new roof because it is a cash project, as it has been the rest of the house renovation, hence why it has taken longer to do. In the meantime, we decided to paint the porch roof because it was showing signs of deterioration and rust. It has been 6 years since the coating.
This project presented an opportunity to play with a favorite color and see if that color would work when it is time to purchase a new roof. I discarded the color black although it is the one that will make more sense if we decide to change the siding color in the future. Black looks more traditional, elegant, and put together, but it also attracts a lot of heat, and the upstairs ceilings are very low, so that would make the upstairs unbearably hot in the summer and not energy efficient. I also like copper or light brown, much lighter than black, and also neutrals, which would go very well with my favorite blue accents and the white siding. In the end, we decided to paint the porch roof the color that we liked more but were not sure how it would look in the long run or if we would become tired of looking at it. It is a test. After all, you cannot change a pricey roof once it is installed. We chose Glidden Premium French Country Blue for exterior applications and metal. We are happy with the results, and the porch looks a lot cleaner now, until it is time for a new roof. We decided to paint the side entrance awning and the steps as well, for continuity and balance. Here are some pictures of the project.
The new paint will also protect the coating that was applied six years ago. Notice the old way of installing tin.
Closer look of the color – Glidden Premium French Country Blue
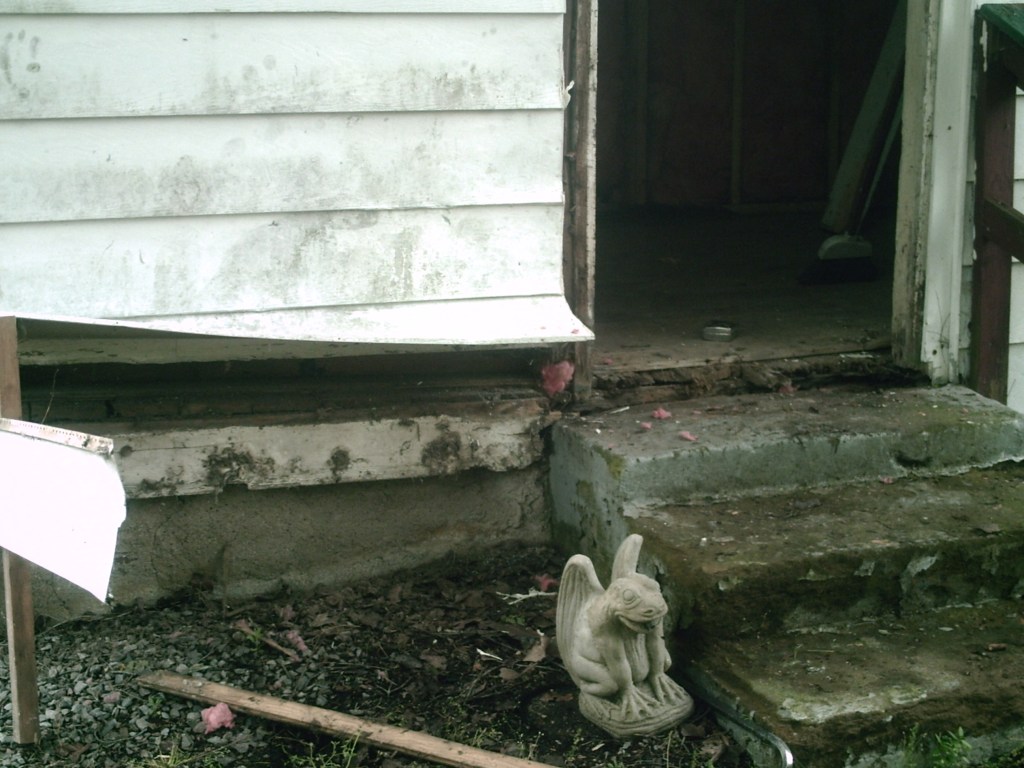
We painted the side entrance steps and awning. Originally, the house did not have an awning, and the door entrance was completely rotted. My husband built the awning and now water does not cause any damage. Here’s a picture of the rotten door.
This was the side entrance before. Damage was extensive.
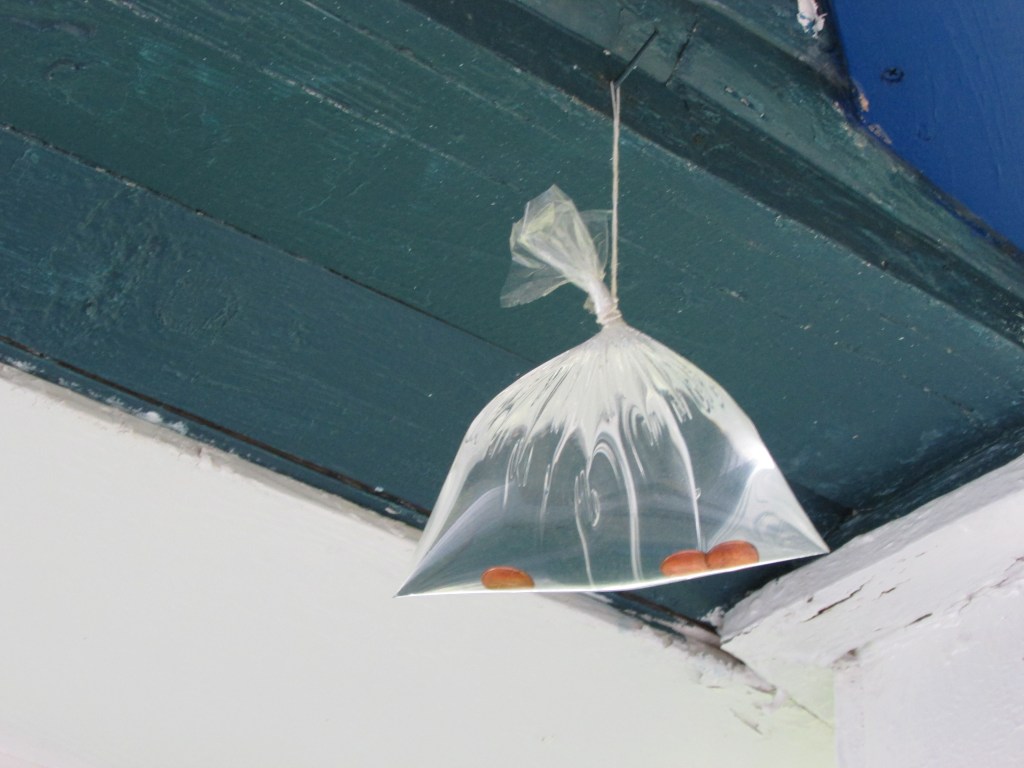
The old porch ceiling will be painted the same color. The bag filled with water and a few shiny pennies is something that is done in the South to get rid of flies and other flying insects. Restaurants do it to detract flies from coming inside. Someone told me about it, and I did not believe it at first but decided to give it a try. For some reason that I cannot explain, it works. I placed another bag at the opposite side, and one by the kitchen entrance. Flies and other critters are gone, but wasps do not seem to care.
Side view of the job done. This is a test, and later on we will decide if we will paint the rest of the roof, depending on how that particular paint performs.
We estimate the total cost of this project, including the entire roof of the house to be around $400.00. It presents a simple solution to protect the existing roof until it is replaced. After all, it is about simple living and simple solutions. It’s been a long way home.