Fixing Up an Old Farmhouse Garden

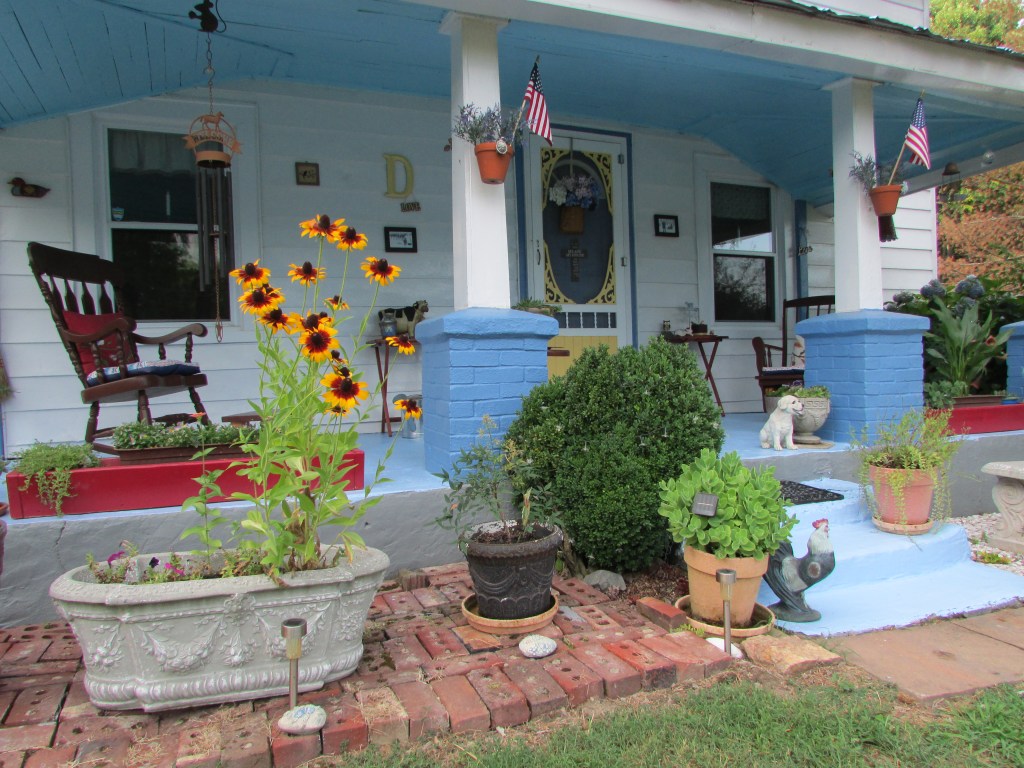
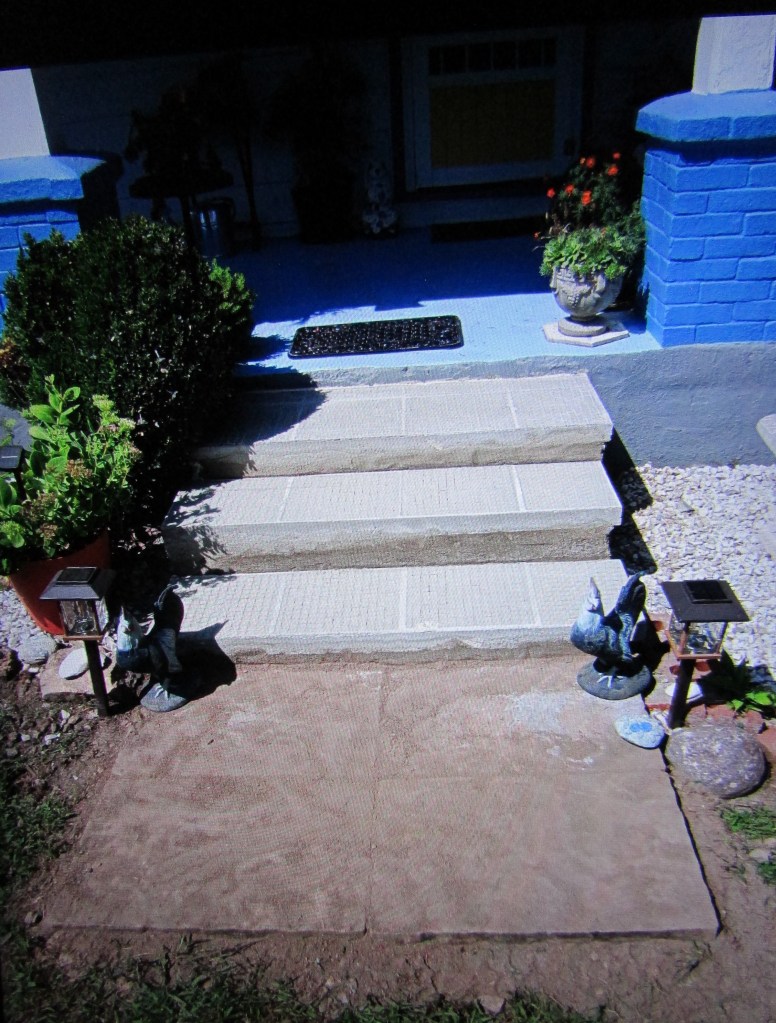
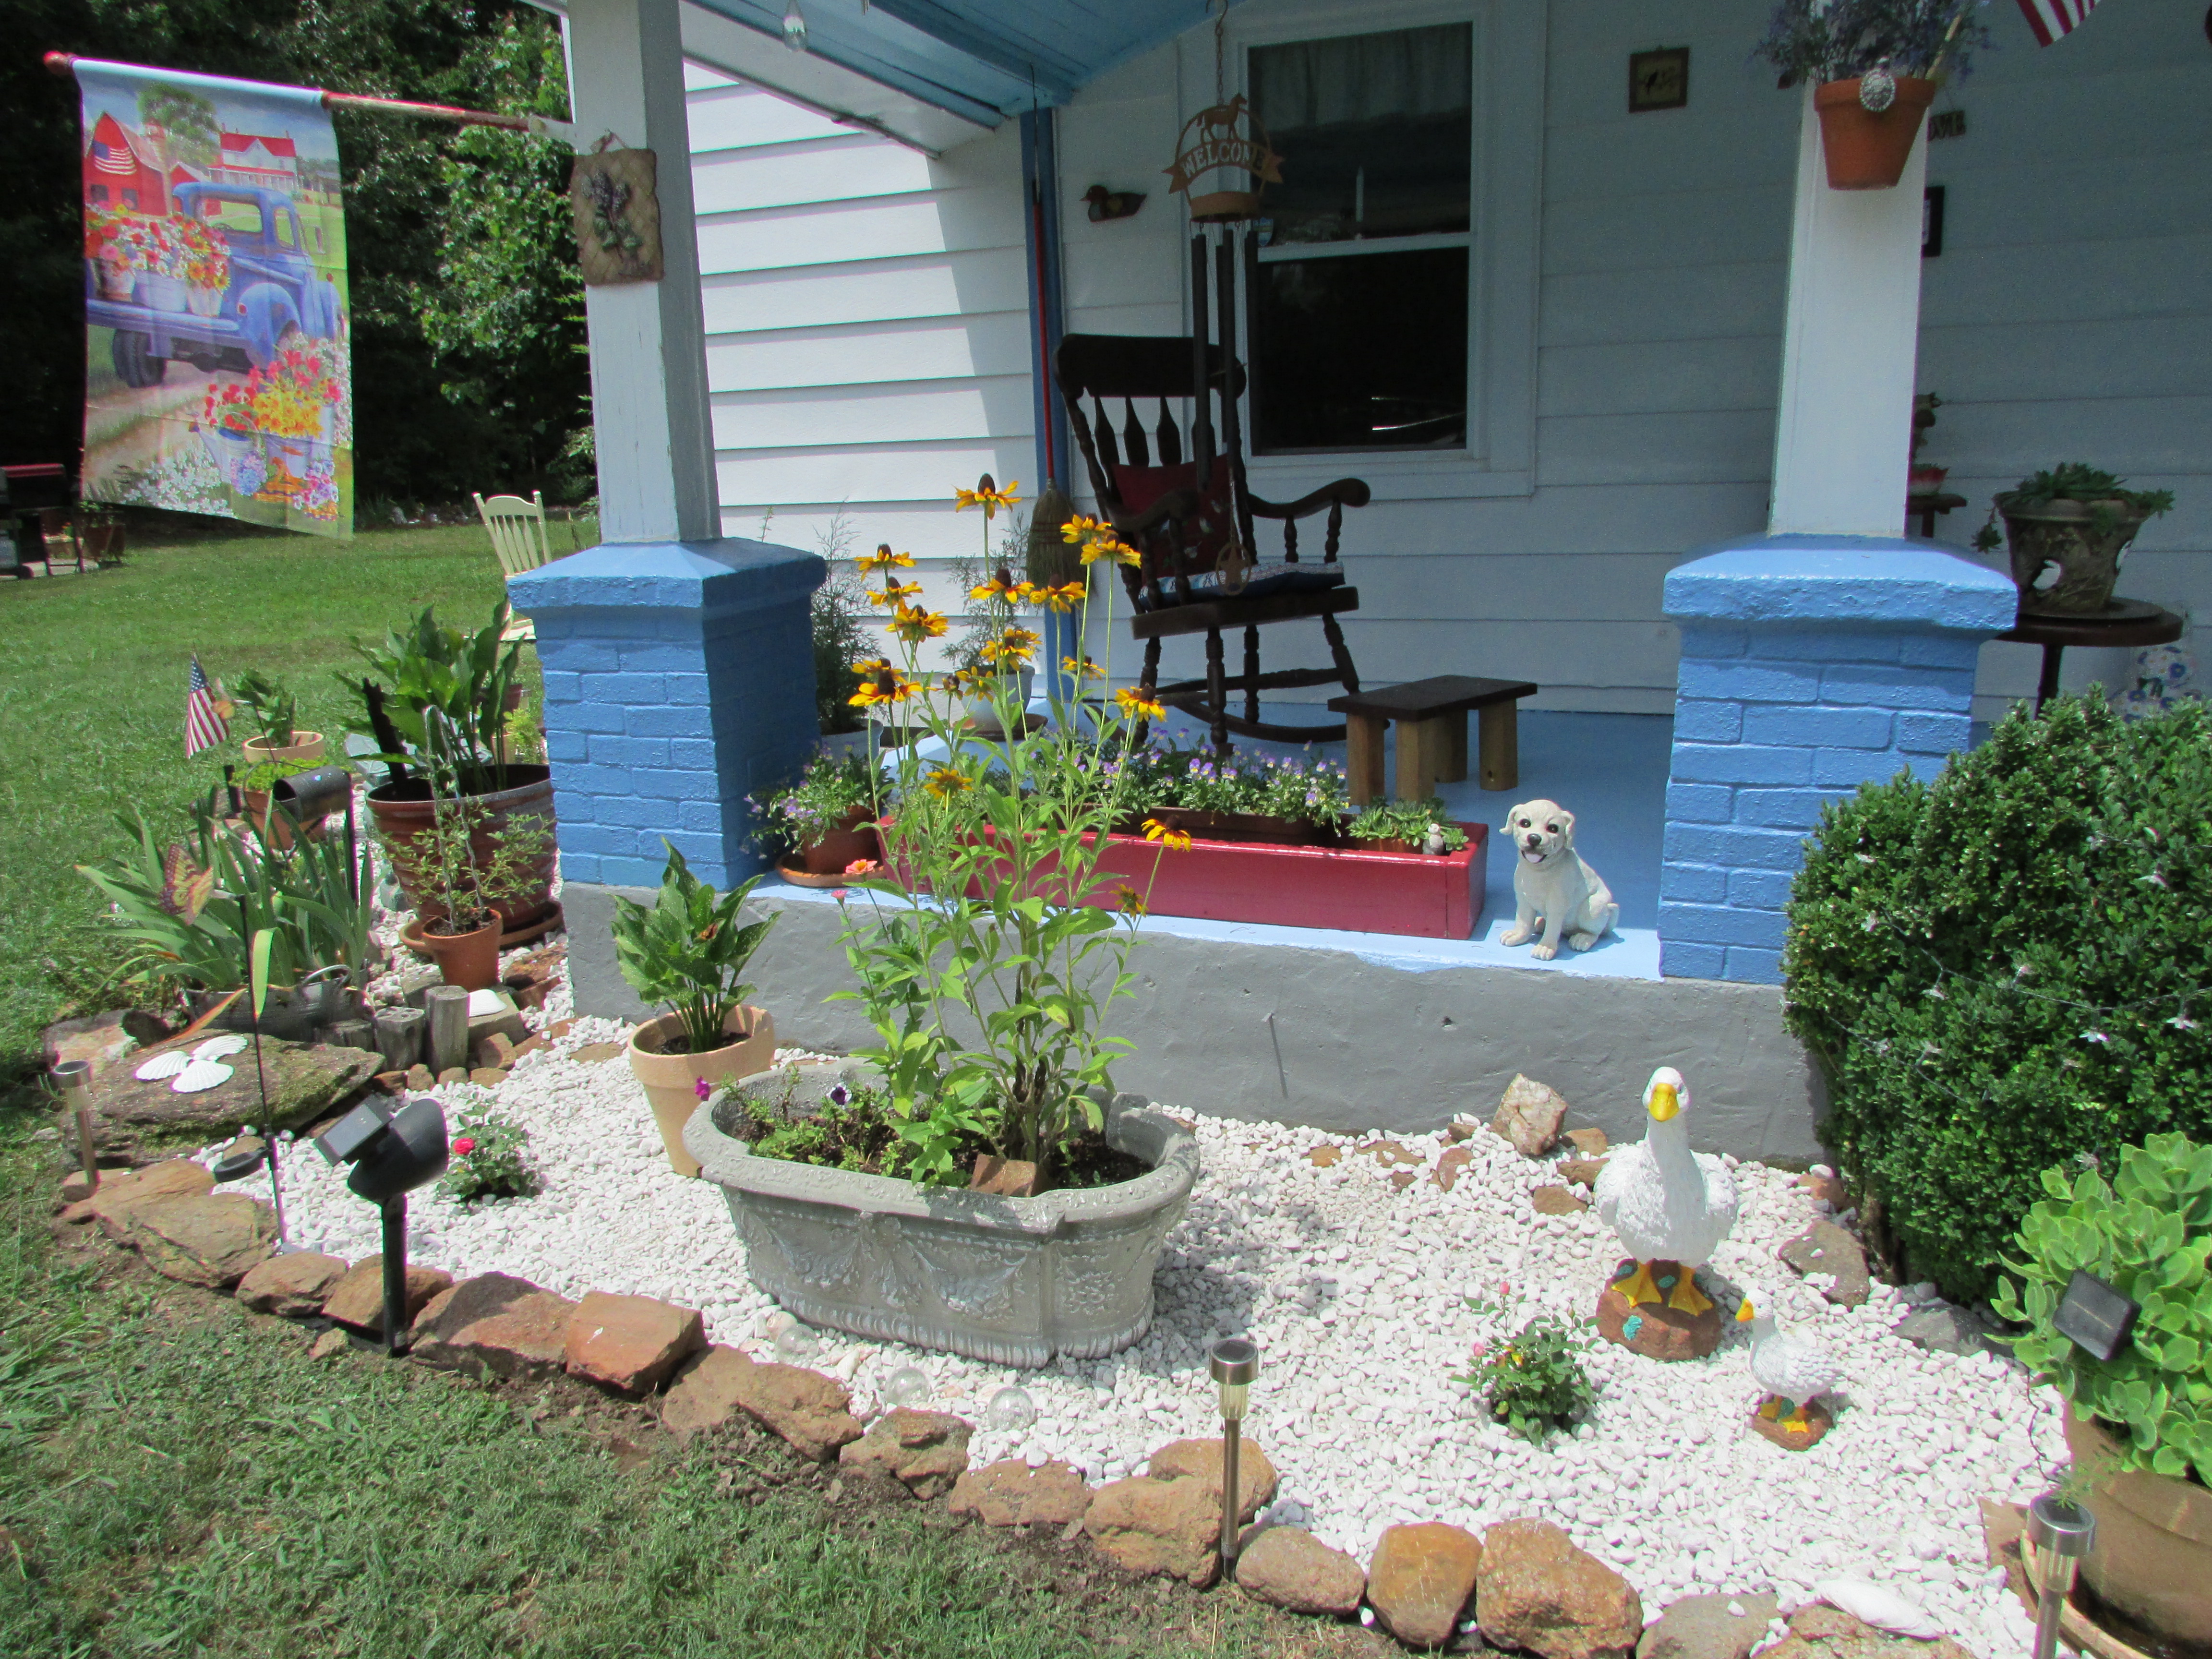
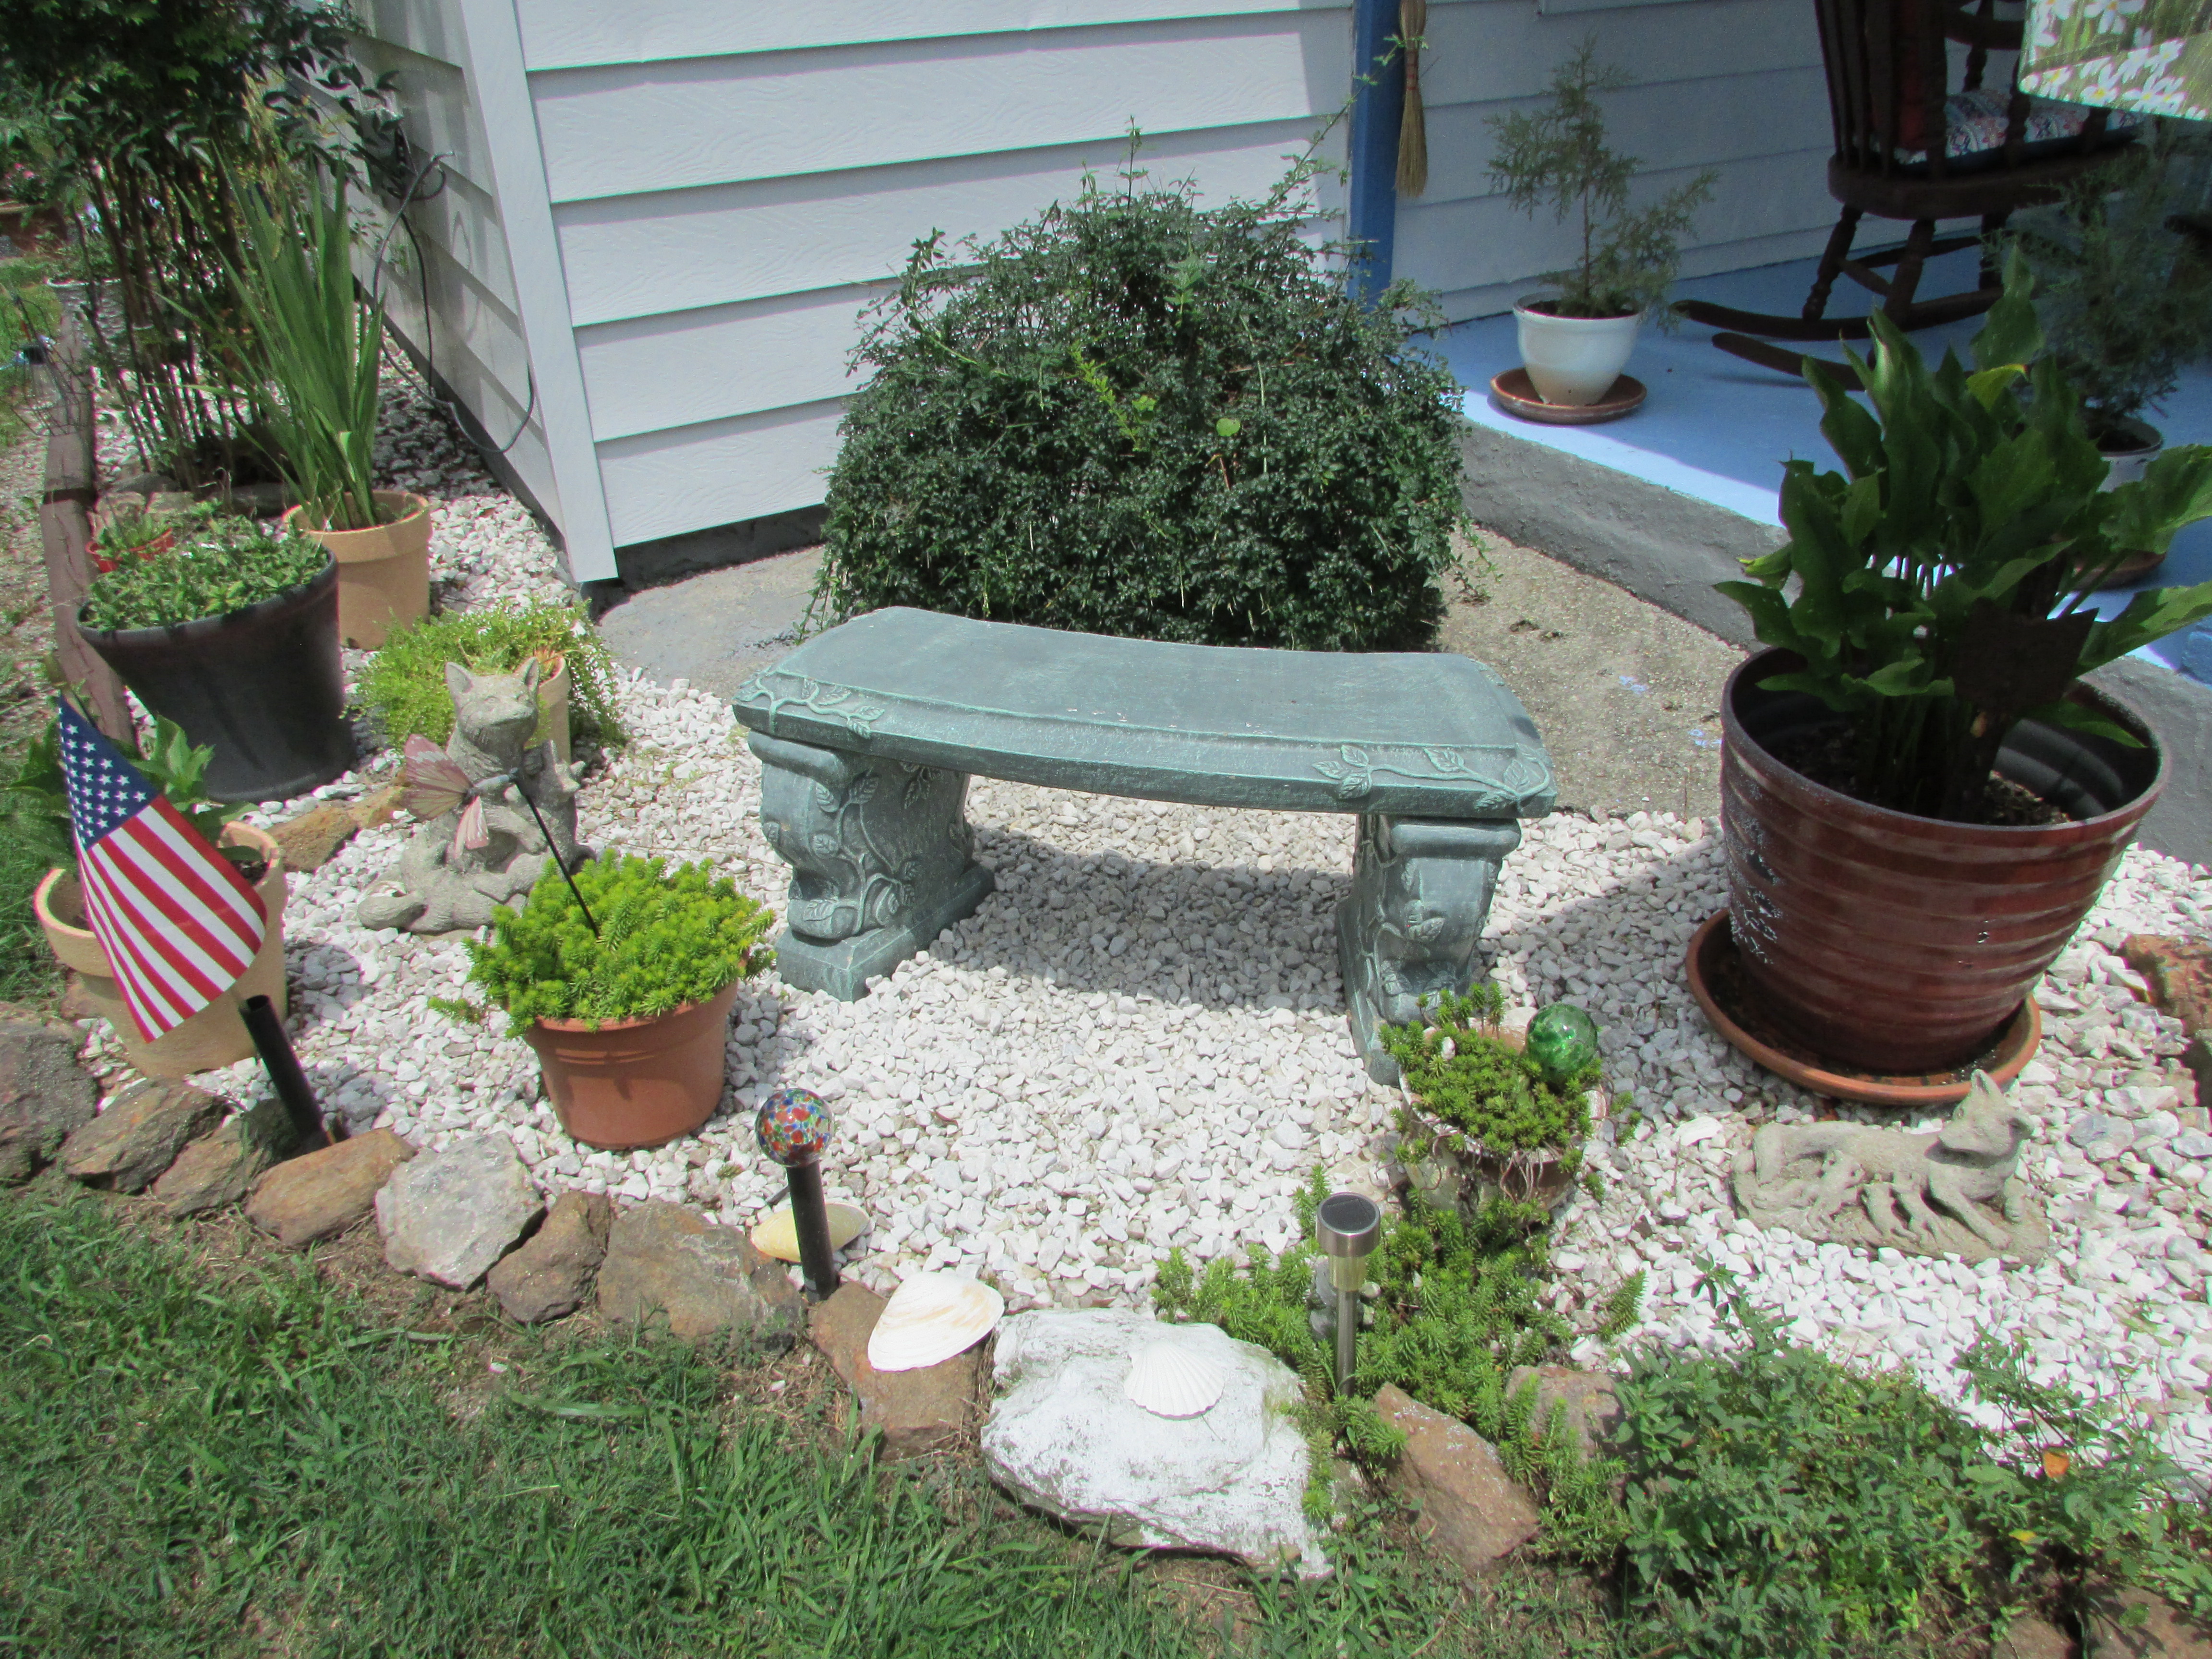
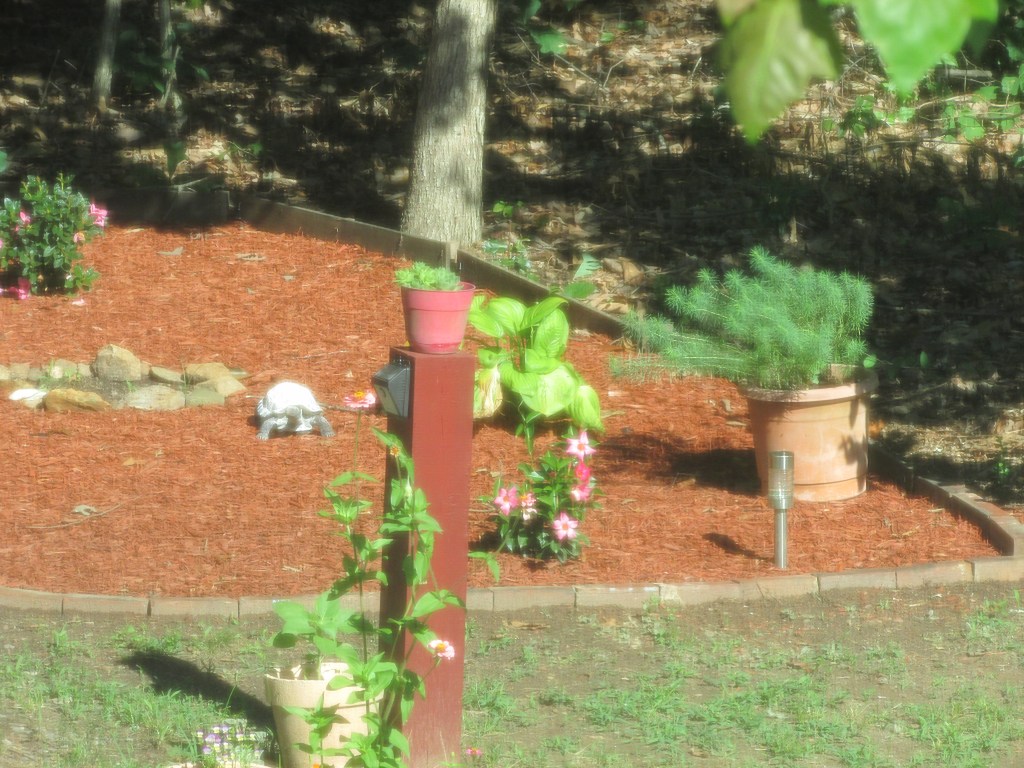
Following up on the previous blogpost about sprucing up the front entrance. Although there is much more we would like to do with the entrance area as far as adding more color with plantings, it has proven to be a bit challenging due to being a shaded area; however, we have managed to transform it from a messy and unruly, full of weeds area, to a rest area with a little bench, a few plantings and garden decor, as well as solar lights. It has taken some time and effort, but I am loving the result so far. One thing that I needed to add to this area was a sign with the name of our home, Black Crow Cottage. My husband recycled and repainted an old metal sign that I thought had no more life to it, and I was able to use it in a new way. I am so glad he did. It adds charm and sweetness to the entrance.

Black Crow Cottage was named after the many crows that live and nest here. I love them. Photo by M.A.D.

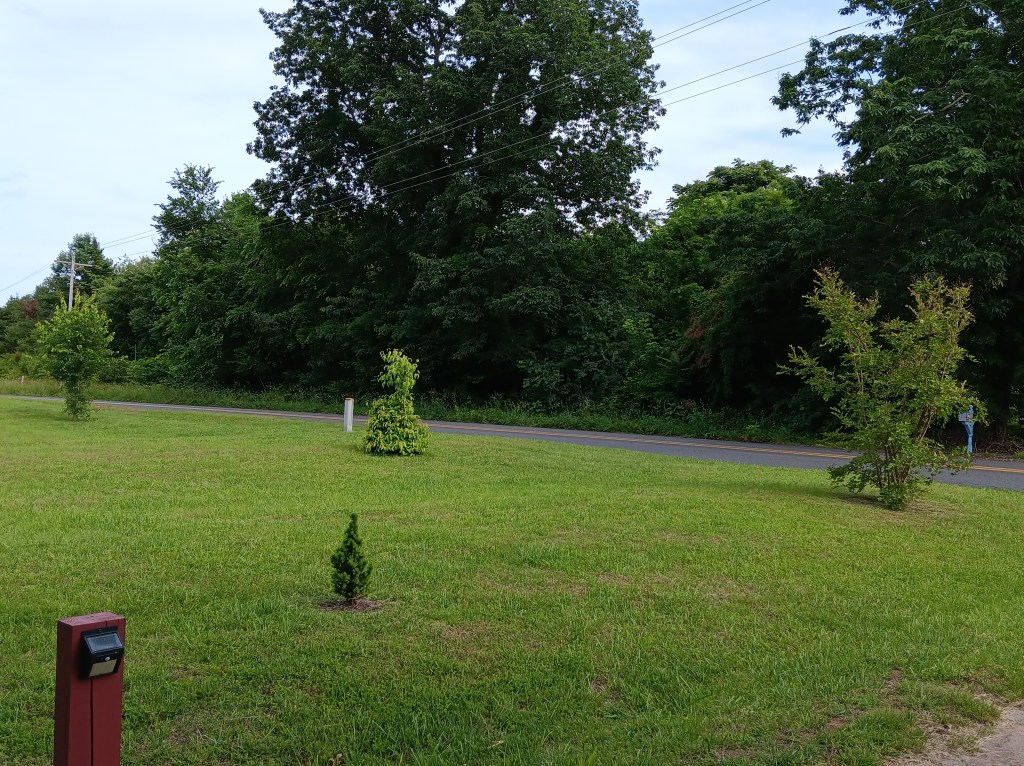
The front area of the property was covered in tall grass and some overgrown bushes intertwined that we had to remove. I was able to plant some free trees from The Arbor Day Foundation and after a few years they have grown well and are beautiful. To get the trees, I sent a small donation, and they sent me 10 dormant trees suitable for my area. Here is their website – Arbor Day Foundation. When I first saw the dormant trees, I did not know what to expect, and I thought these were dead sticks. After reading the instructions, I learned that these sticks were actually dormant trees that would come to life when planted properly. I planted them and watered them for the first two years, and they are lovely now. Of the five planted, I only lost one, the Dogwood tree. I gave five to my sister, which she planted in her previous home. The Crape Myrtle was the first one to bloom and the fastest to grow. The other grew at a slower pace, but steady. This year, the Hawthorn bloomed for the first time, and so did the Redbud tree. The Lilac bush has not bloom yet, but I read that it might take 5-6 years for it to bloom. Here is a picture of these lovely trees.

From left to right: Hawthorn, Lilac, and Crape Myrtle. The tiny tree closest to the red-light post is a small Christmas tree that I planted last Christmas. (Photo by M.A.D.)
This lovely Redbud surprised me this year by blooming allover before putting out its leaves. Photo by M.A.D.

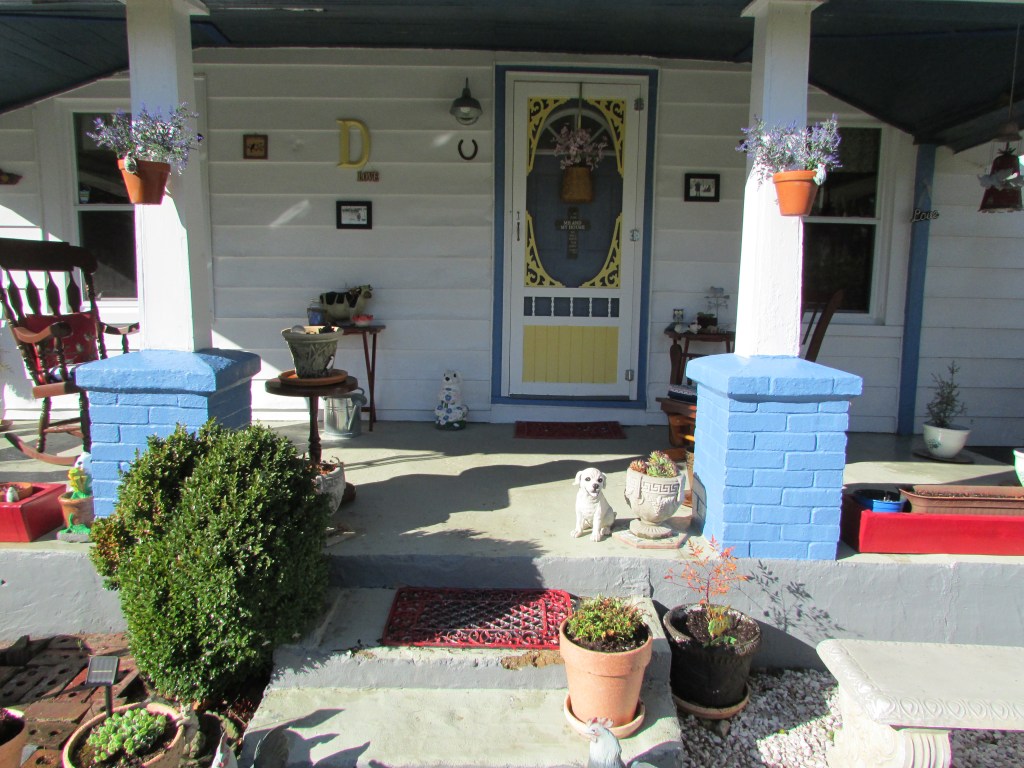
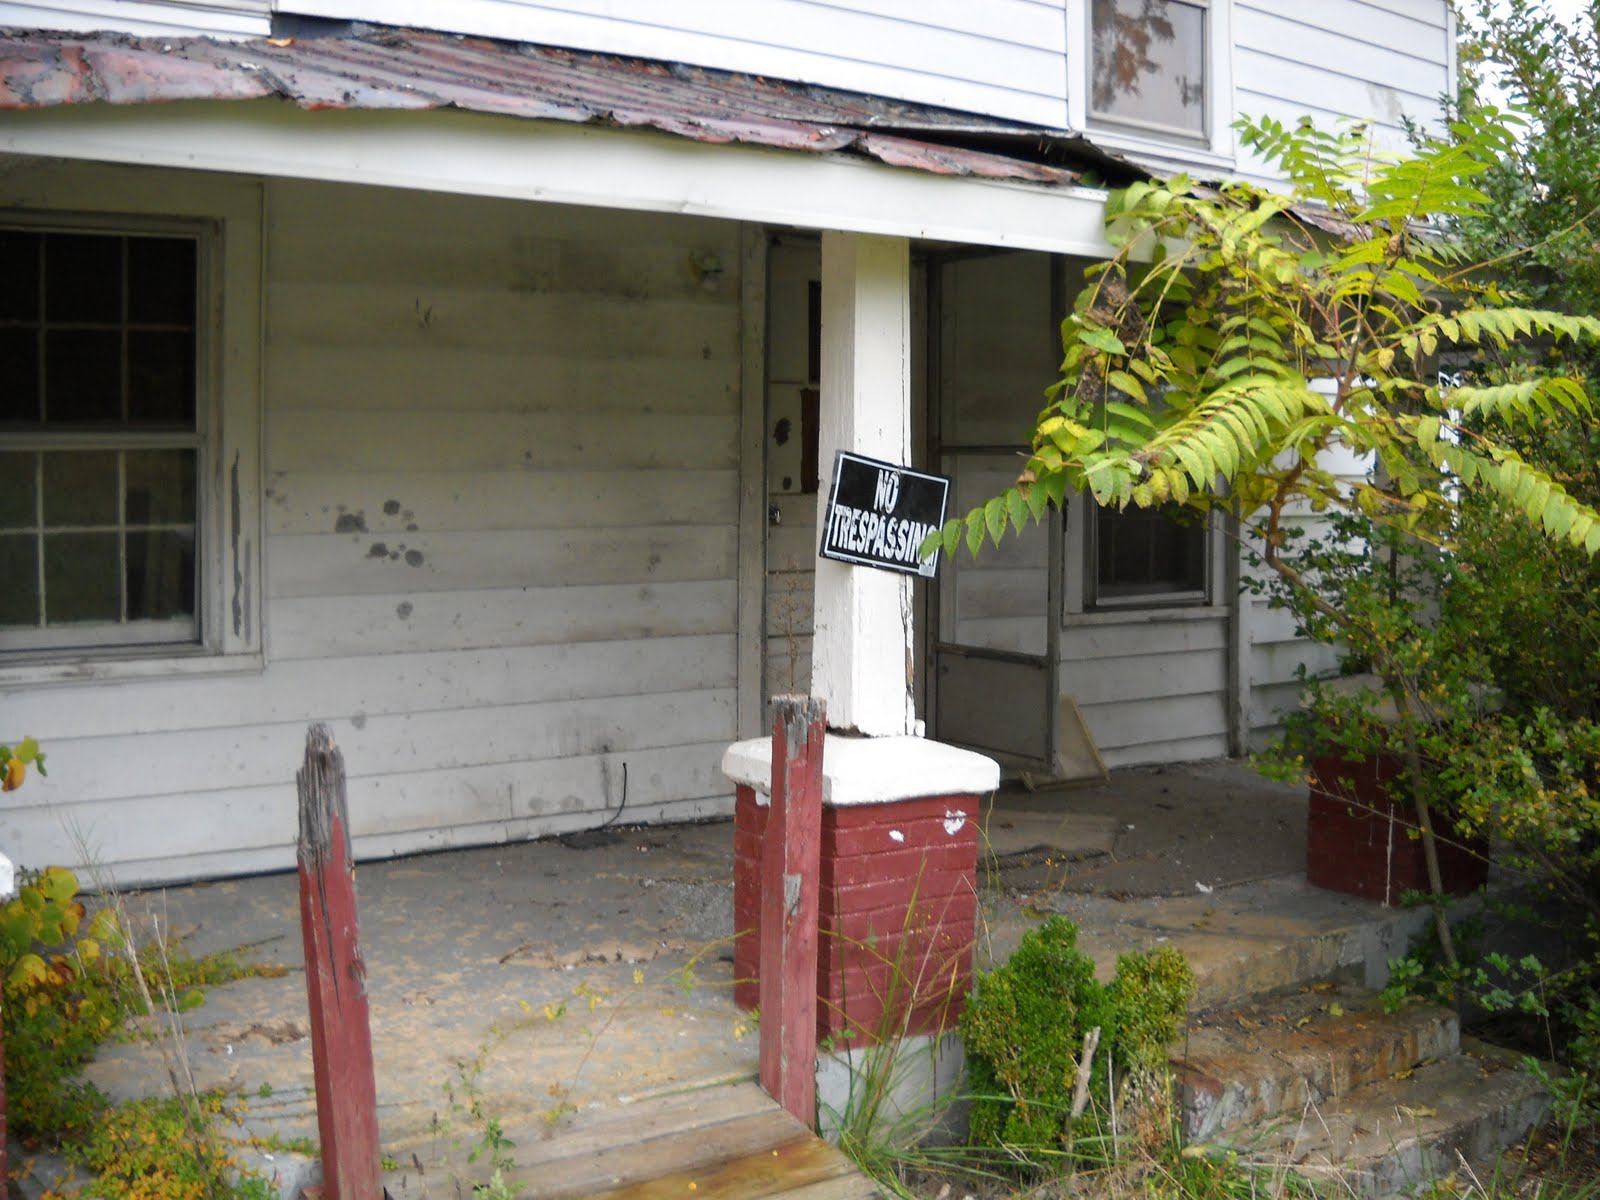
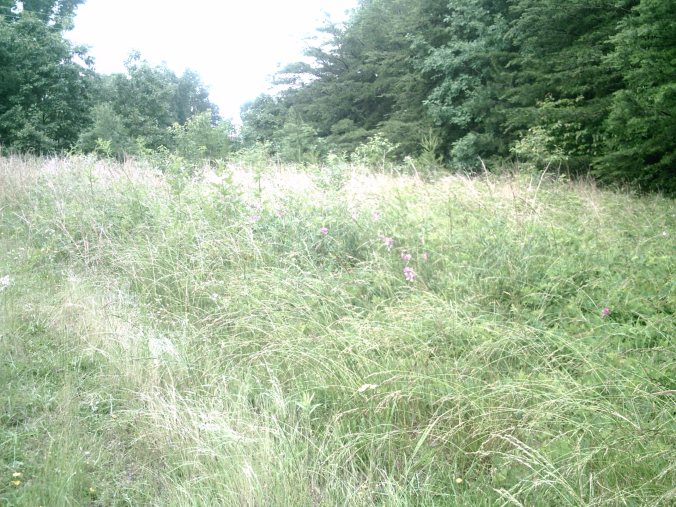
For those new to this website, here is a picture of the front entrance area when we first bought the place.

This was the front entrance before, when we first saw the place. The driveway was completely covered. It was a real mess that required vision, and the grass was very tall, up to my hips. (Photo by M.A.D.)

I wish to be able to see these trees when they become majestic and full grown. It will take years, but I am willing to wait. I hope you enjoyed this update.

Farmhouse Project: The Front Steps

The long list continues to be tackled one item at a time as time and money allows, and with the help of the Lord. This project has been waiting for a while, mostly because we were not sure of what to do with the steps, and what would be the best economical way to fix them. If you know anything about construction or masonry, you will know that this type of work is very expensive, and we did not want to spend a lot on these steps that were functional but needed some help. My husband came up with a good solution, as well as under budget.

When we first bought the old farmhouse, the steps were broken as well as the entire porch, so we decided to patch things up as best as possible and paint them. For the purpose of this post, I will share the steps/porch from the beginning so the reader can appreciate the development so far. Most important is that we are happy with the results, and I think that my husband did a great job at it. I did not work directly on this particular last project, only appreciated the process and took pictures.

Here is a photo of the early days, as it was when we bought the derelict farmhouse.

The porch and steps of the old farmhouse, as it was when we bought it. The cement was broken, well, everything was. (Photo by M.A.D.)

In order to move things along the way, we fixed the porch and steps as best we could and painted them. Here is a picture of what we did in the meantime.

We knew that we needed a more permanent solution, eventually. Here is where we are today, and the process my husband followed to level the steps and build new steps.

First, he measured and built the steps using cement, and tiles that we had bought from a builder but did not use in the house remodel. (Photo by M.A.D.)

This is what the steps look like once the cement has cured. The steps are thick and heavy.

He measured, leveled, and filled the old steps in order to place the new ones.

The final result. Eventually, we will have to fix the porch floor by adding slate, but that is another project in its own time.

In the meantime, I was admiring a gigantic but beautiful slug that I saw by the side entrance. The next project will be fixing that area a bit better.

I hope that you enjoyed this project and became inspired with a little DIY.

Restoring an Old Farmhouse – Porch Garden

Fixing up this old farmhouse has taken energy, time, and a bit of money; however, it has been rewarding. One of the areas in which we worked early on was the porch garden. We had taken recycled bricks from the chimney we took out in the kitchen and reused it in the area. Later on, when we created a small garden around the house using existing plants, potted plants, and white marble chips, we realized that we needed to make the area blend with the rest. The garden around the house is completed now. We moved around and relocated some potted plants. We positioned the concrete bench that was on the porch to the left side of the garden, just to match the right side of the garden. It worked out well. One more project off the long list.

A bit of background for readers new to this blog. The old farmhouse was in very bad shape when we bought it. It had been abandoned for many years and weather/time/renters/squatters had been rough on it. The value was on the land. By just looking at the derelict home we knew that anything we were to do from that point on would be an improvement. That has been a goal, to improve and add value over time.

BEFORE

A very scary view of the porch when we bought the farmhouse. There was no garden area, and everything had to be fixed up, everything. With much love and patience, my husband and I have been doing all the work. I have been writing about the quest on this blog. To read on the progress so far, you can visit my blog posts under Restoring a farmhouse or Restoring a garden.

AFTER

The brick area before.

We reused some of the bricks on the latest garden area we created that is located next to the faerie garden. We will be reusing the chimney bricks on another project.

I hope you enjoy the post.

Love and light.