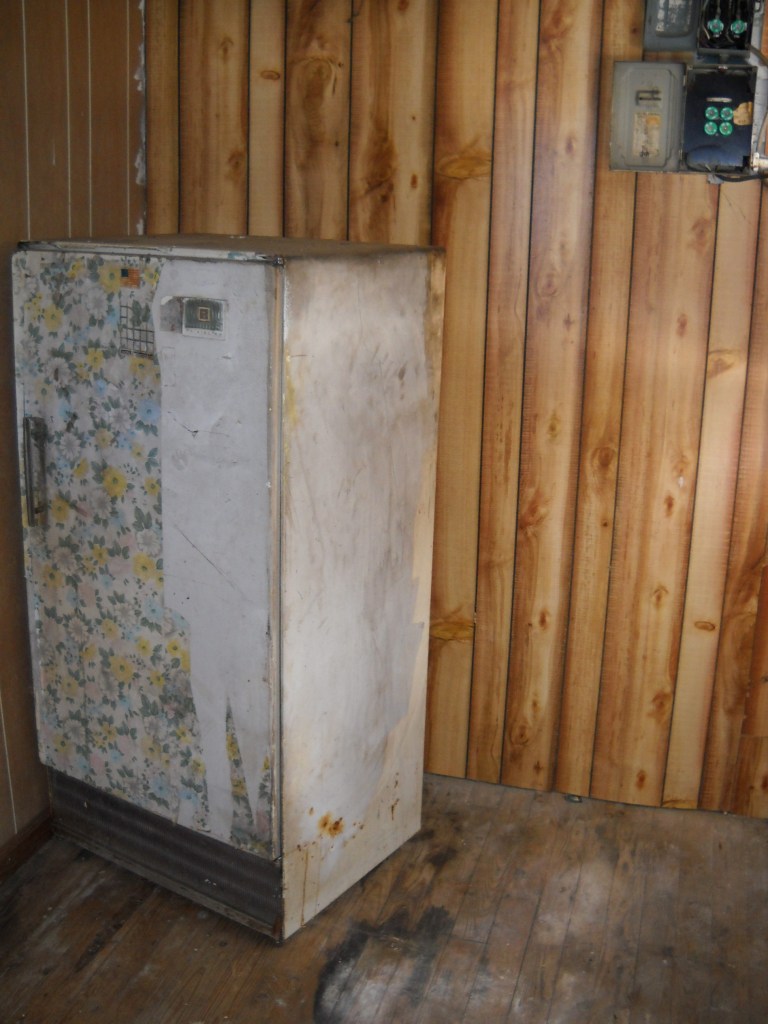
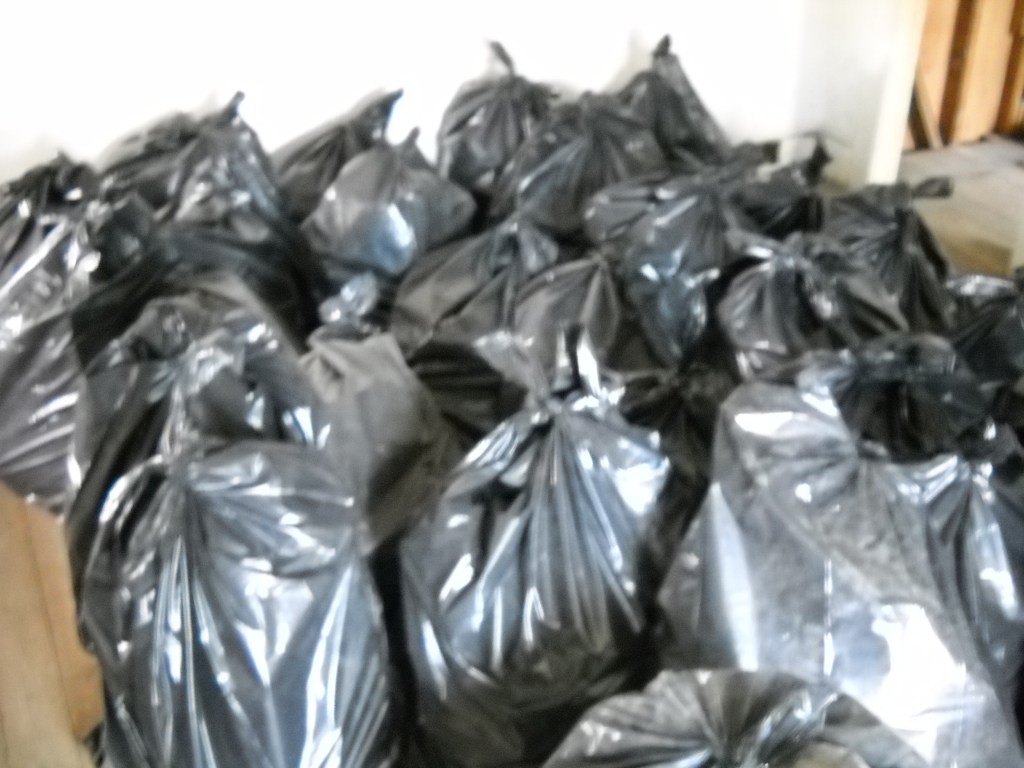
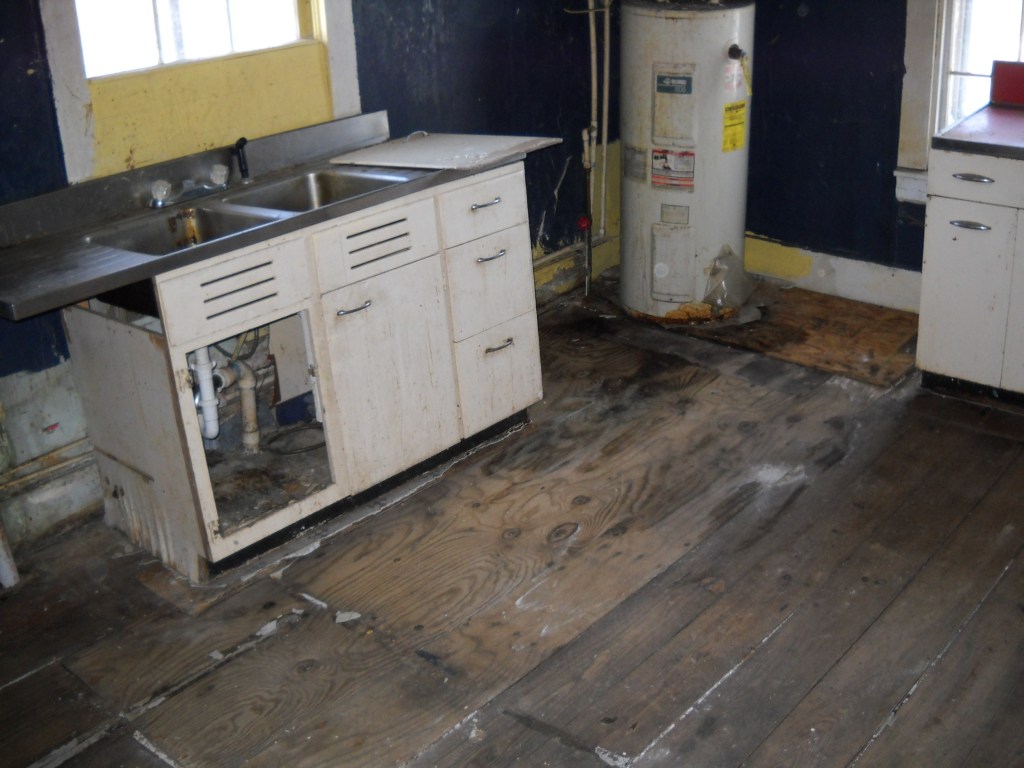
I wasn’t sure how to start this post, which is a natural progression from the outside/garden series of posts, continuing with the “fixing an old farmhouse” series but doing it without the blog posts being too long or too overwhelming for the reader. I will do so room by room, starting with this first post about the overall condition of the farmhouse. If you are familiar with my previous posts, you know that the entire property was abandoned for years and covered in weeds and overgrown vegetation, inside and out, and that it had been left to rot. The inside had been pretty much destroyed by the previous guests, whether human or animal. All kinds of critters had welcomed themselves inside and made all kinds of nests, from birds to wasps, snakes, spiders… There was also a large amount of garbage (scary) and many areas of destruction topped by poor attempts to fix something broken at one point. The large water heater had burst at one point and caused water damage on the kitchen floor, being that, more than half of the wood floor boards had to be replaced. There was also an old refrigerator on what is now the mudroom/cat room, and it had a rotten turkey inside, still in the wrapper, waiting for Thanksgiving day, which never came. The sheetrock was damaged all over the house and ceilings, meaning that hardly anything could be saved. Dirt and disarray were everywhere, and there was nothing that could be of use or salvageable – believe me, we tried; we had a limited budget to make the house livable. We could only save four things, and that was after serious consideration – the original steps to the upstairs and the wall and handrail attached to them. The fourth item was the closet walls in what is now the living room. However, there was potential, and we could see it. The before pictures will speak for themselves. I warn you – these pictures are not pretty, some of it will gross you out, and it is not for the faint of heart.
The Before.


This gives you a clear idea of the condition of the place, and the challenge ahead. I will not lie, at one point I asked myself if this was a mistake; however, I always saw potential. This is an introduction to a series of posts on the work on the inside. Having a very small budget to work with, we had to get creative as far as materials and sources for those. We used recycled materials, repurposed many things, and found materials online as well from independent sellers. We also bought contractor left overs, and that saved a ton of money. Craigslist is an excellent source for finding contractor’s surplus. Brand new material at huge discounts. We also bought new materials from the big Home Centers when needed.
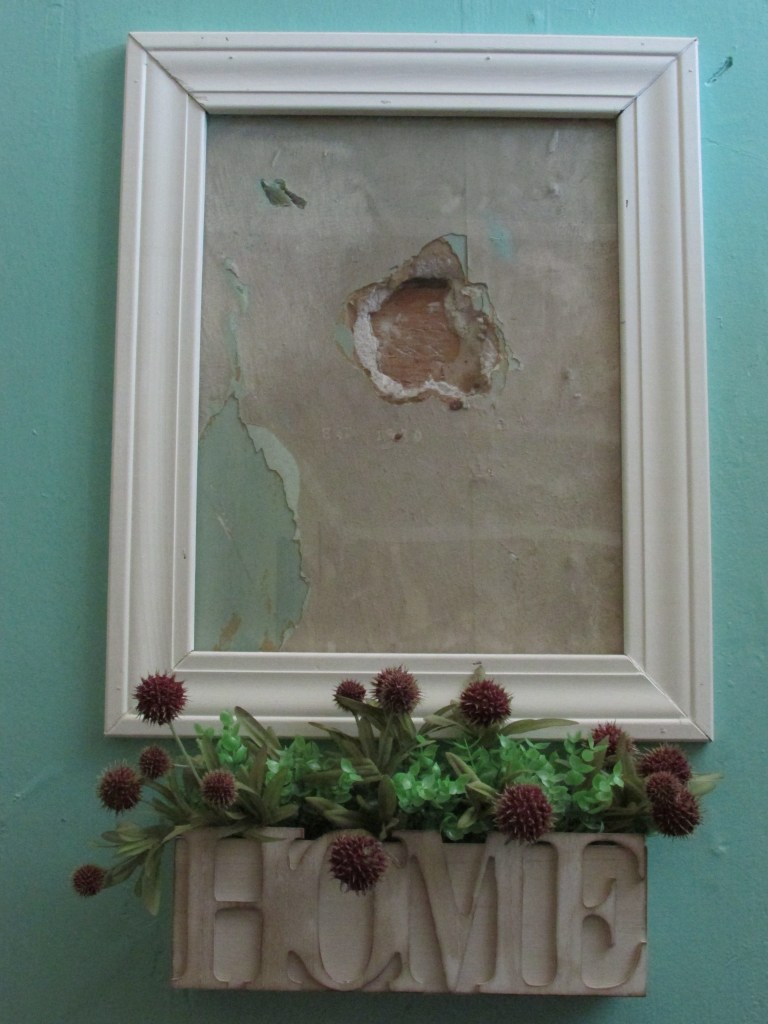
There was one area that we left as it was on purpose. We wanted to have a reminder of where we started and where we had been. It reminds us of many things, and also lets us appreciate the final product. I decided to frame it. It is located at the wall by the steps leading upstairs, the one we kept. Here is a picture of it.
It would be wrong to call this a restoration, as nothing has been historically restored, if anything, the soul to this house has been restored. It is our attempt to give life to a place we could call home. I will continue to share more on this endeavor, room by room. I hope you enjoy this post.
