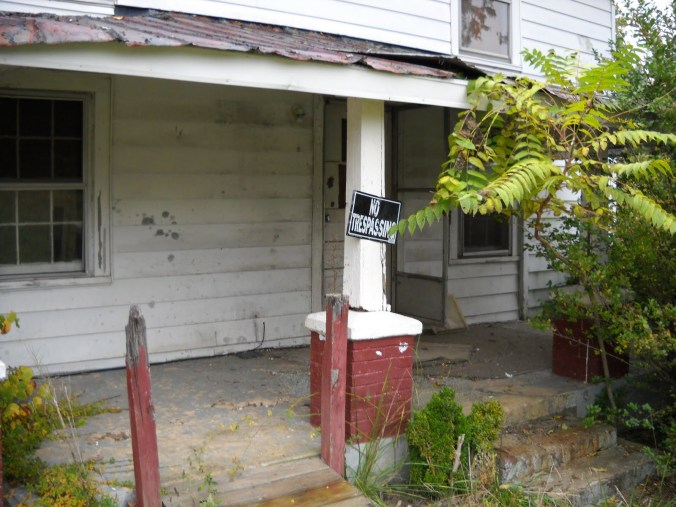
Ten years ago, we moved to rural Virginia and fixed up a dilapidated farmhouse. I ended up naming it Black Crow Cottage, for the many crows who live and play here, one of my favorite birds. I love crows, and I love their song, so when I saw that we had so many around, it was natural to name the farmhouse just that. Over the years, we have done a lot of work on the place. We made it livable; we gave it its soul back. This old farmhouse (circa 1910) has given much to us as well. For those stopping by and visiting this blog for the first time, here’s a picture of the way it looked when we bought it. For more on the whole process you can visit my older posts under Fixing an Old Farmhouse or Restoring an Old Farmhouse.
After all this time, we got to know the old farmhouse better. We were respectful of its past but also lived in it knowing that it could be our home in our golden years. Knowing this, we experienced the house and all it had to offer but realized that there are many things that we need to change for making it a permanent residence. This is what this post is all about, the changes that we know we have to make, now that we have lived in it for a decade. Also, we have decided to give it a refresh and paint the entire place, while we rethink the layout. In addition, we love the tight small community in which we live. After the monstrosity data center ordeal that we all lived through, it has been more apparent how special this community is.
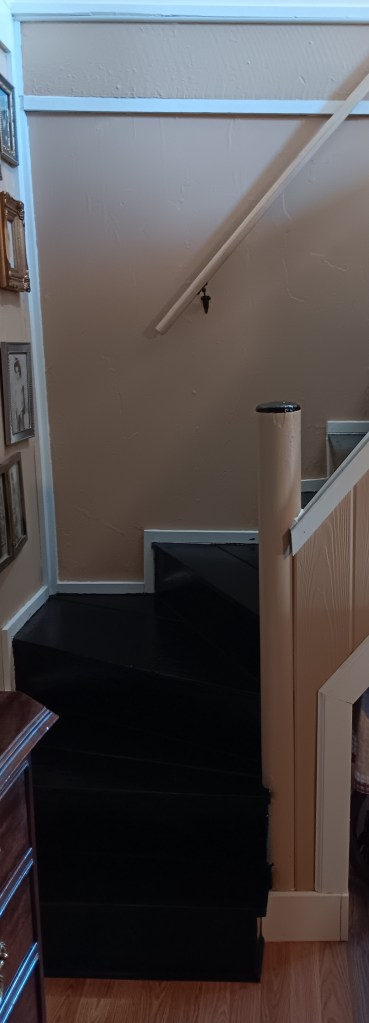
Our initial layout served us at the beginning but now we realized that we need a bedroom downstairs. The stairs to the second floor are very narrow and steep (I cannot fit my entire foot on the step). After hurting my knee during the summer, I realized how important it was for us to have a bedroom downstairs. The original layout had a bedroom downstairs, where we set up the living room in order to make the old living room a dining room. The kitchen was an eat-in kitchen. For long term living, the old set up was much more suitable, so we are reverting to the old set up. Recently, we repainted both rooms and switched the living room to where the dining room was, eliminated the dining room, and now, we are in the process of converting the old living room into a bedroom. We are reverting to the way things used to be and functioned in this old farmhouse.
Below, is a progression of the stairwell during all this time, from the beginning until now. We changed the color and added a much-needed longer railing.


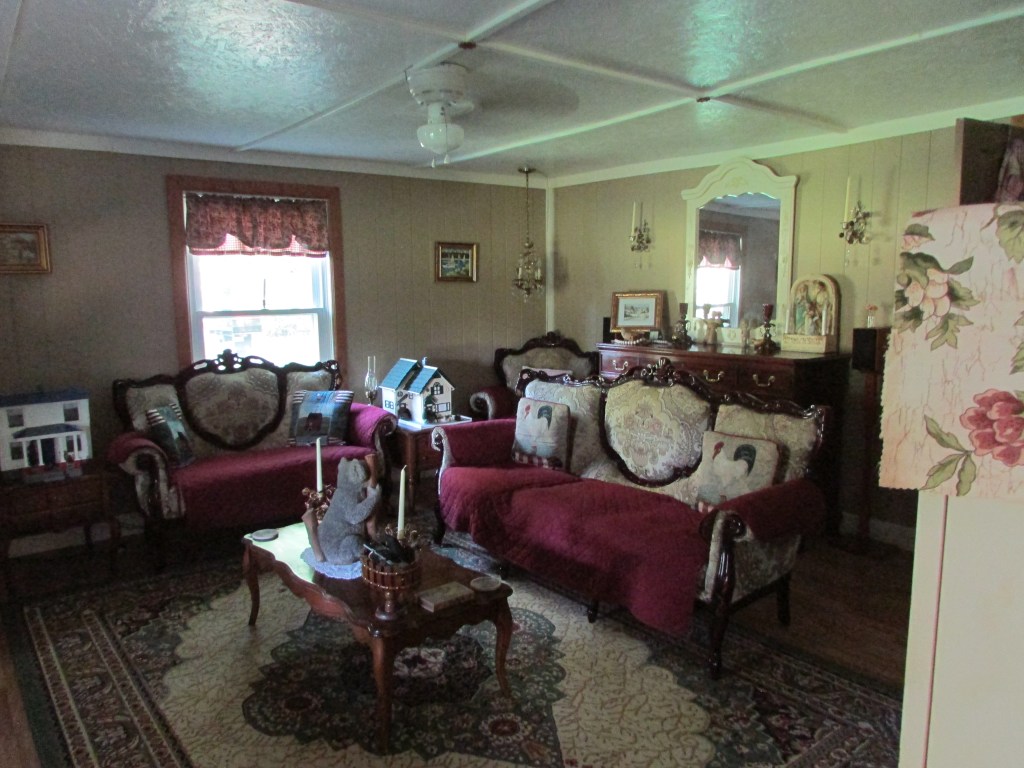
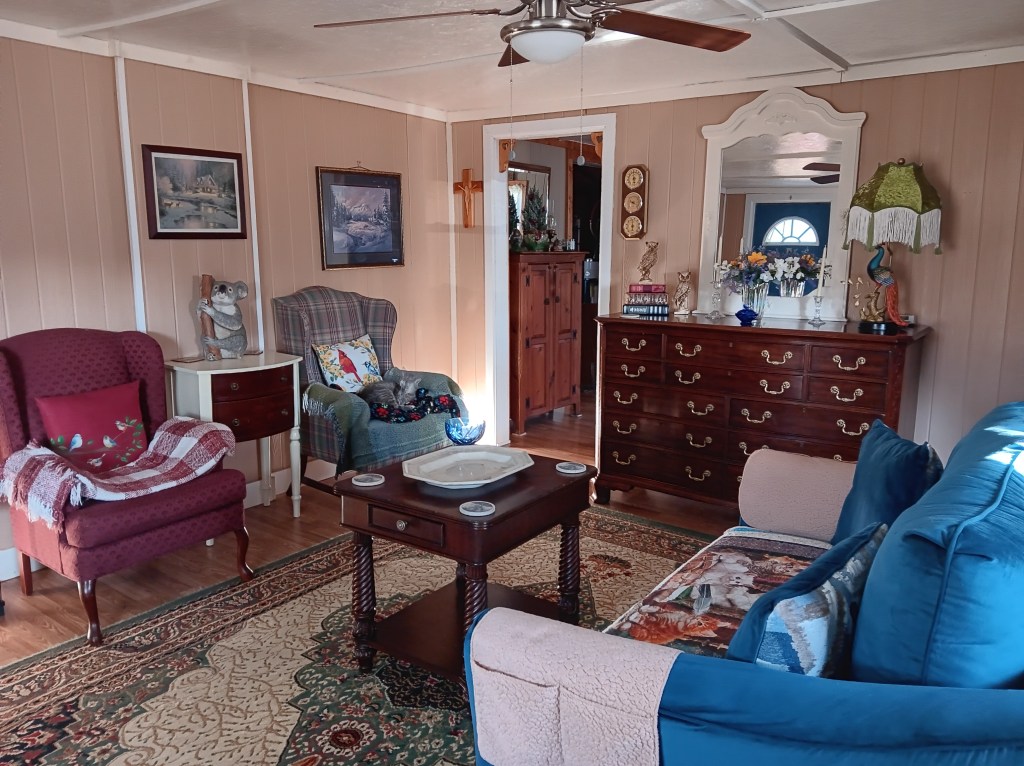
The living room is now where the dining room was. Our family is spread out so we really did not need a large dining room. This is a progression of the old living room, which will become a bedroom, and the new set up for the living room as it is now, located where the dining room was.


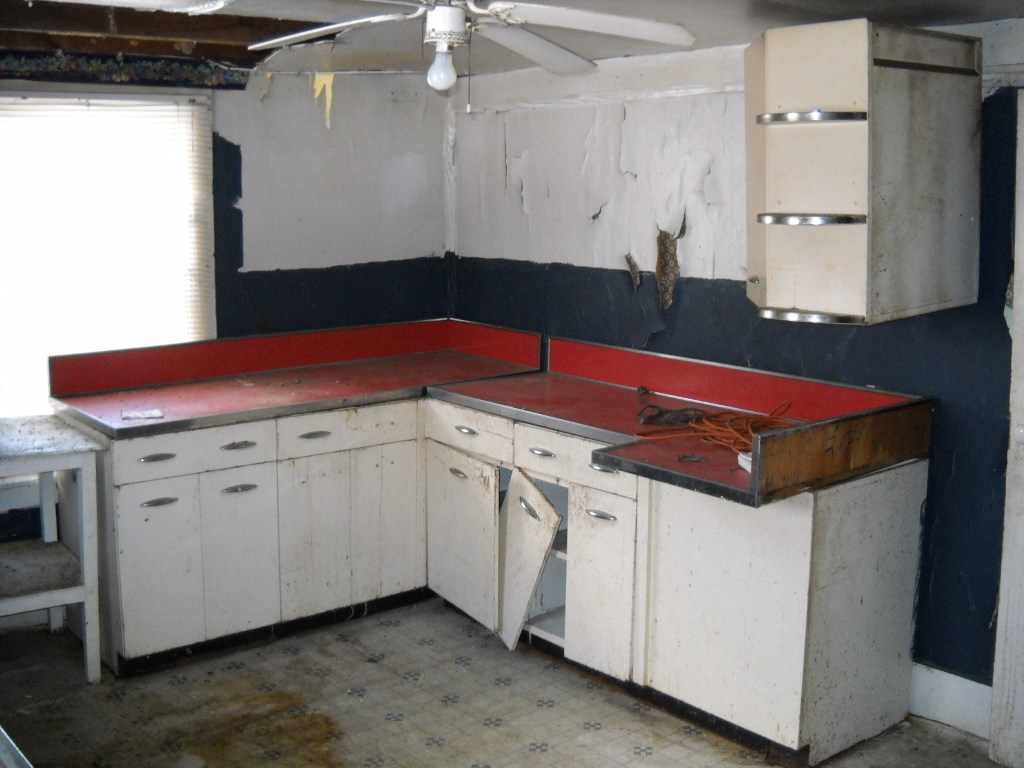
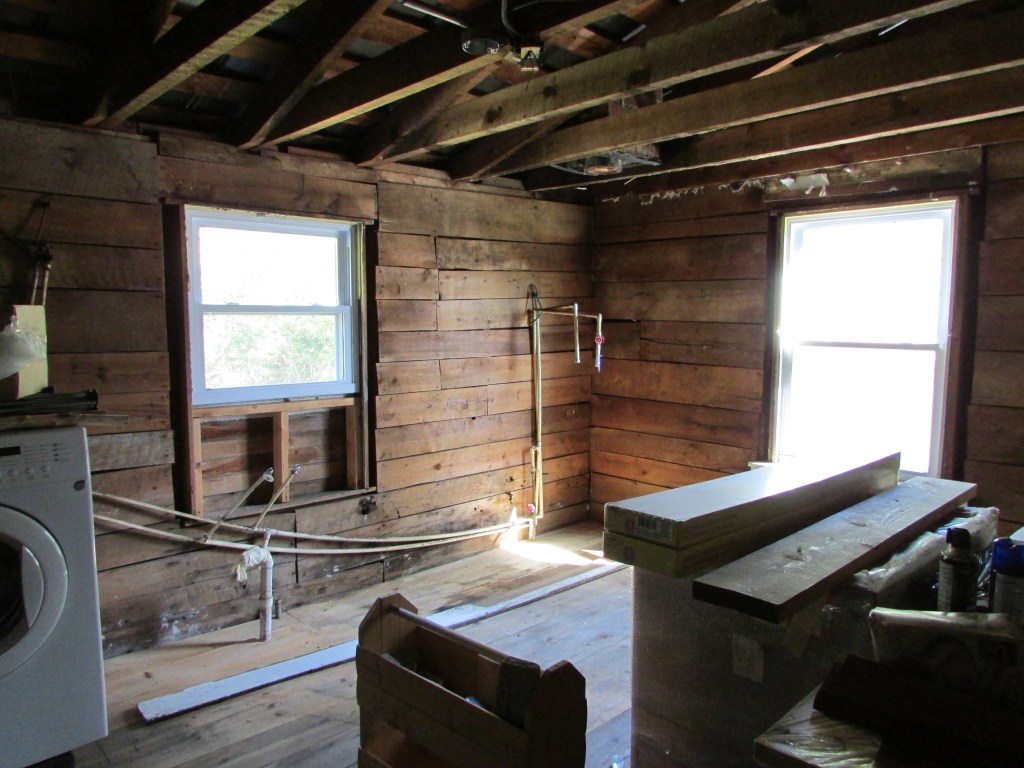
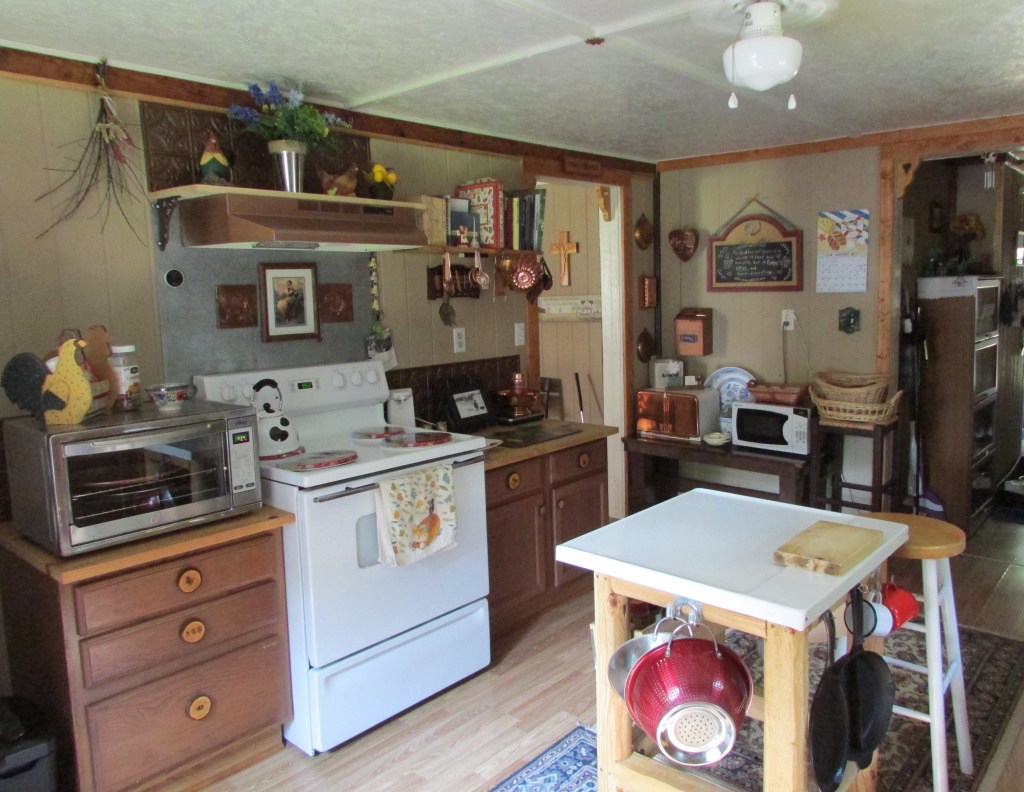
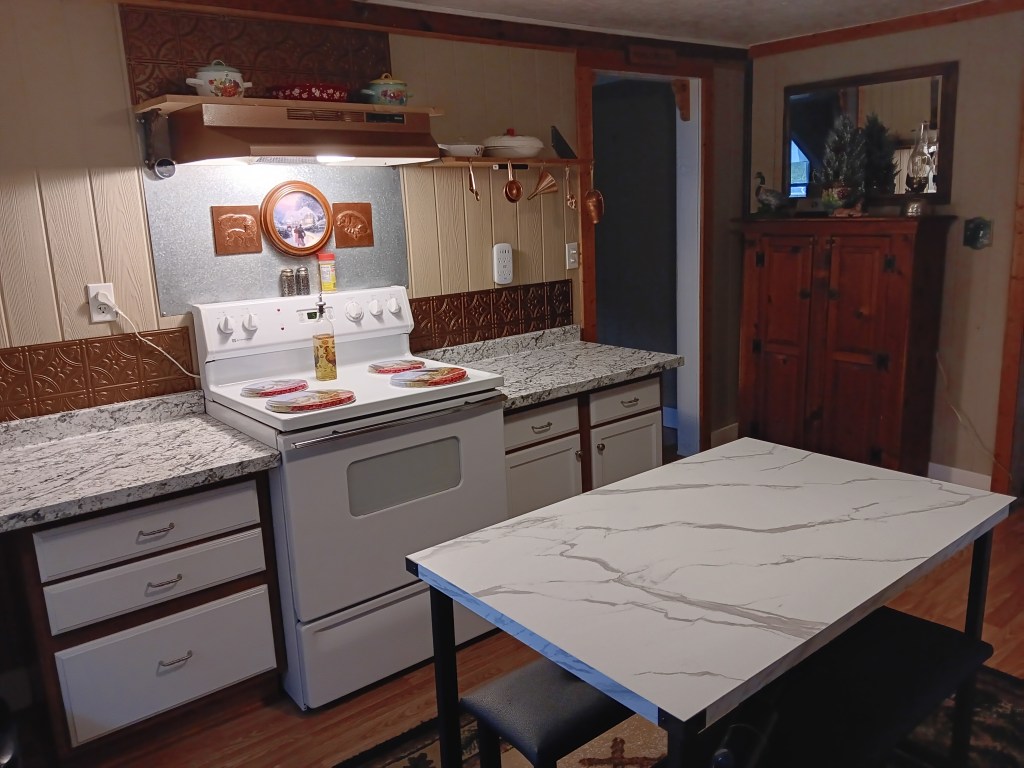
The kitchen is in the middle of a refresh right now, we need to paint, and half of it is done. Due to the recent cold temperatures, we stopped painting. The temperatures here have been in the 30s during the day, and in the teens or single digits during the night, sometimes, even a below zero negative wind chill. It has been unusually cold. Here is a progression of the kitchen from its awful early stages when we bought the farmhouse, until now. We still have some work to do, which will continue during this year.
The back room will remain the mudroom/cat room, and it will be repainted. The upstairs will remain a bedroom, and an office, but will be repainted. However, this area has experienced an increase in energy bills, as well as many other counties have, and we are planning to do some energy efficient changes in the future, which will include encapsulating the crawlspace, new roof and insulated siding, as well as closing the second floor by adding a door/wall at the end of the stairway, which can be closed during winter to keep the heat mainly downstairs. This type of farmhouse construction used to bypass insulation and in order to insulate it, a frame has to be built around the entire house (costly) to allow for insulation. It cannot be insulated in the usual way because there is no space between the outside wall and interior wall, thus preventing the airflow and creating mold problems in the future. Since the majority of the heat escapes through the roof and crawlspace, addressing those areas should take care of the issue, as well as using a new pre insulated siding. Those are costly projects that will be planned in the future. For now, adding a wall/door to the upstairs should improve energy consumption considerably, followed by crawlspace encapsulation. We also use a pellet stove for heating, which is very energy efficient.
These are mainly the issues that we will be dealing with to make this farmhouse a place where we can live for many years to come with God’s blessing. I will be sharing the progression in future blog posts. I hope this helps those of you who are going through a renovation of an older home, of how important it is to consider issues that will be relevant in the future, especially if planning to live in it for many years or if it may be a forever home.