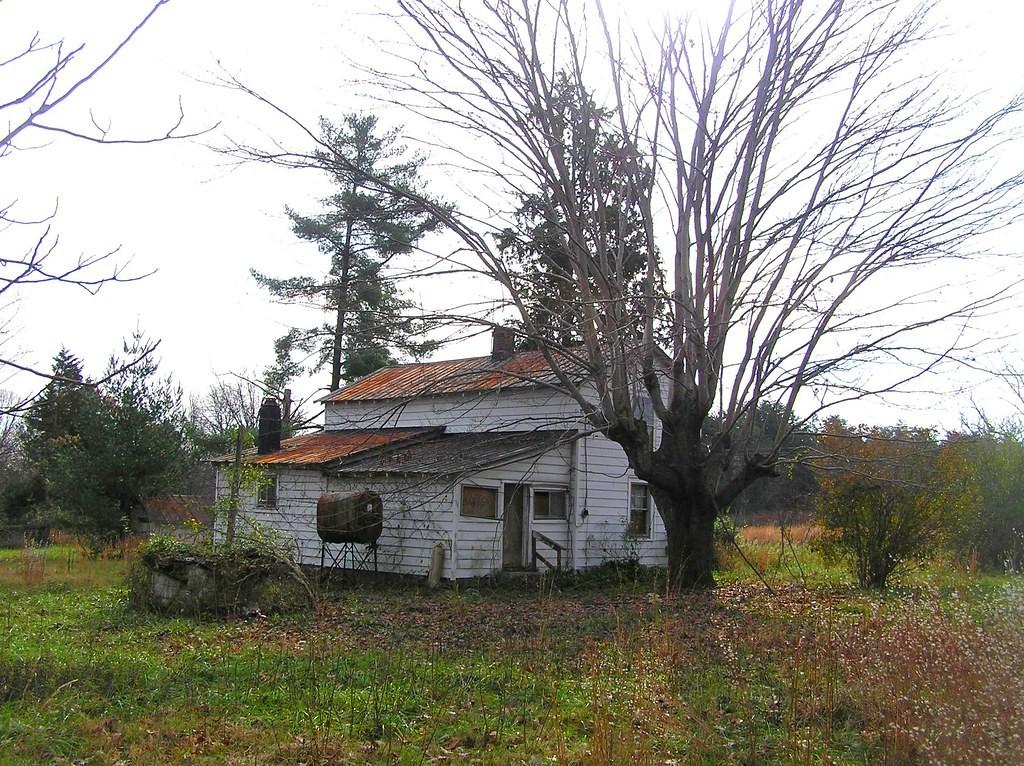
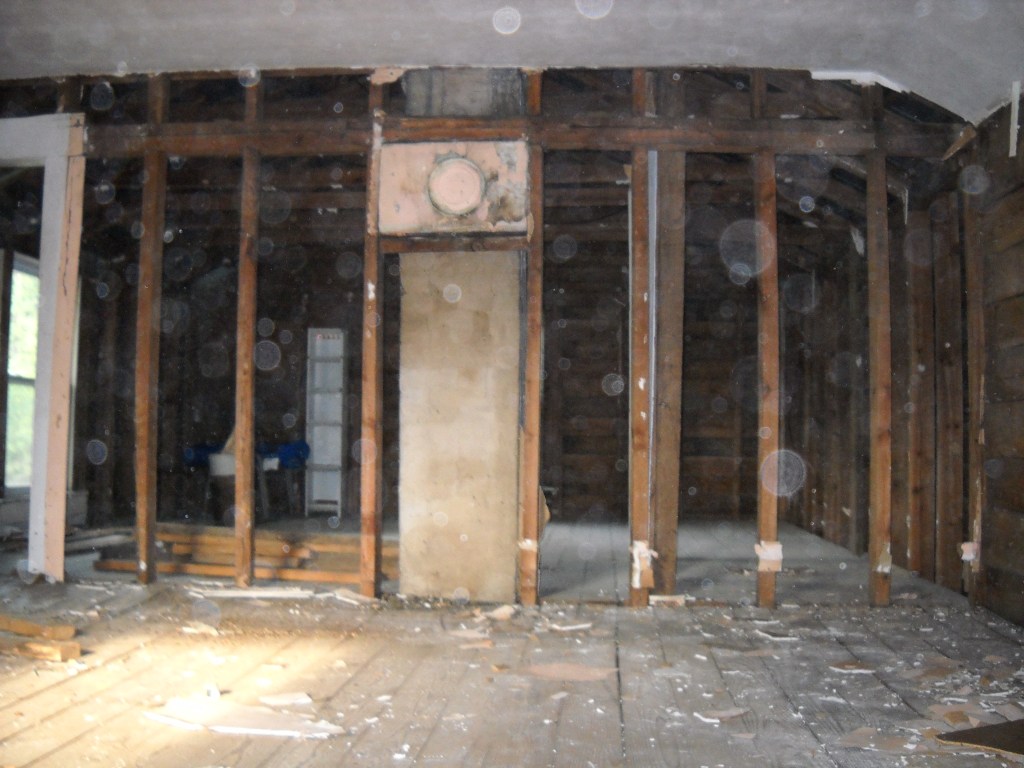
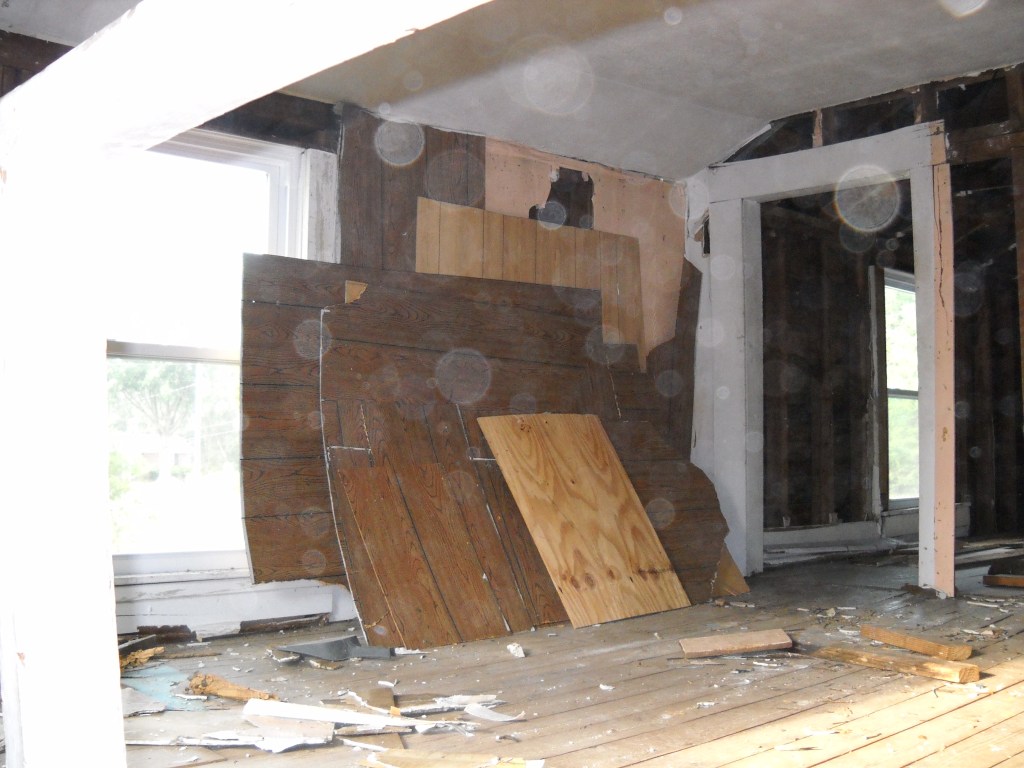
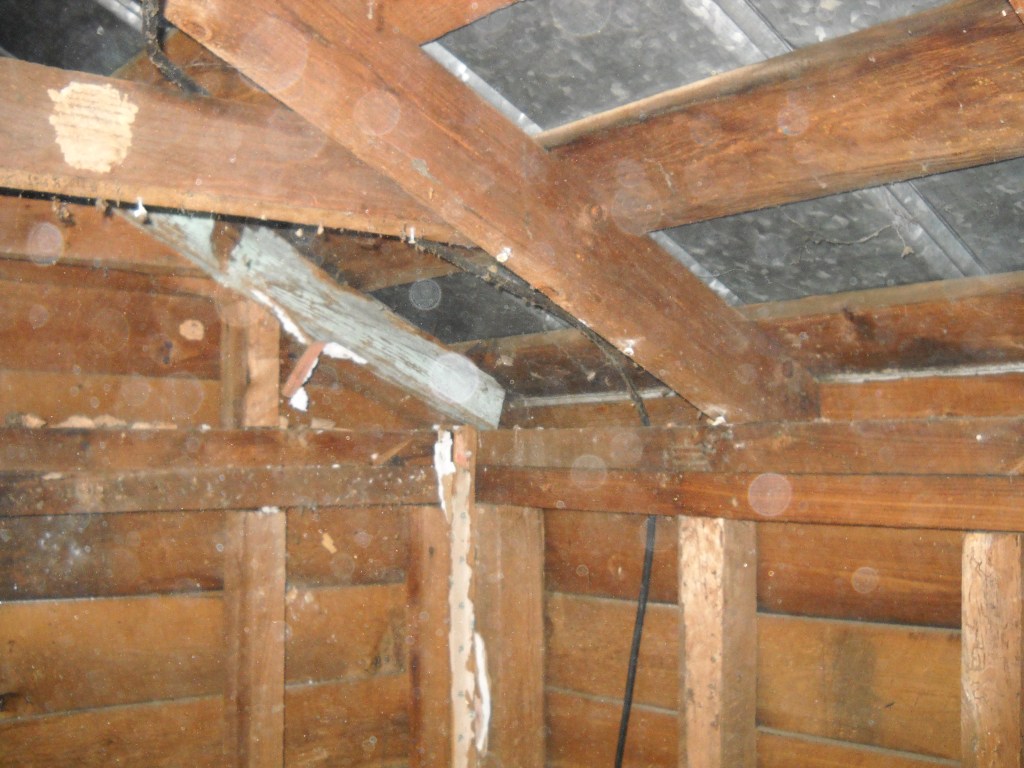
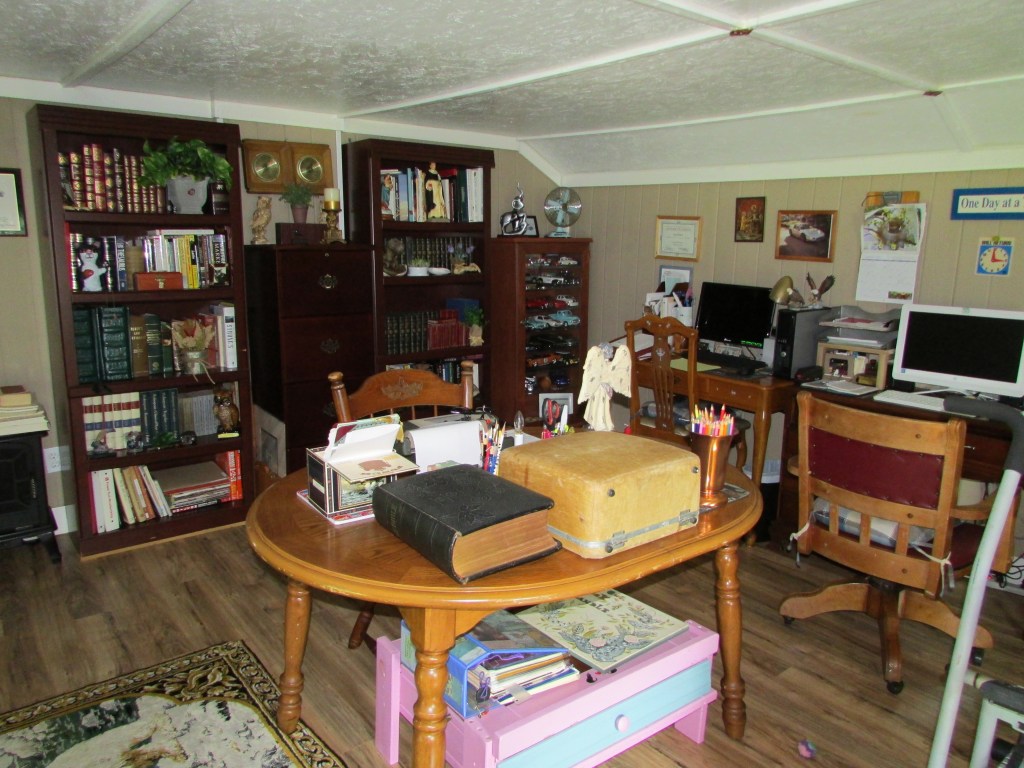
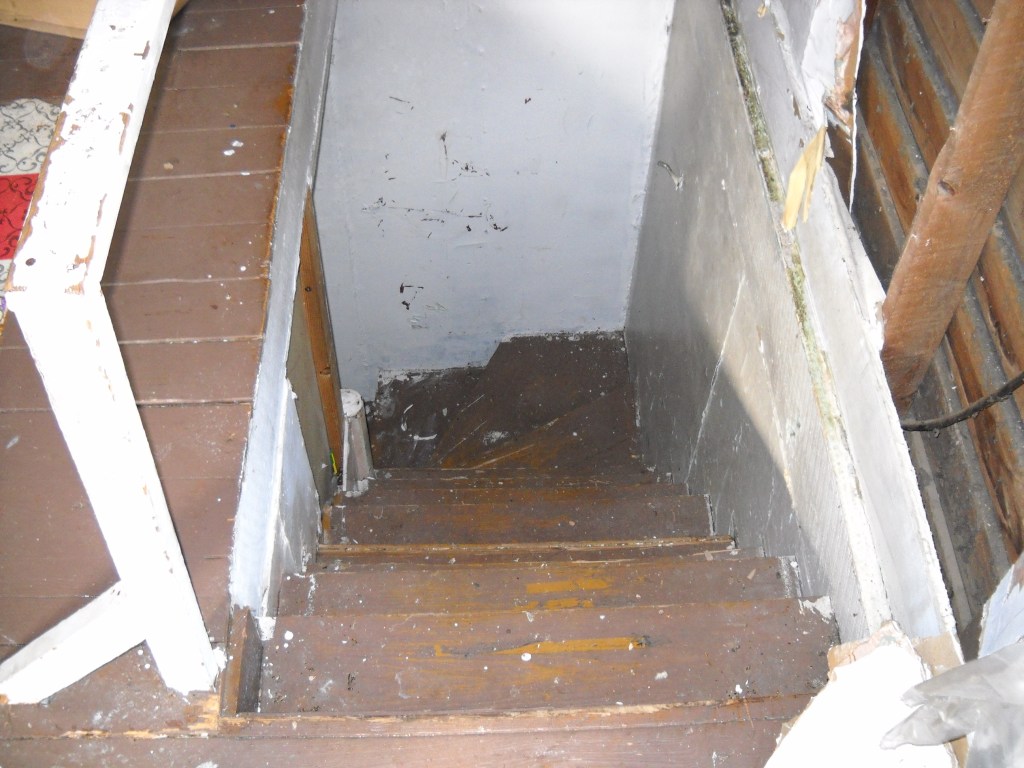
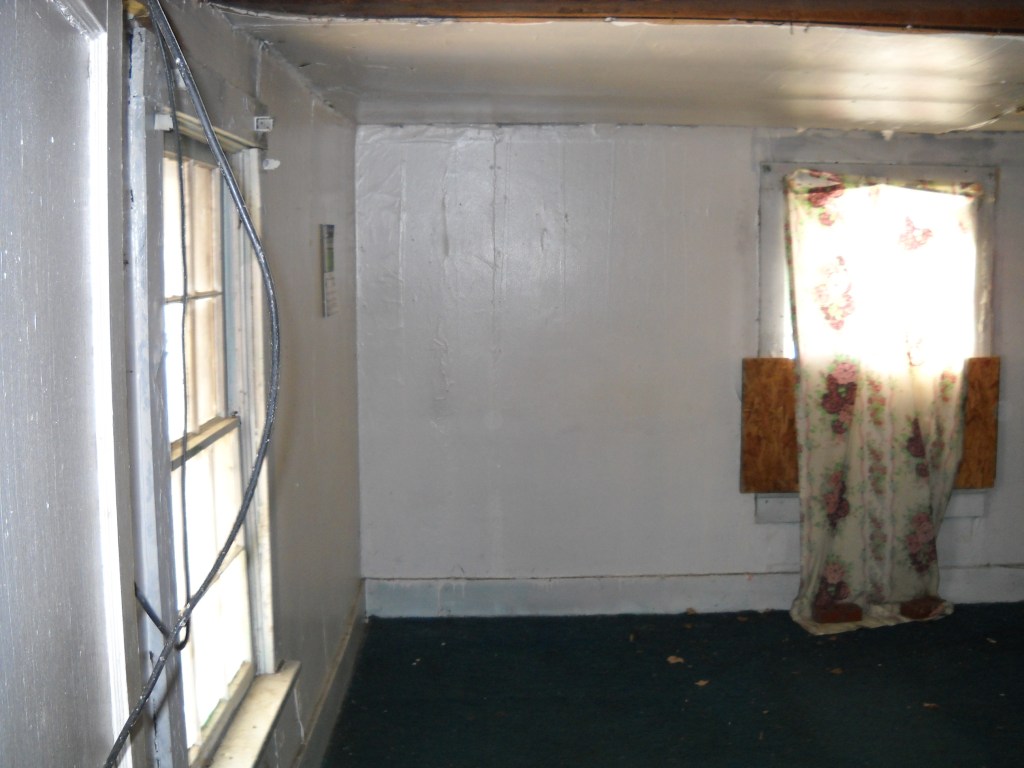
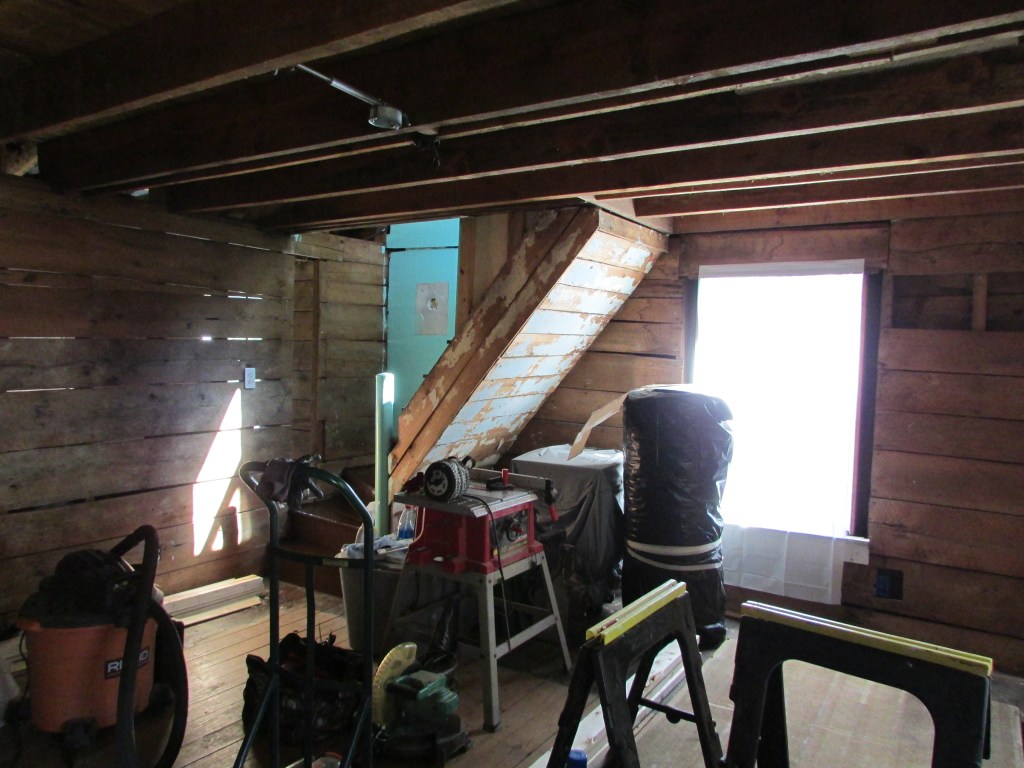
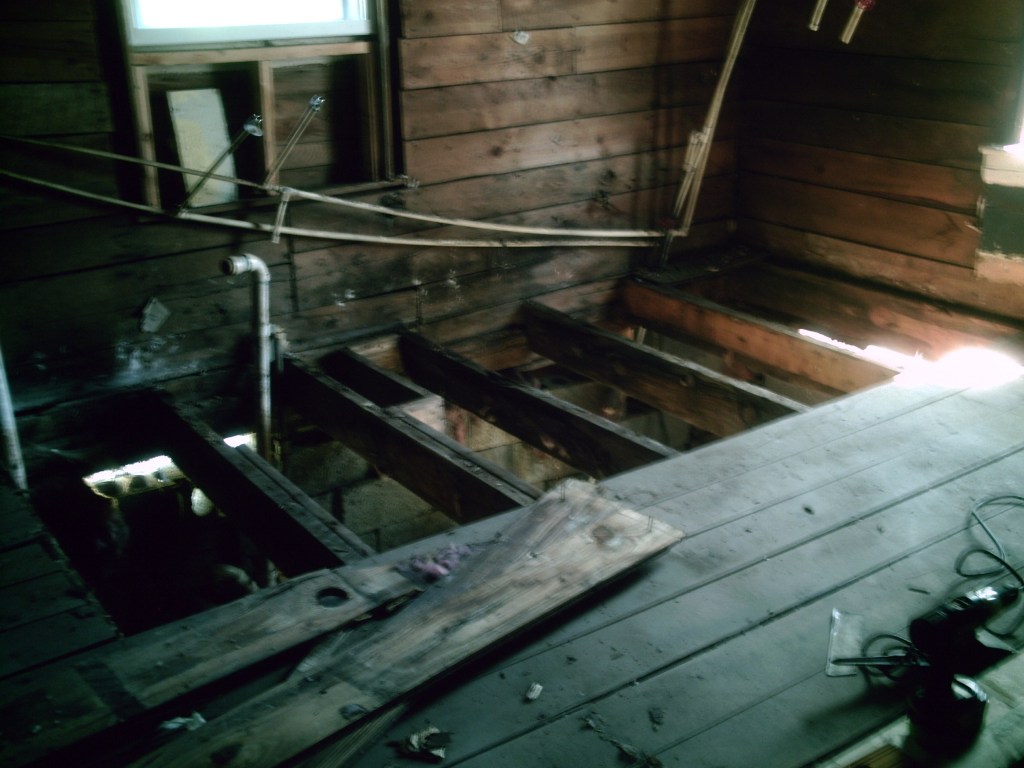
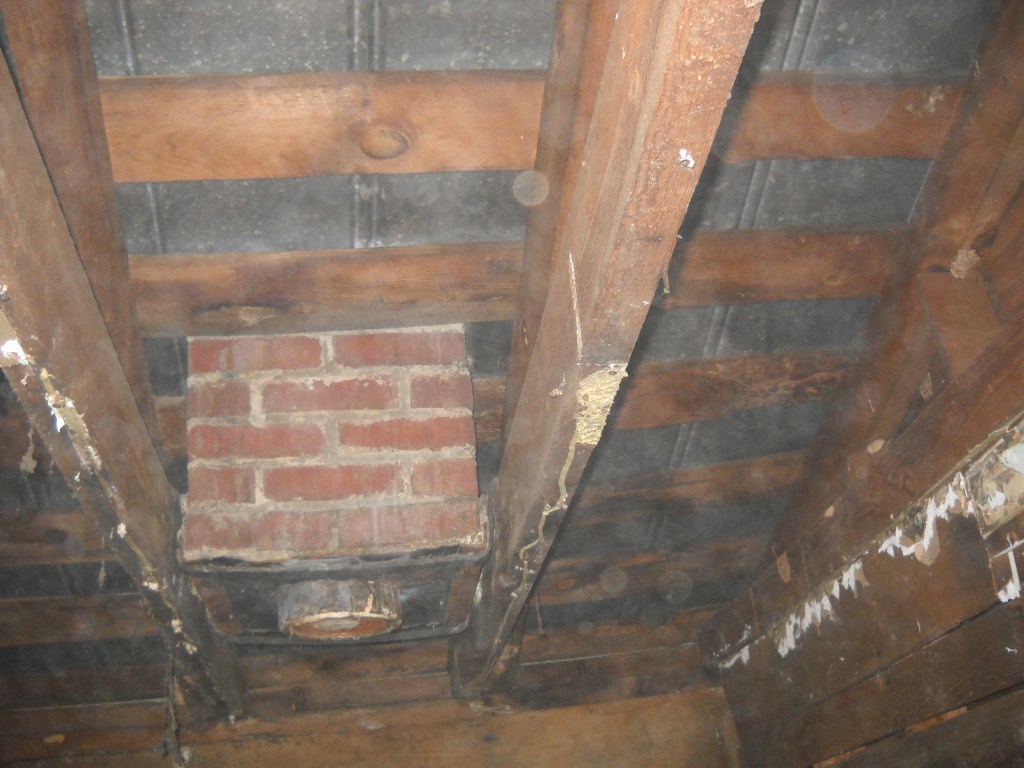
The second floor of this 1910 farmhouse is typical of this type of construction. Immediately after going up the stairway, one lands on the first bedroom. There are no doors, neither a landing. There are two rooms and one connects to the other. The entire space upstairs measures 30×15 feet resulting in two 15×15 feet rooms. These are supposed to be bedrooms. They lack the privacy found in modern construction. We set up the first bedroom as an office. This was a necessary room. Before buying the house, I asked the realtor if there was internet available in the area, if not, that would be the deal breaker. Although broadband was not available, other types of connections were. This room was the second to be finished. The floor was in good condition, however, some boards were loose. The walls and ceilings were in bad shape – holes, dirty, mismatched materials … The chimney in the center of both rooms had to be covered, and some wood beams had to be reinforced. There were birds nests, wasps nests, garbage, debris, and even vines growing inside. As any other room in this old house, it required much work.
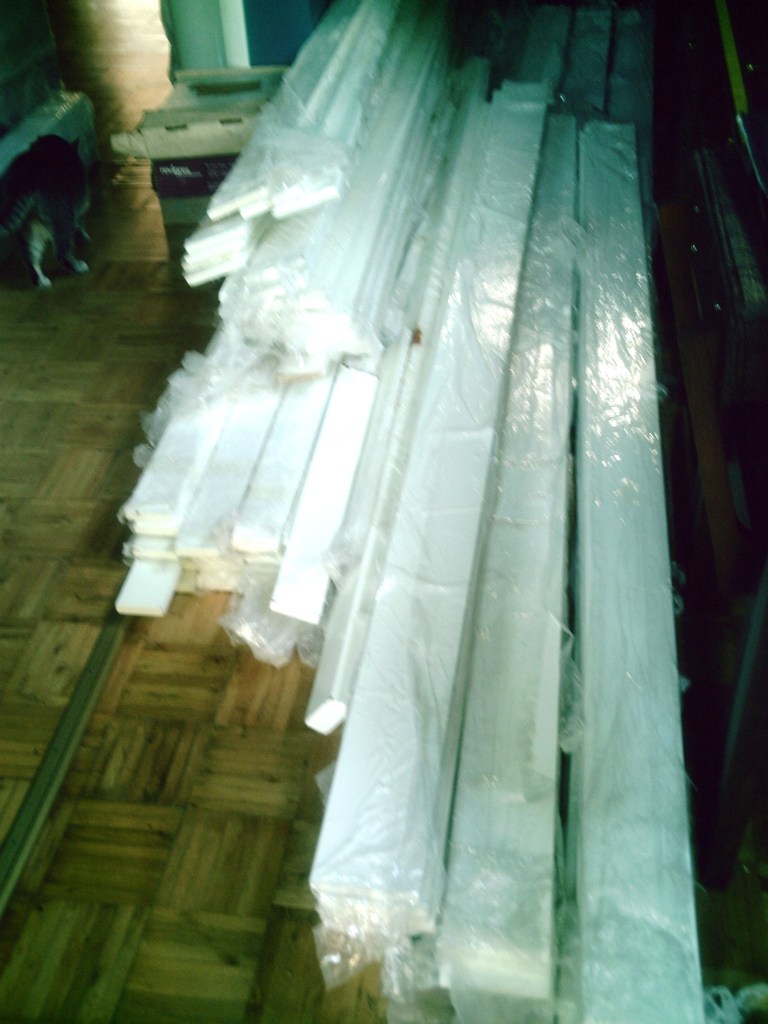
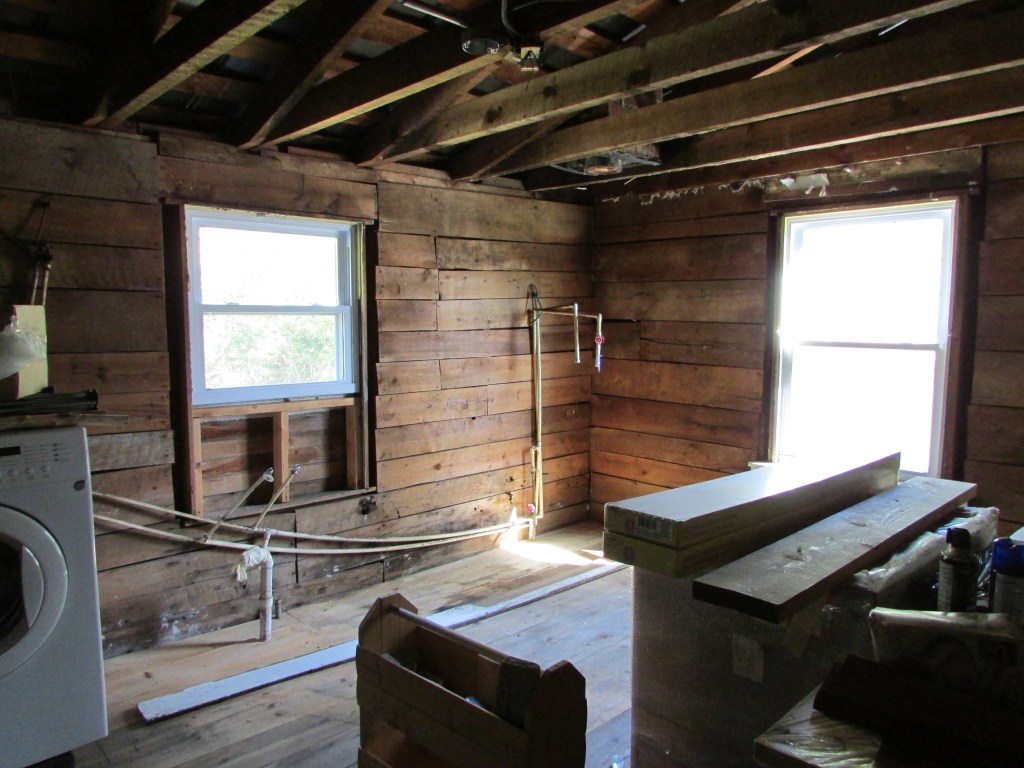
The ceiling in this room is lower than the ceiling downstairs, something that made installation a bit easier for us. I found this room challenging in the sense of the difficulty of bringing material upstairs. In fact, we had to make an opening through the kitchen wall to be able to bring panels, wood, flooring, and long pieces of wood because the stairway was difficult to navigate at its angle, and many things would not go through. The steep incline and the narrow steps presented a challenge as well. By making this opening in the kitchen we were able to go straight up. Later on, when we were done, we closed the wall opening. Another challenge with this room is that I don’t feel it quite ready/finished yet. I call it the messy room. It is were we work/study and it serves as an art/craft room as well. It is a room in progress as far as setting it up. It needs better storage. Due to the low ceilings, it is very hot during the summer. Autumn and Spring are the seasons when this room feels more comfortable as far as temperature.
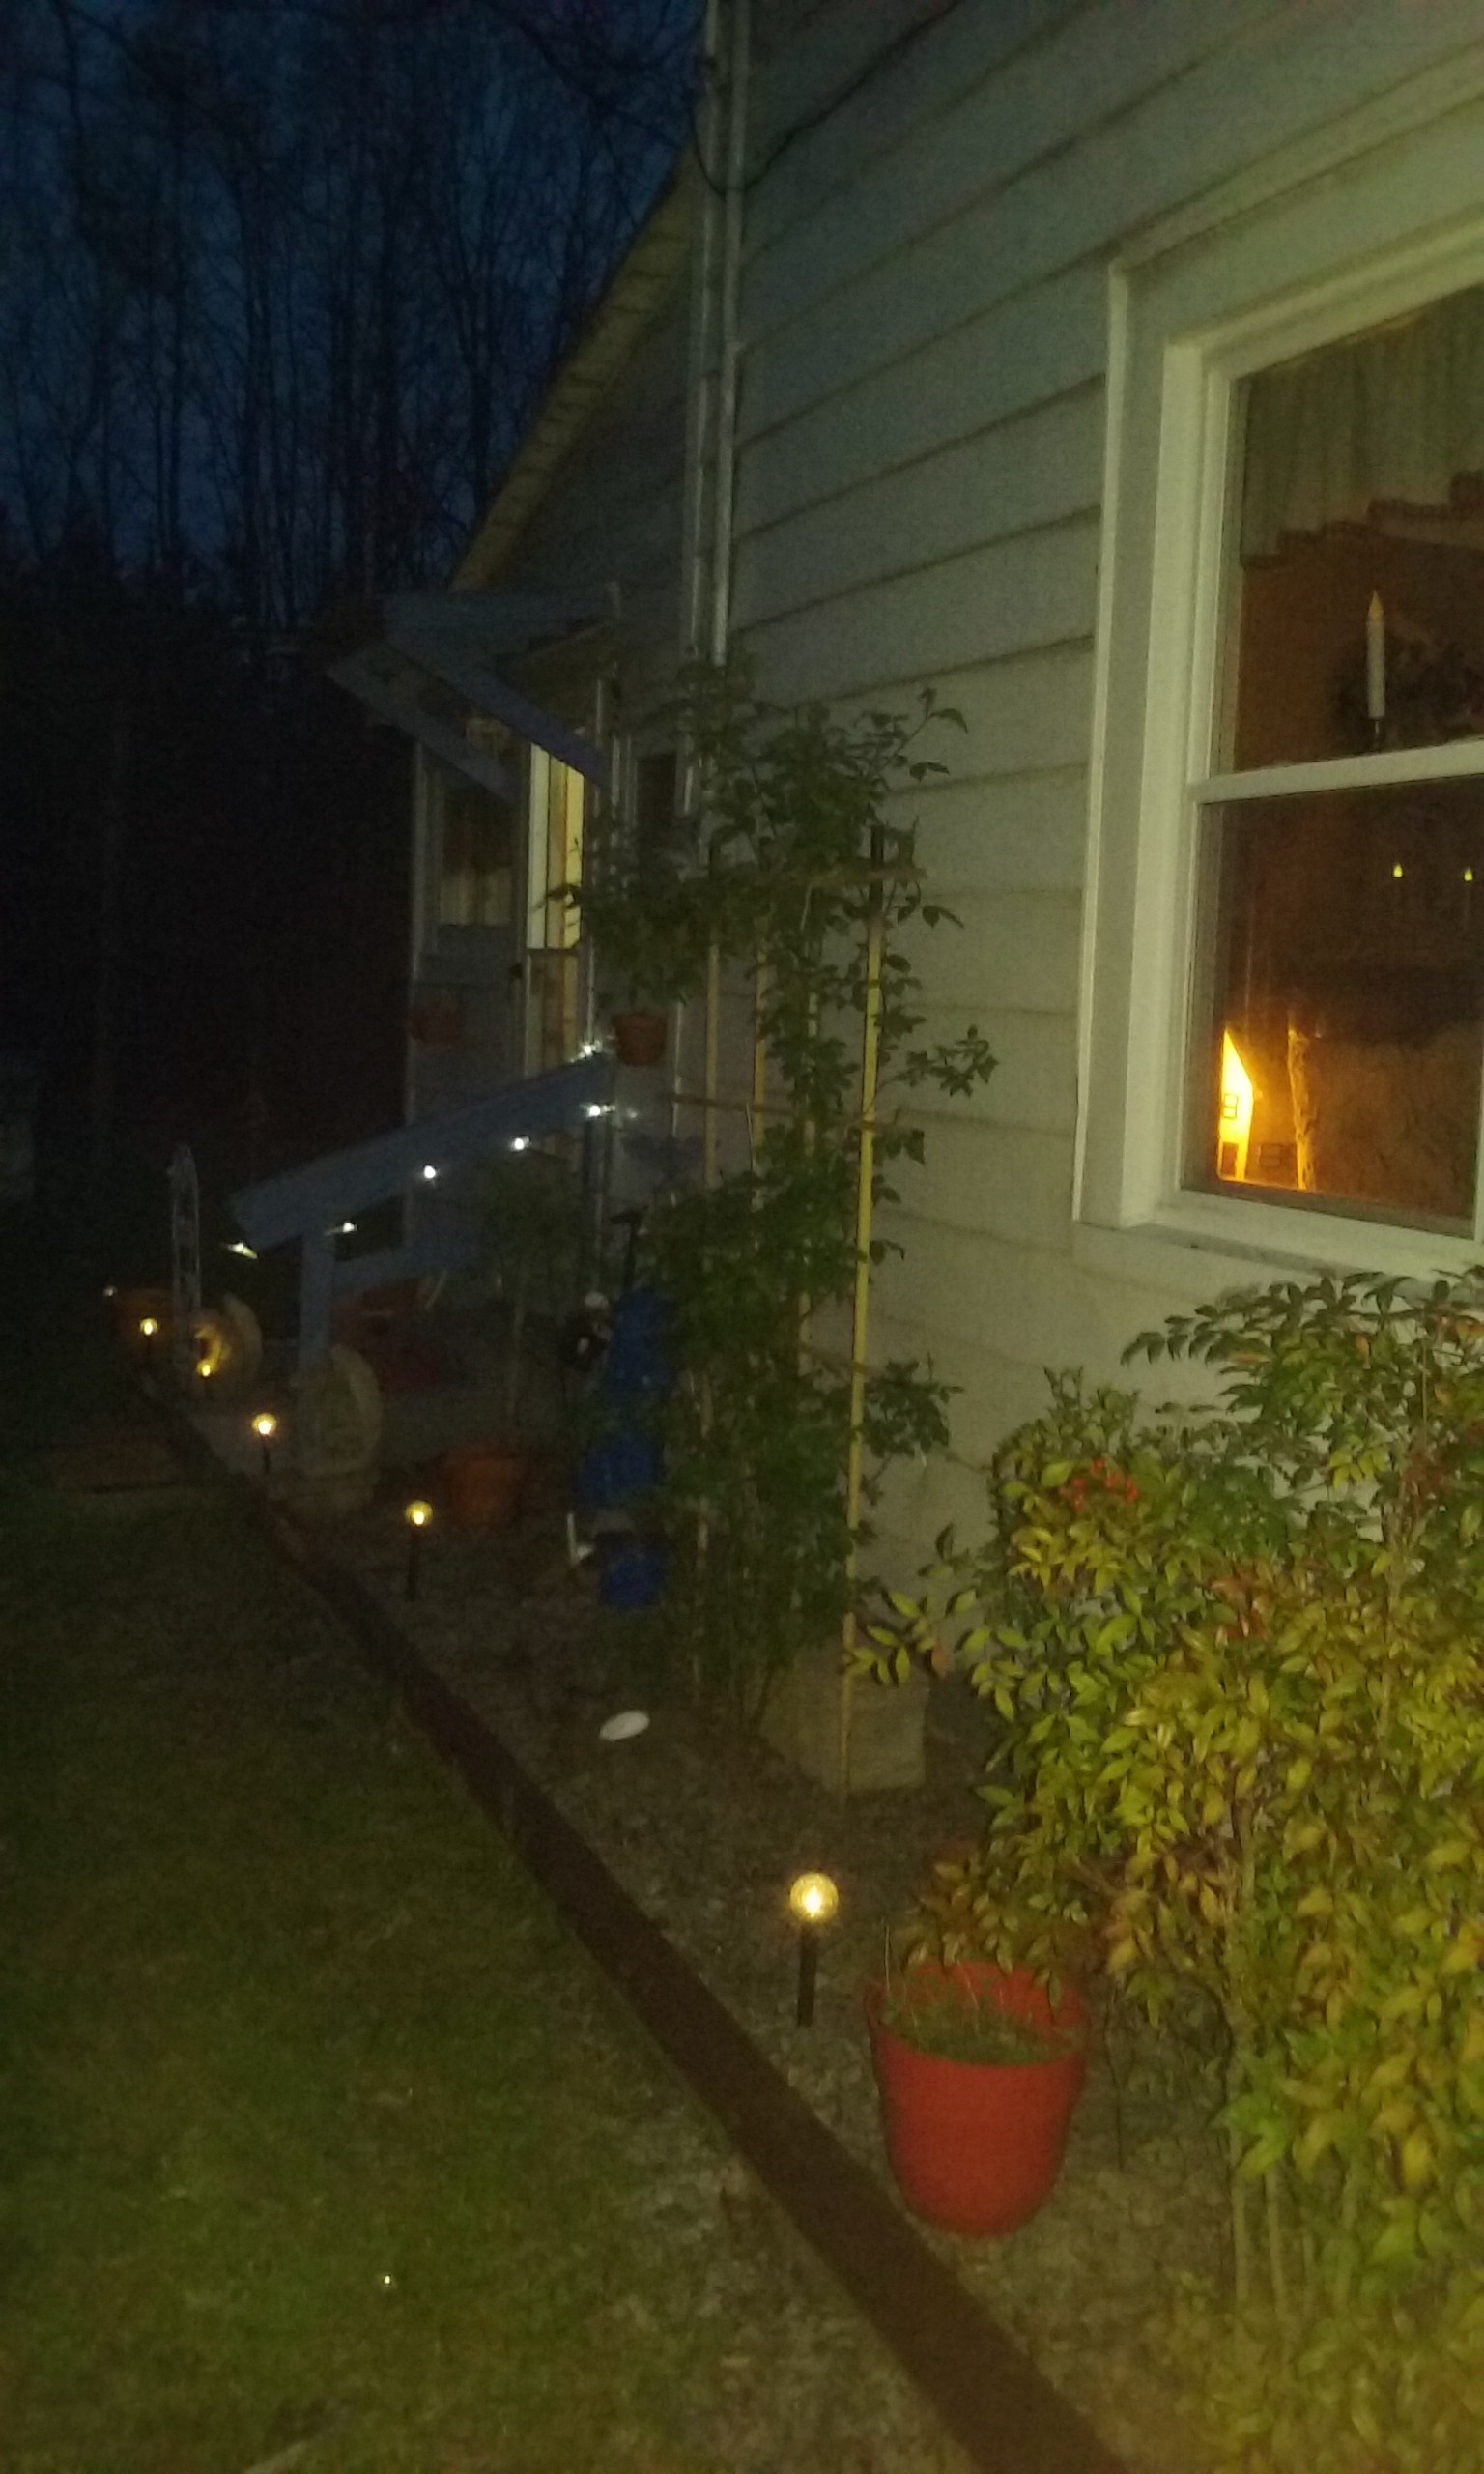
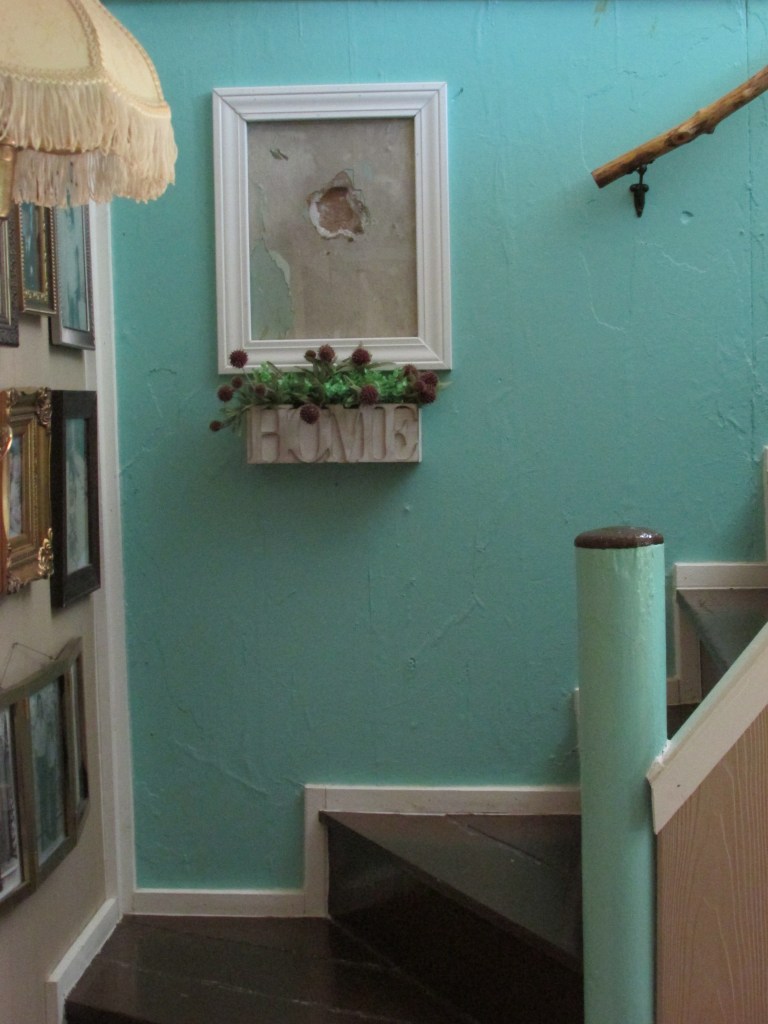
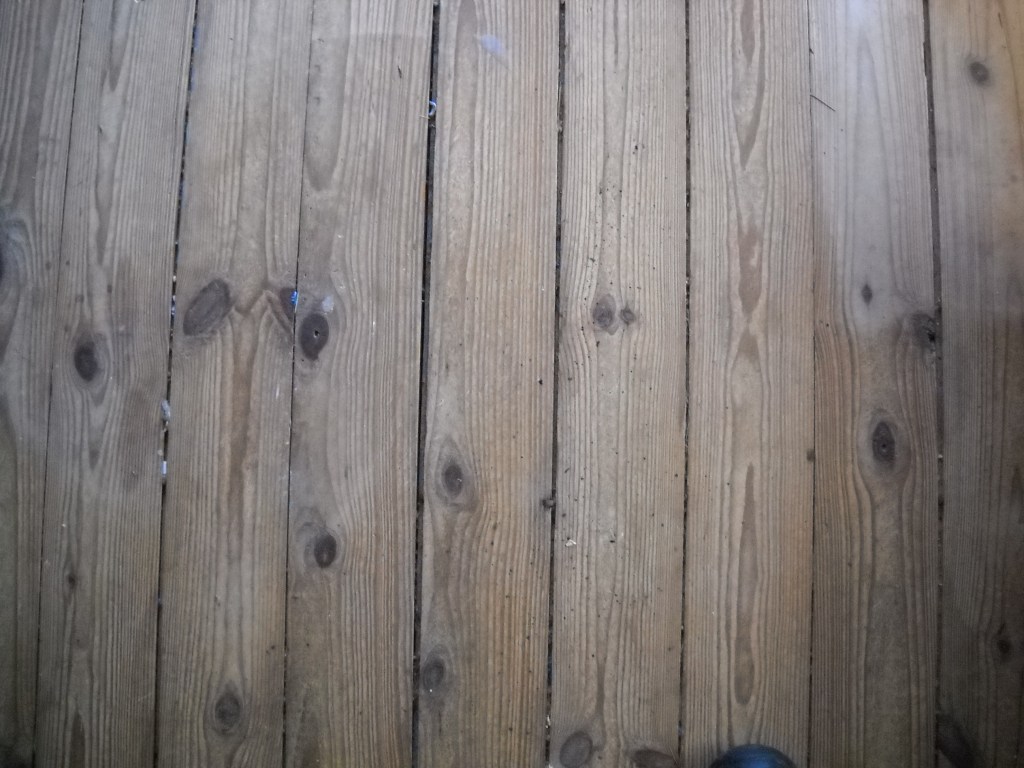
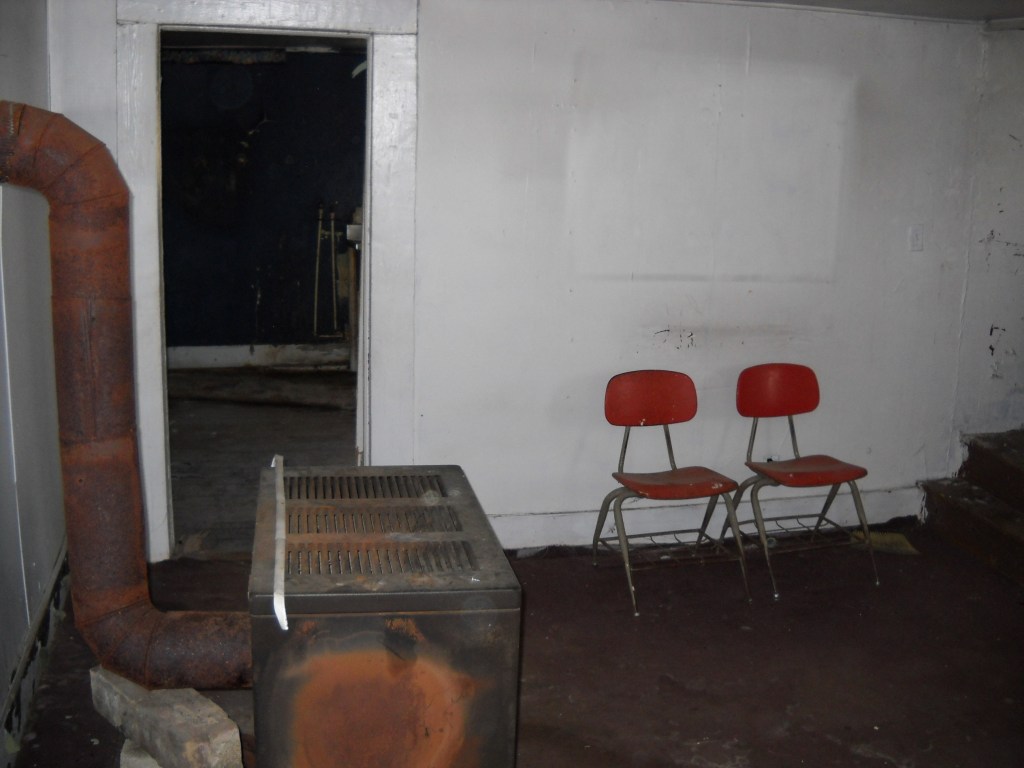
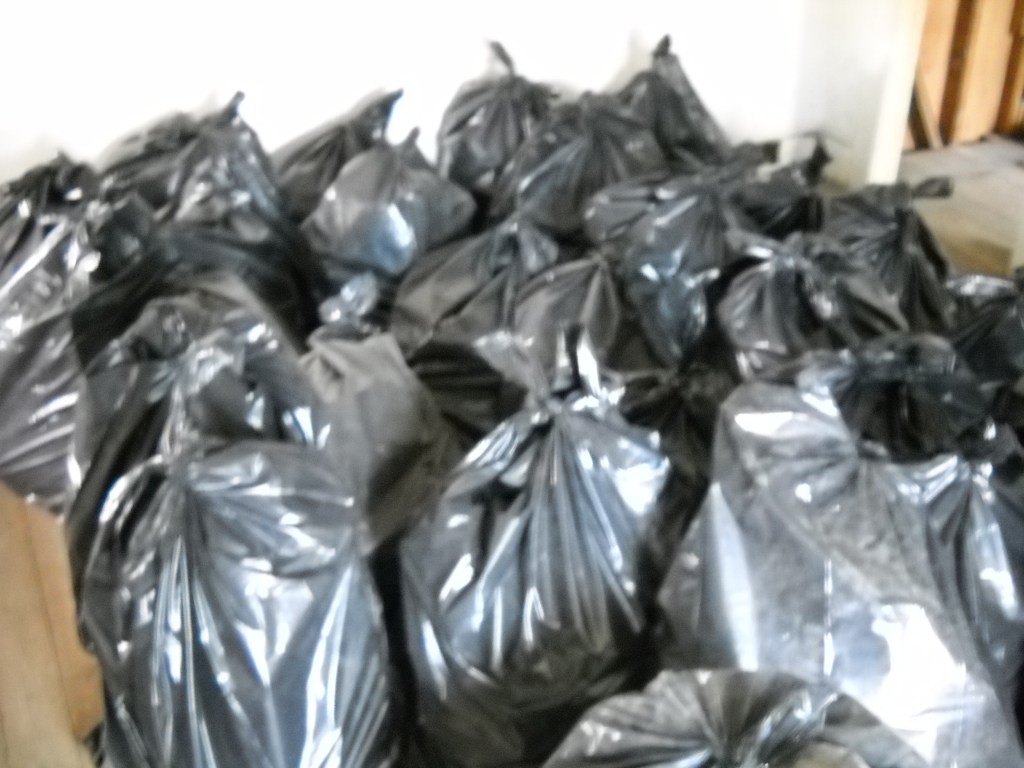
Before starting work upstairs we had to clean and get rid of a few pieces of very dirty broken furniture that were left, and other scattered items, clothes, garbage and broken pieces … One feature in this room that I liked and we kept was the original banister/handrail that prevented someone to fall through the stairway opening. It was loose, so we reinforced it, replaced the base wood, and painted it. I also like the fact that the windows are floor to ceiling due to the low ceilings in both rooms. The cats love this feature too. They love to look outside, and they don’t have to climb on the window sill. Although the floors were in good shape (if sanded and polished), the openings between some of the wood boards were uneven or a bit wider than we wanted, so we installed new flooring, as we did on the first floor.
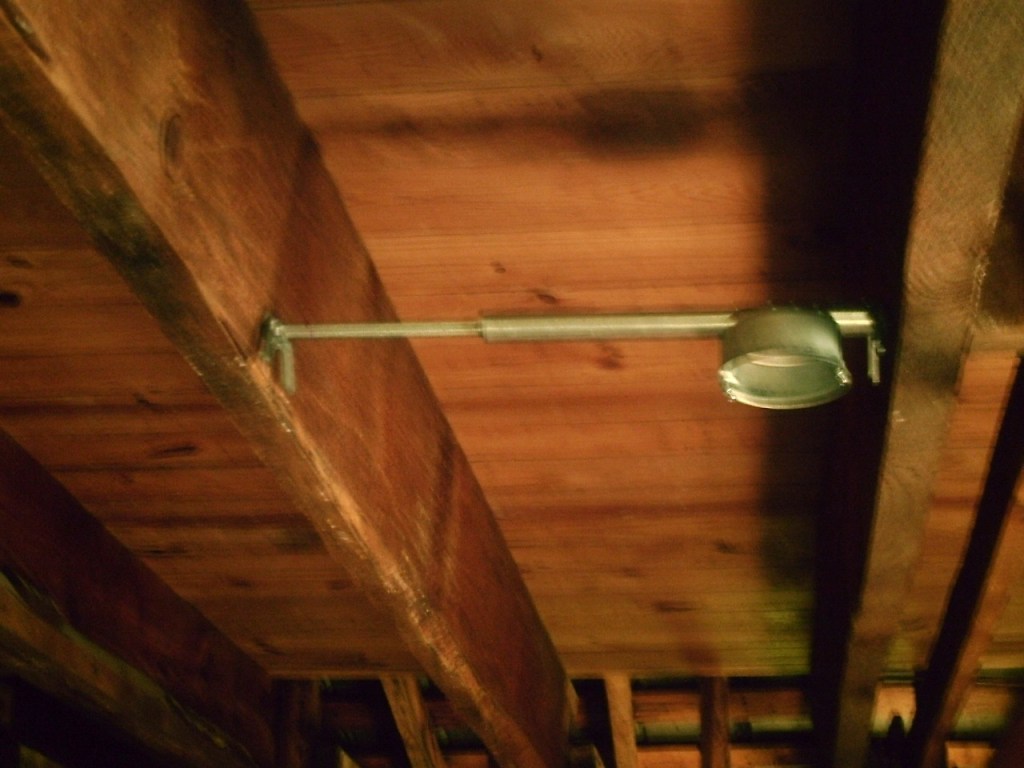
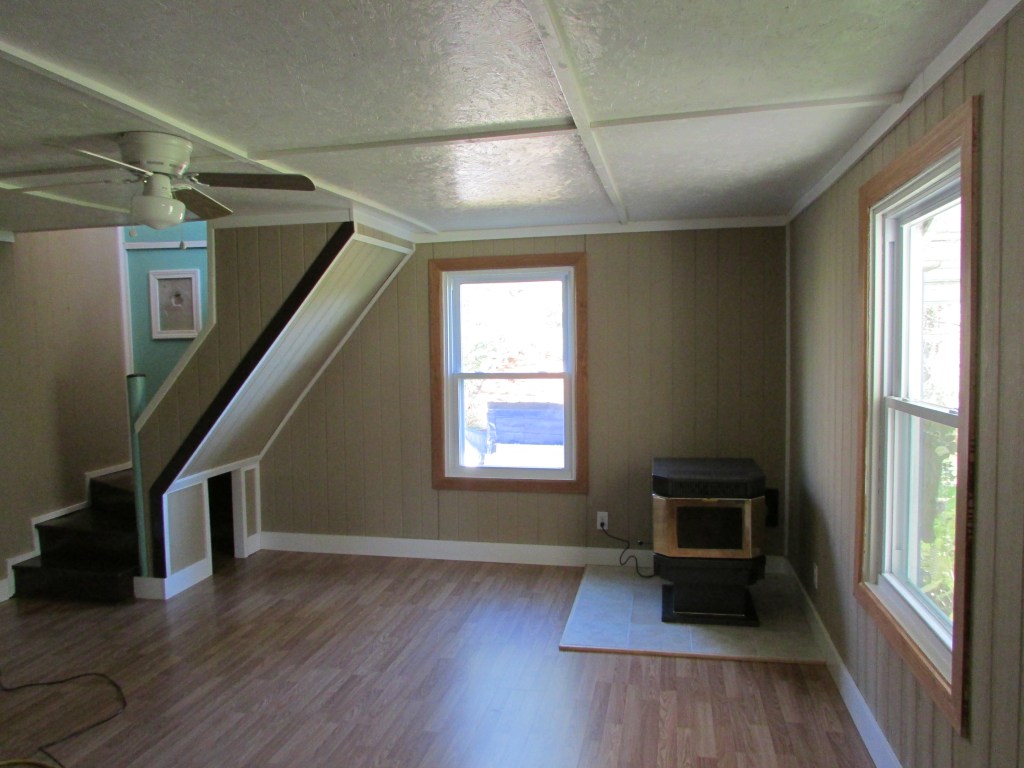
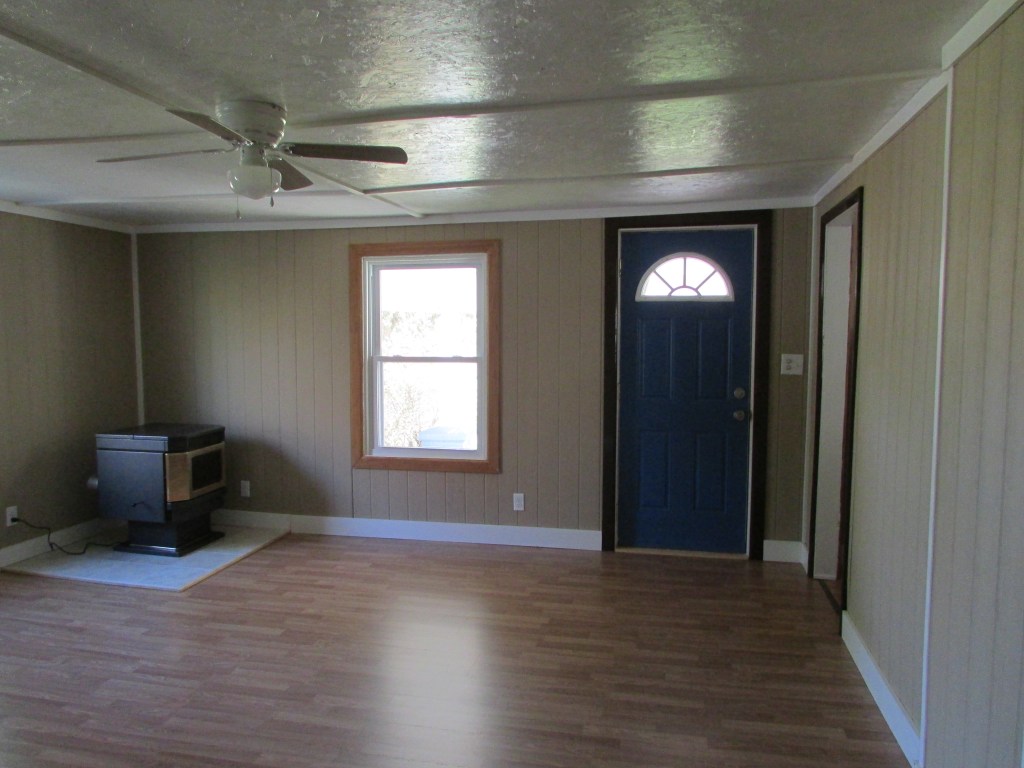
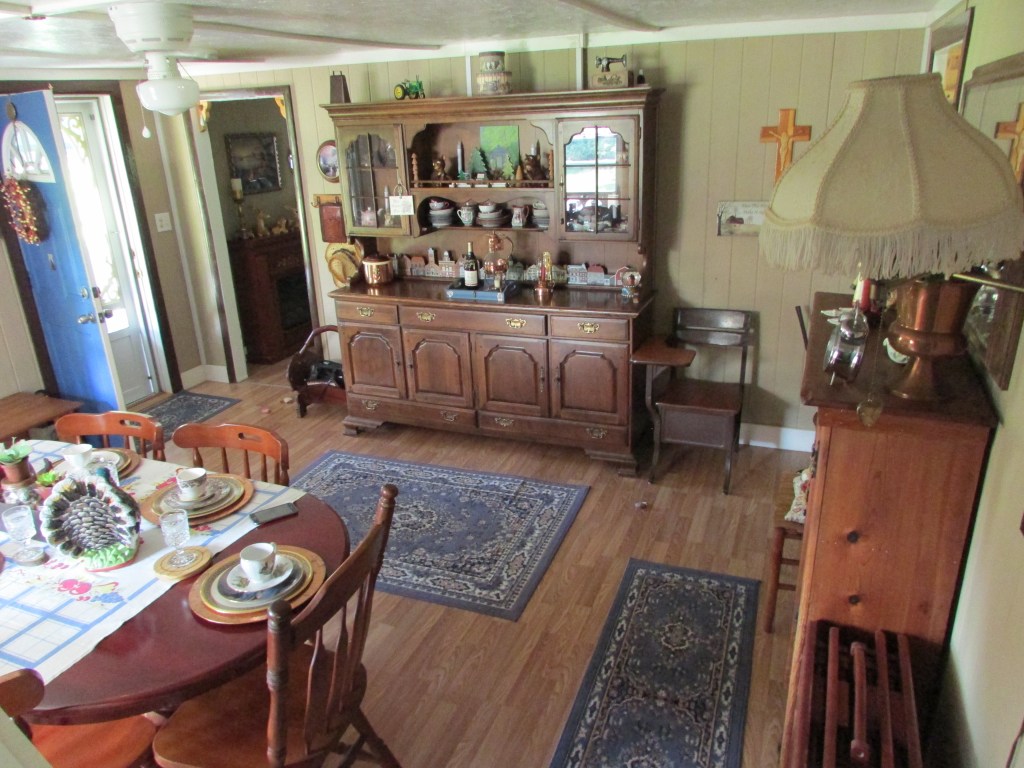
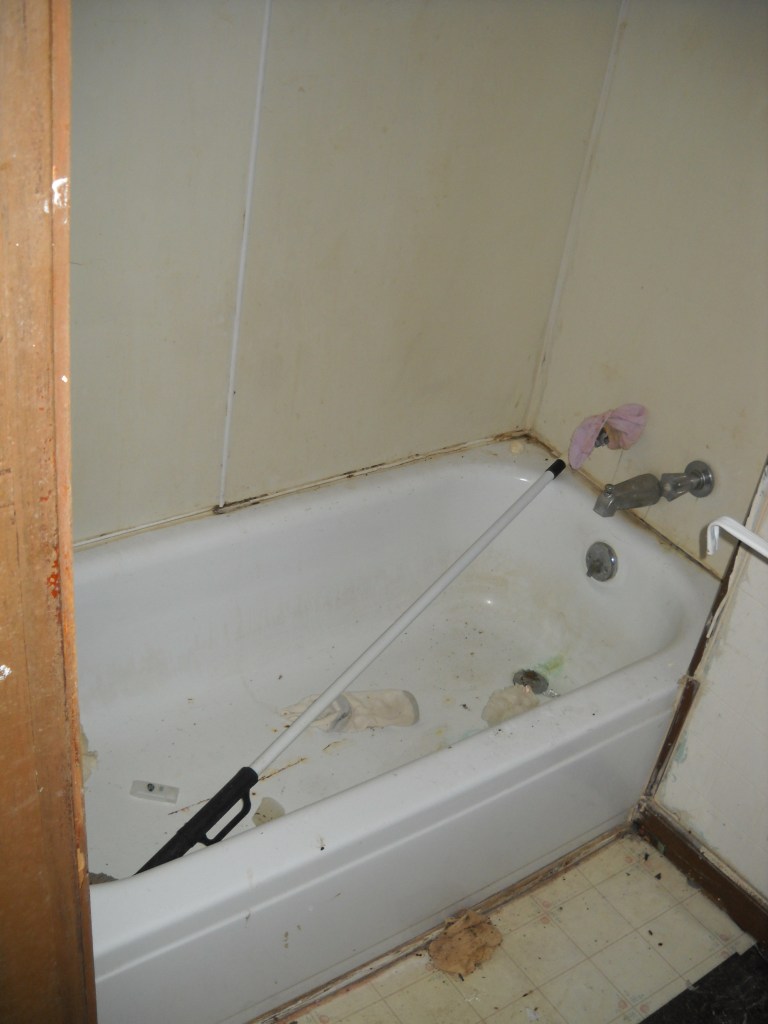
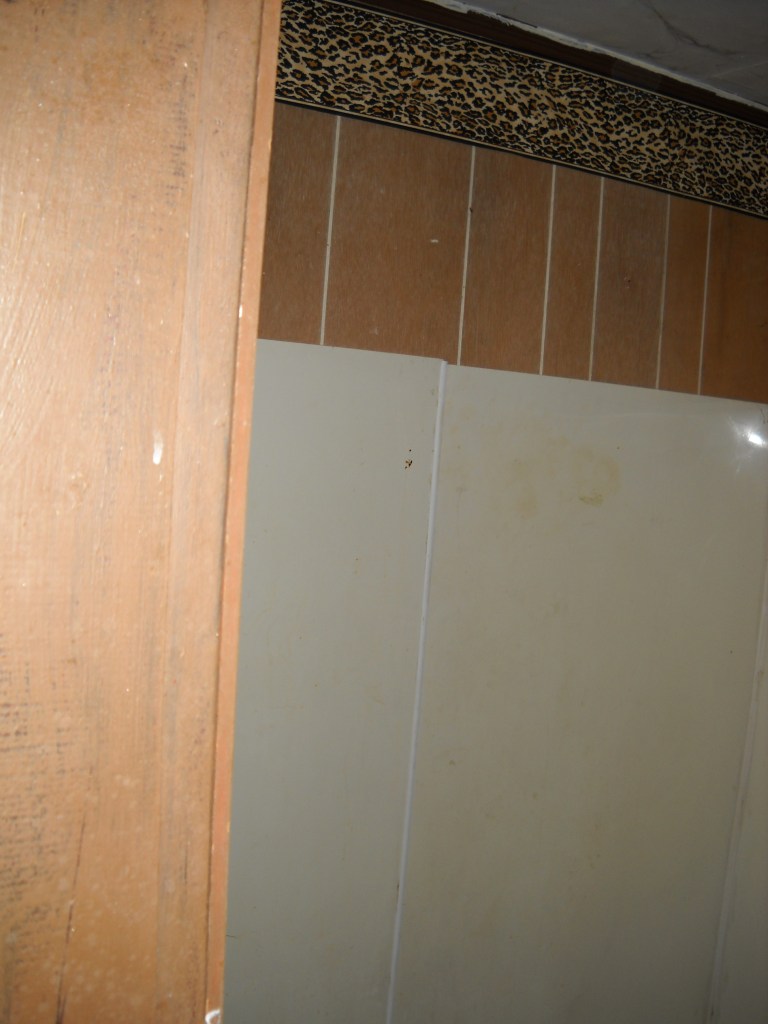
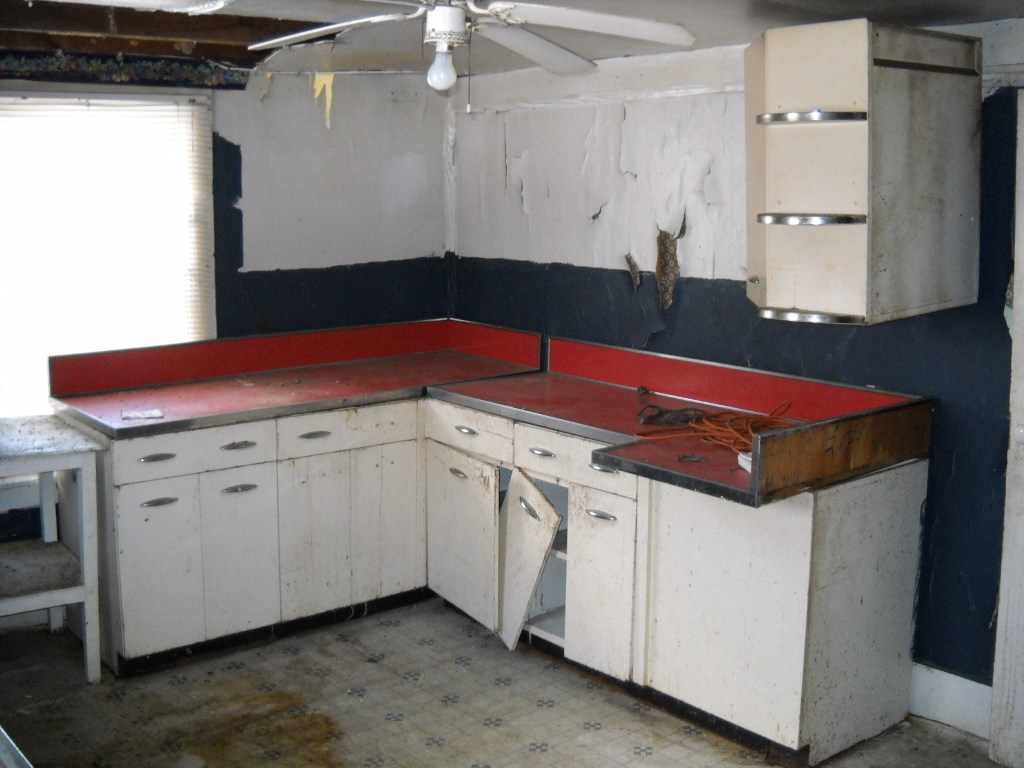
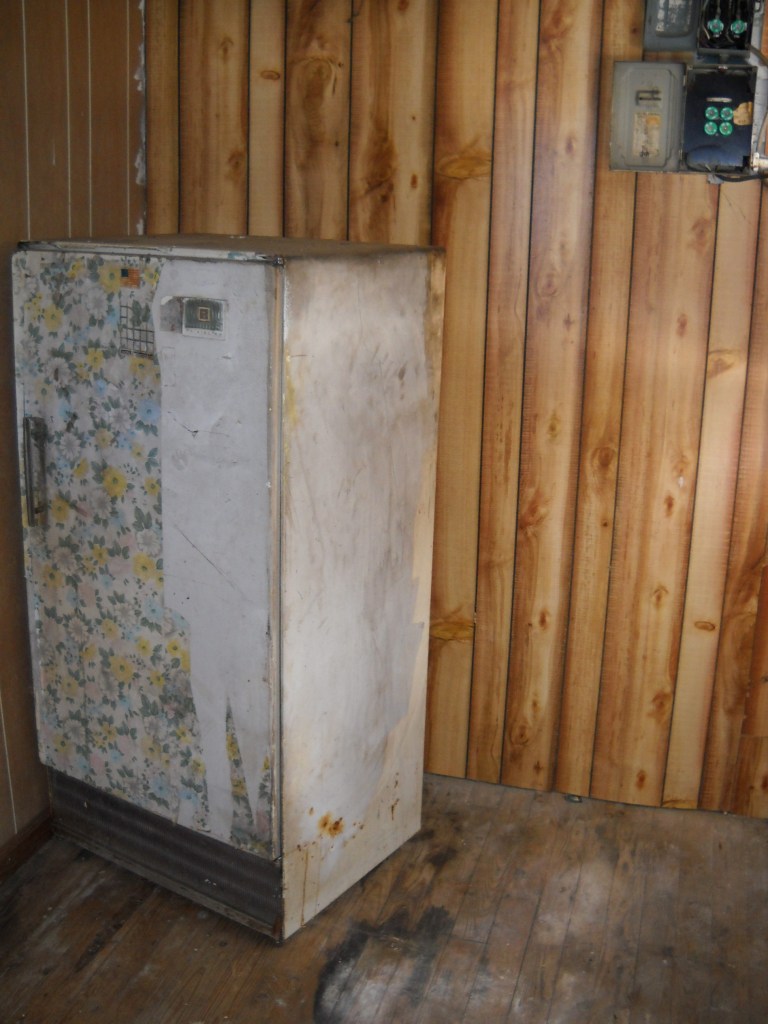
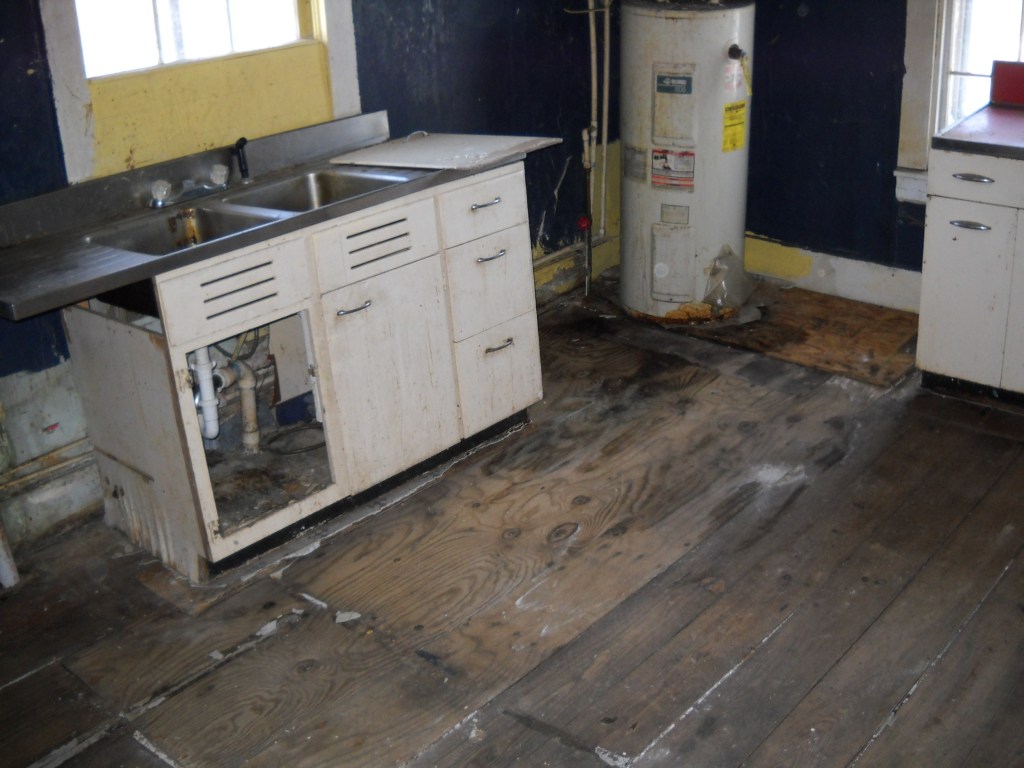
Here are a few pictures of the before, during, and after process. Please excuse the dust orbs on the camera lens due to flying dust.


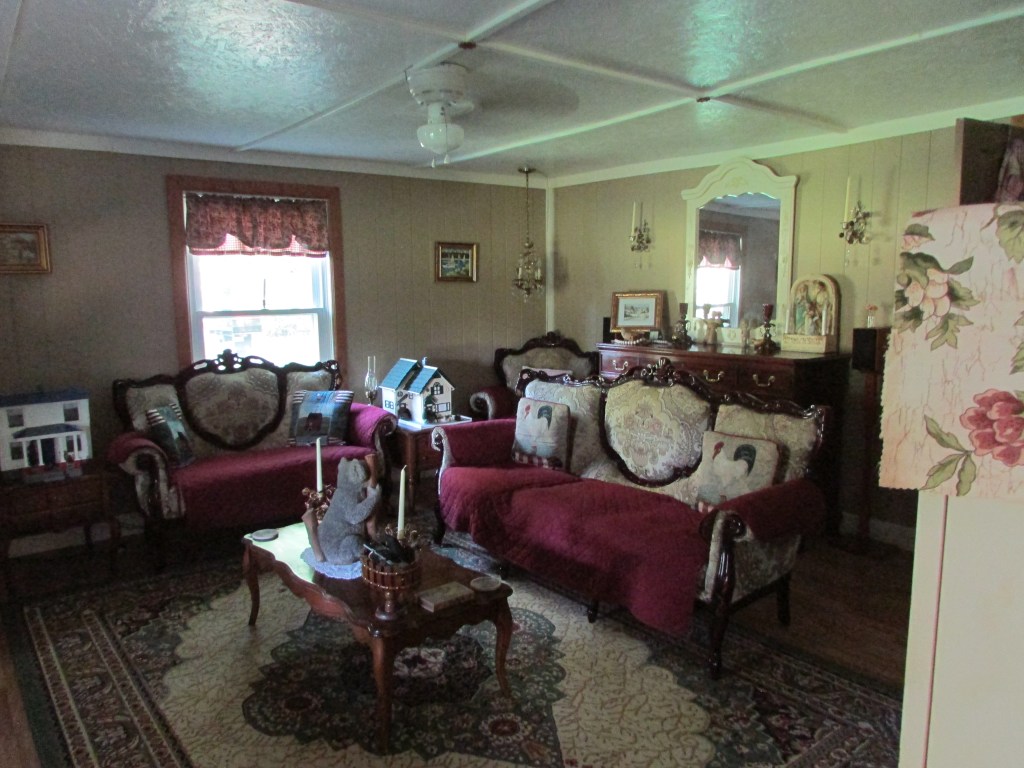
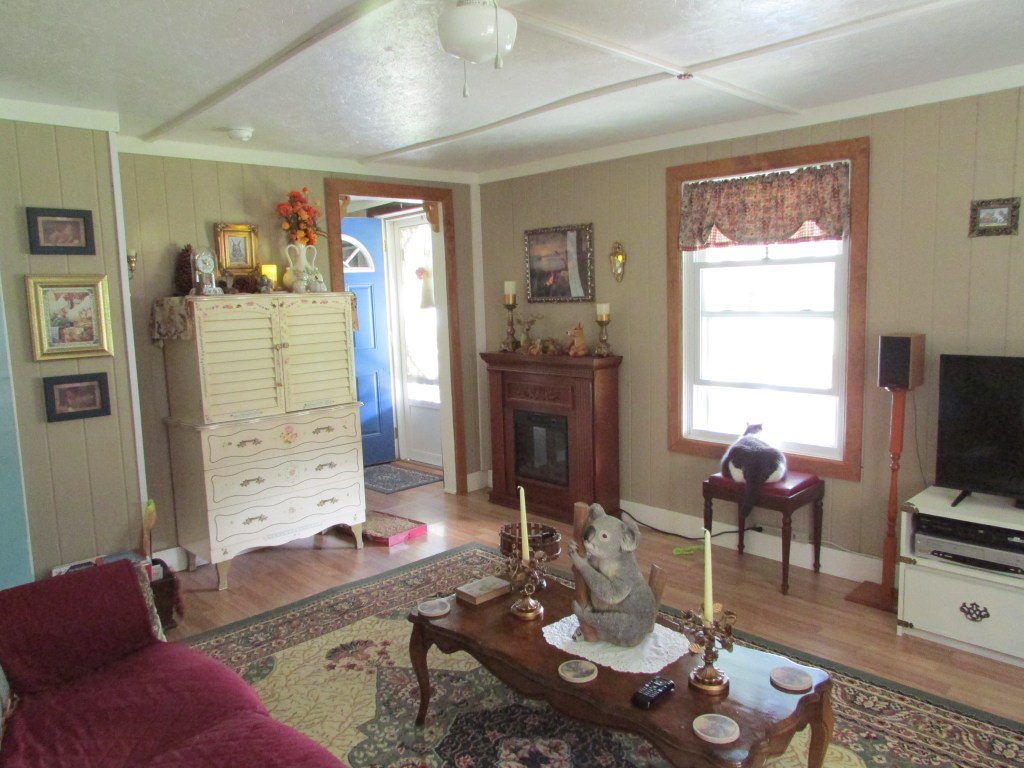
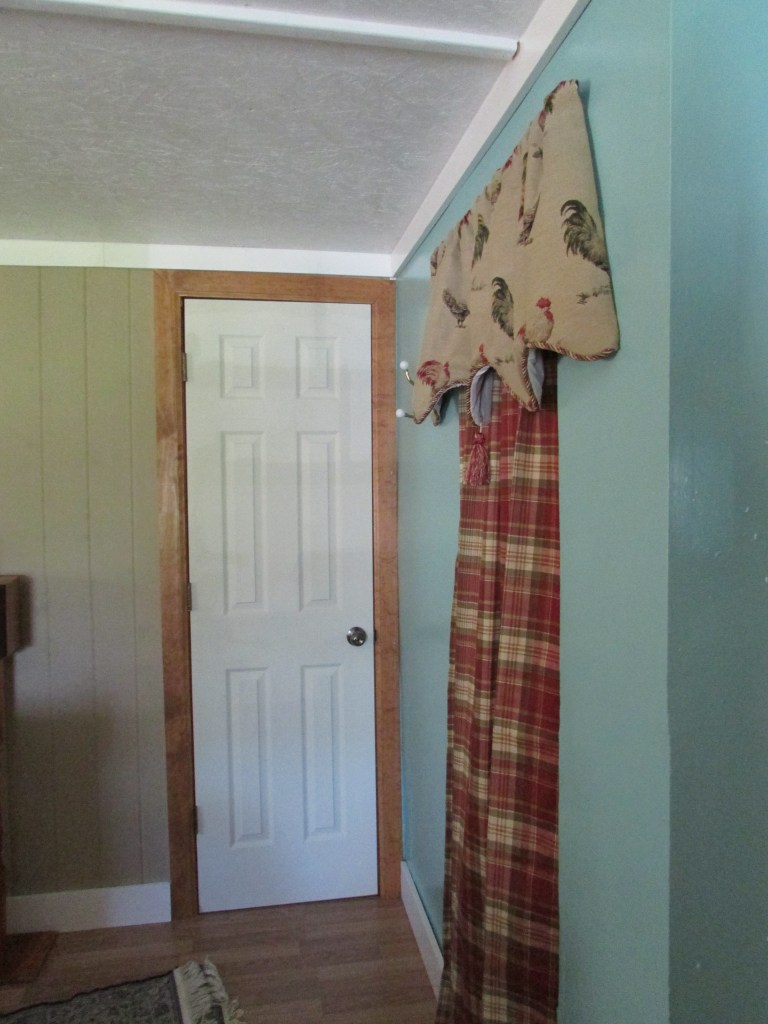
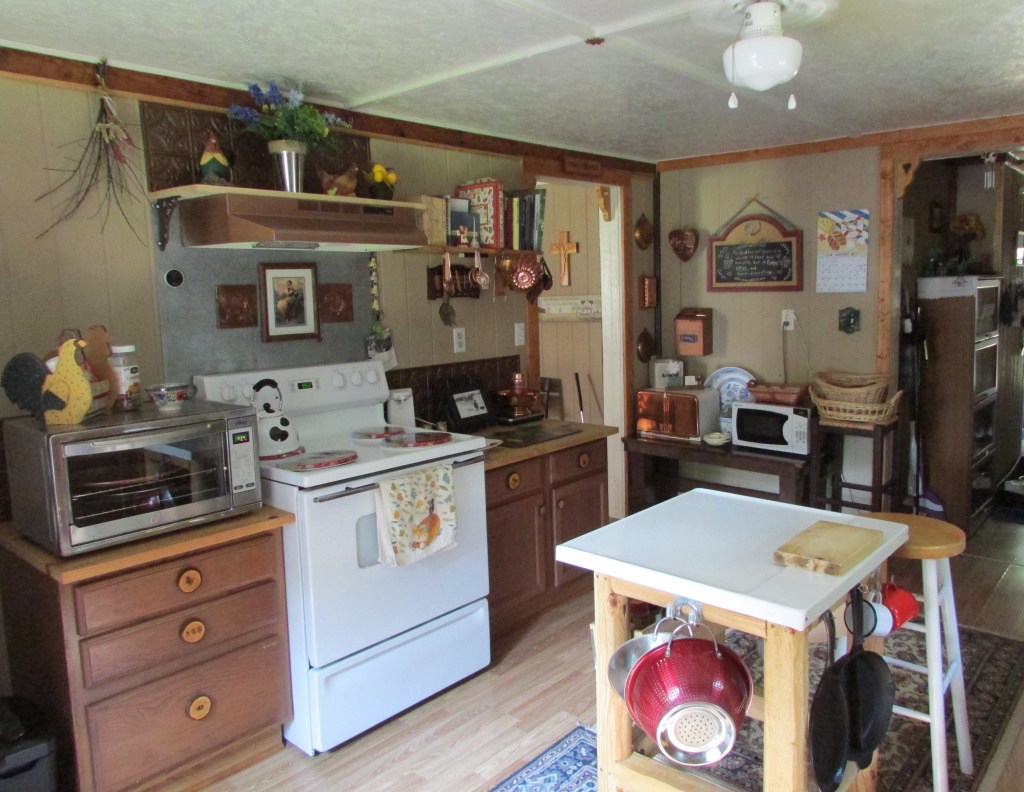
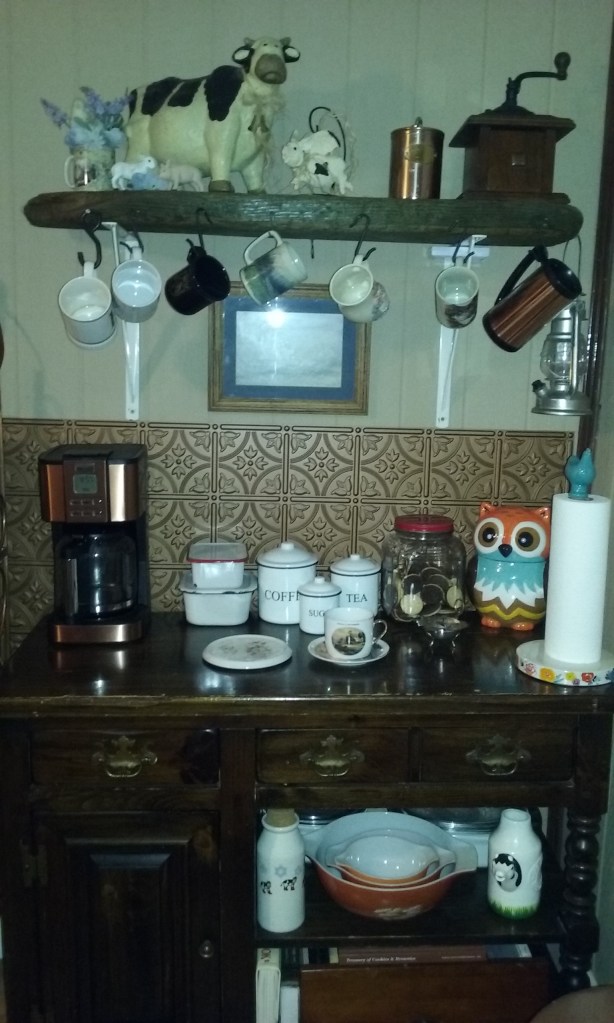
AFTER
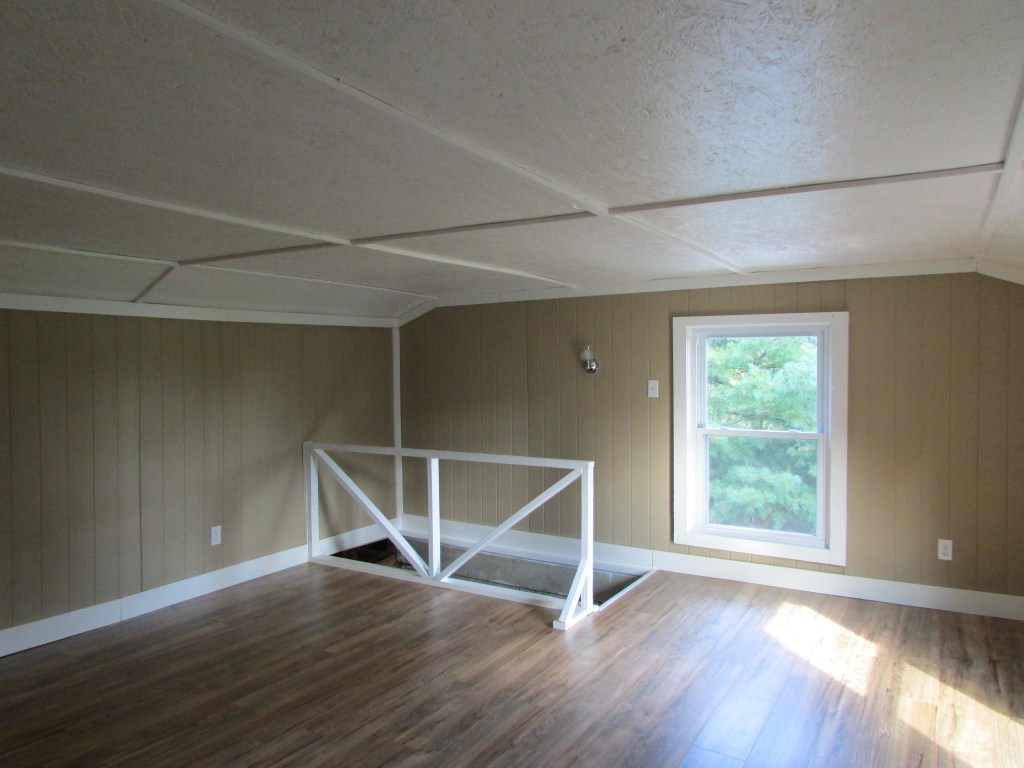


Room as it is now.


Update – Some minor changes (2021)


Fixing this old farmhouse has not been easy. By sharing these posts, I don’t want to give the wrong impression that it was a breeze to do the work. It was not. My husband and I did all the work and it took a lot of effort, patience, dedication, stamina, hope, courage, and faith. We operated in a cash only small budget, hence why we did mostly everything ourselves, and hired the experts where it counted. There were days when we doubted, we were extremely tired physically, mentally, and spiritually. There were days when we were grouchy and days when we were very happy, days when we felt we could vaporize each other if we could, and days we enjoyed working together and had fun. We had good times, bad times, horrible times, and great times. It was not easy but it was worth it. If you ever decide to take on a similar task take all factors into consideration – finances, health (physical, mental, and spiritual), disposition, and what you can do and cannot do as far as skills. It is not a job for one person; it takes two at the minimum. It does require a lot of physical work, and you might have to forgo your fear or disgust of bugs (big and small), dirt, the gross and disgusting, and any other surprise that might show up. On the other hand, if you are up to it, it is very rewarding and it feels good once you are done. These posts are meant to inspire the reader, as well as give an idea of potential, and encourage you to see things from another perspective, one of hope, vision, and possibility. I hope you enjoy this post.


")